Showing posts with label tutorial. Show all posts

Tuesday, February 12, 2019

Easy Table Runner


I have a friend who just today asked me about this Easy Table Runner.  We have both sewn it so many times that we should remember how to do it.  But sometimes we all need a little refresher!


So here is a link.  It's also called the 10 Minute Table Runner, and it really is!  It takes just a 1/4 yard cut of fabric for the center and 1/2 yard of fabric for the sides and backing fabric (which is just one piece).


Also, you can see from this picture that it can be laid out in two different ways.  Like we all need some variety!  If I see fabric while I'm out shopping that I love and I don't know what to make with it, this is usually my go to.  That or a pillowcase.  They both make great gifts!

Happy sewing!  If you make one and have a picture to share let me know :D

Tuesday, September 25, 2018


Welcome to Tutorial Tuesday!


My first post here and my first share.


This is the littlest pincushion ever.  And I want one all to myself!


Aren't they just super cute!  I just couldn't resist sharing it.


It's a little pin cushion made with a recycled plastic bottle cap!  Aren't you surprised? I was.  Plus, here's a little known fact about me....I do love to recycle.

This came to you from Tea Rose Home
She has a beautiful blog that you could just get lost in for days looking at all of her romantic creations.


Now for me to make one too!
And let me know in the comments if you make one.

btw....
did you know I'm on Instagram?


Wednesday, November 18, 2015


Having such a large stash of Bonnie and Camille fabrics it's hard going through and picking which combinations I like best for each letter.  I am looking for contrast obviously.  And pattern size. A large floral might be cut up a lot like in my first letter A.  So for the B both prints are of similar size, but there is contrast.


I love how there is a navy in this collection.  I would also like to add more orange to my stash as well. The sashing on this block is also the green background fabric.


Some have done the quilt with a white background, which I do like. But I love the scrappy look, like this one below.


And here is your link for the letter B, from Bunny Hill Designs. Have fun sewing!


Wednesday, May 13, 2015

spell it


This quilt originally appeared on the Moda blog in February 2014.


I shared this idea on Instagram.
And everyone wanted to sew this quilt too!


But no one was really interested in looking up all of the letters.  So I did it. No big deal, I thought. But it did end up taking me about 2 hours to hunt each one down and print them out! 


After much thought about what fabrics I wanted to use. I decided to use my Bonnie & Camille stash. I love this fabric line because the new fabrics and their older prints always go together so well!  I still want it to look scrappy.  So I will be using different background fabrics, not always white. And different sashing fabrics too. 


Folding my squares in half and hitting them with an iron is a little tip that I saw on Missouri Star Quilt one day. I do love my Frixon pen, but this was quick when I was getting the rest of my fabrics together.


Here is my finished A. I love this red! So gorgeous.


And here are two different choices for my sashing.  Still trying to decide what to use.


Here is the A from Comfort Stitching. Aneela Hoey has the cutest of fabrics!  You will also find the PDF for this letter on her page here.

Thursday, July 3, 2014

pillowcases for soldiers


Every month we meet in the shop to sew Pillowcases for Soldiers.
And I know many of you love to sew, but don't have the time
to come in and sew with us.
Today, I finally took some time and looked up a video tutorial.
This is a great video from Missouri Star Quilt Co.
If you make a pillowcase for a soldier,
we would love for you to drop it off,
you are also welcome to mail it:
Sew Katie Jean
603 5th Street
Lincoln, CA 95648

Thank you!

Monday, May 27, 2013

mom's birthday

Last weekend I was in Portland, OR with my mom, Donna, and sister, Mary.  Mary has a quilt shop in Minnesota, Quilter's Eden. She is the one that I now blame/thank, for my opening Sew Katie Jean. I also have a middle sister, Judith.  We three are closer now than ever ~ I love my sisters!


Our mom is going to be 80 year's old in January. We are throwing her a party.  I don't think she knows that just yet! sshhh :)  And she needs the perfect gift.


We decided to make her a quilt!  Each one of us will make 3 quilt blocks a month. One block to go to mom's quilt, one for ourselves, and the other goes to the other sister. Judith sews, but doesn't quilt.  She has made one block already, and gets a few lessons from Mary along the way since they both live on the east coast.


We decided to use only fabric by Bonnie and Camille from Moda.  Each collection goes together so perfectly, that we will have a lot more fabrics to choose from.  I want to share with you my quilt blocks that I am making.  And since I am a bit behind in making my one a month I will be posting at least two a month!


So look for my Gram Quilt tutorials.  Each quilt block that I will be using will be based on something different about my mom.  I hope you will be inspired to quilt along with me!


Sunday, April 7, 2013

100 pillowcases


Sew Katie Jean has been making pillowcases for soldiers since March 2012. To celebrate, we are setting a goal of sewing 100 pillowcases by April 30.


To date, we have 30 donated pillowcases!  Making a handmade pillowcase, helps to remind our soldiers that we are thinking of them, and we at home support them.  


If you would like to send a handmade pillowcase to a soldier, just send one to the shop:
Sew Katie Jean, 603 5th Street, Lincoln, CA 95648


You can also watch this great video on how to make one from Missouri Quilt:

Sunday, November 25, 2012

christmas birds

I made my Christmas birds!  And you thought I wouldn't get them done, didn't you?


Well, they were fun to make (again)!  My girl even wanted to help me stuff the birds.  We used a handy chopstick to get the stuffing down into that beak.

And here is the link for you to make one of your own.  They are cute on a Christmas tree and... attached to someone's Christmas package.  Enjoy!

Friday, September 24, 2010

gift tag tutorial

I save all sorts of fabric scraps.  Including the scraps from the tiny quilts I have made.  That's where these little bits come from.


Too cute to be thrown away, right?  So don't!


I also have on hand the card stock that my bias tape was once wrapped around.  Any crafty paper will do!


Just place the fabric on the card stock, trim your fabric length or width as necessary. Then sew away, on your sewing machine.  I like using a zig zag stitch.


Use that ever handy hole punch and dig through your stash for a bit of ribbon.  I love to see what I find, looking for just that right color.

After you thread your ribbon through you have a nice little handmade gift tag.  I usually stamp the to: and from: on the back with a brown ink.  They also make cute bookmarks for what ever sewing book you might be giving as a gift this year!


Friday, August 13, 2010

doily envelopes

Do you remember the doily banner that I made? Well I did have some doilies left over from that project.  So I wanted to show you what I did with the extra's.


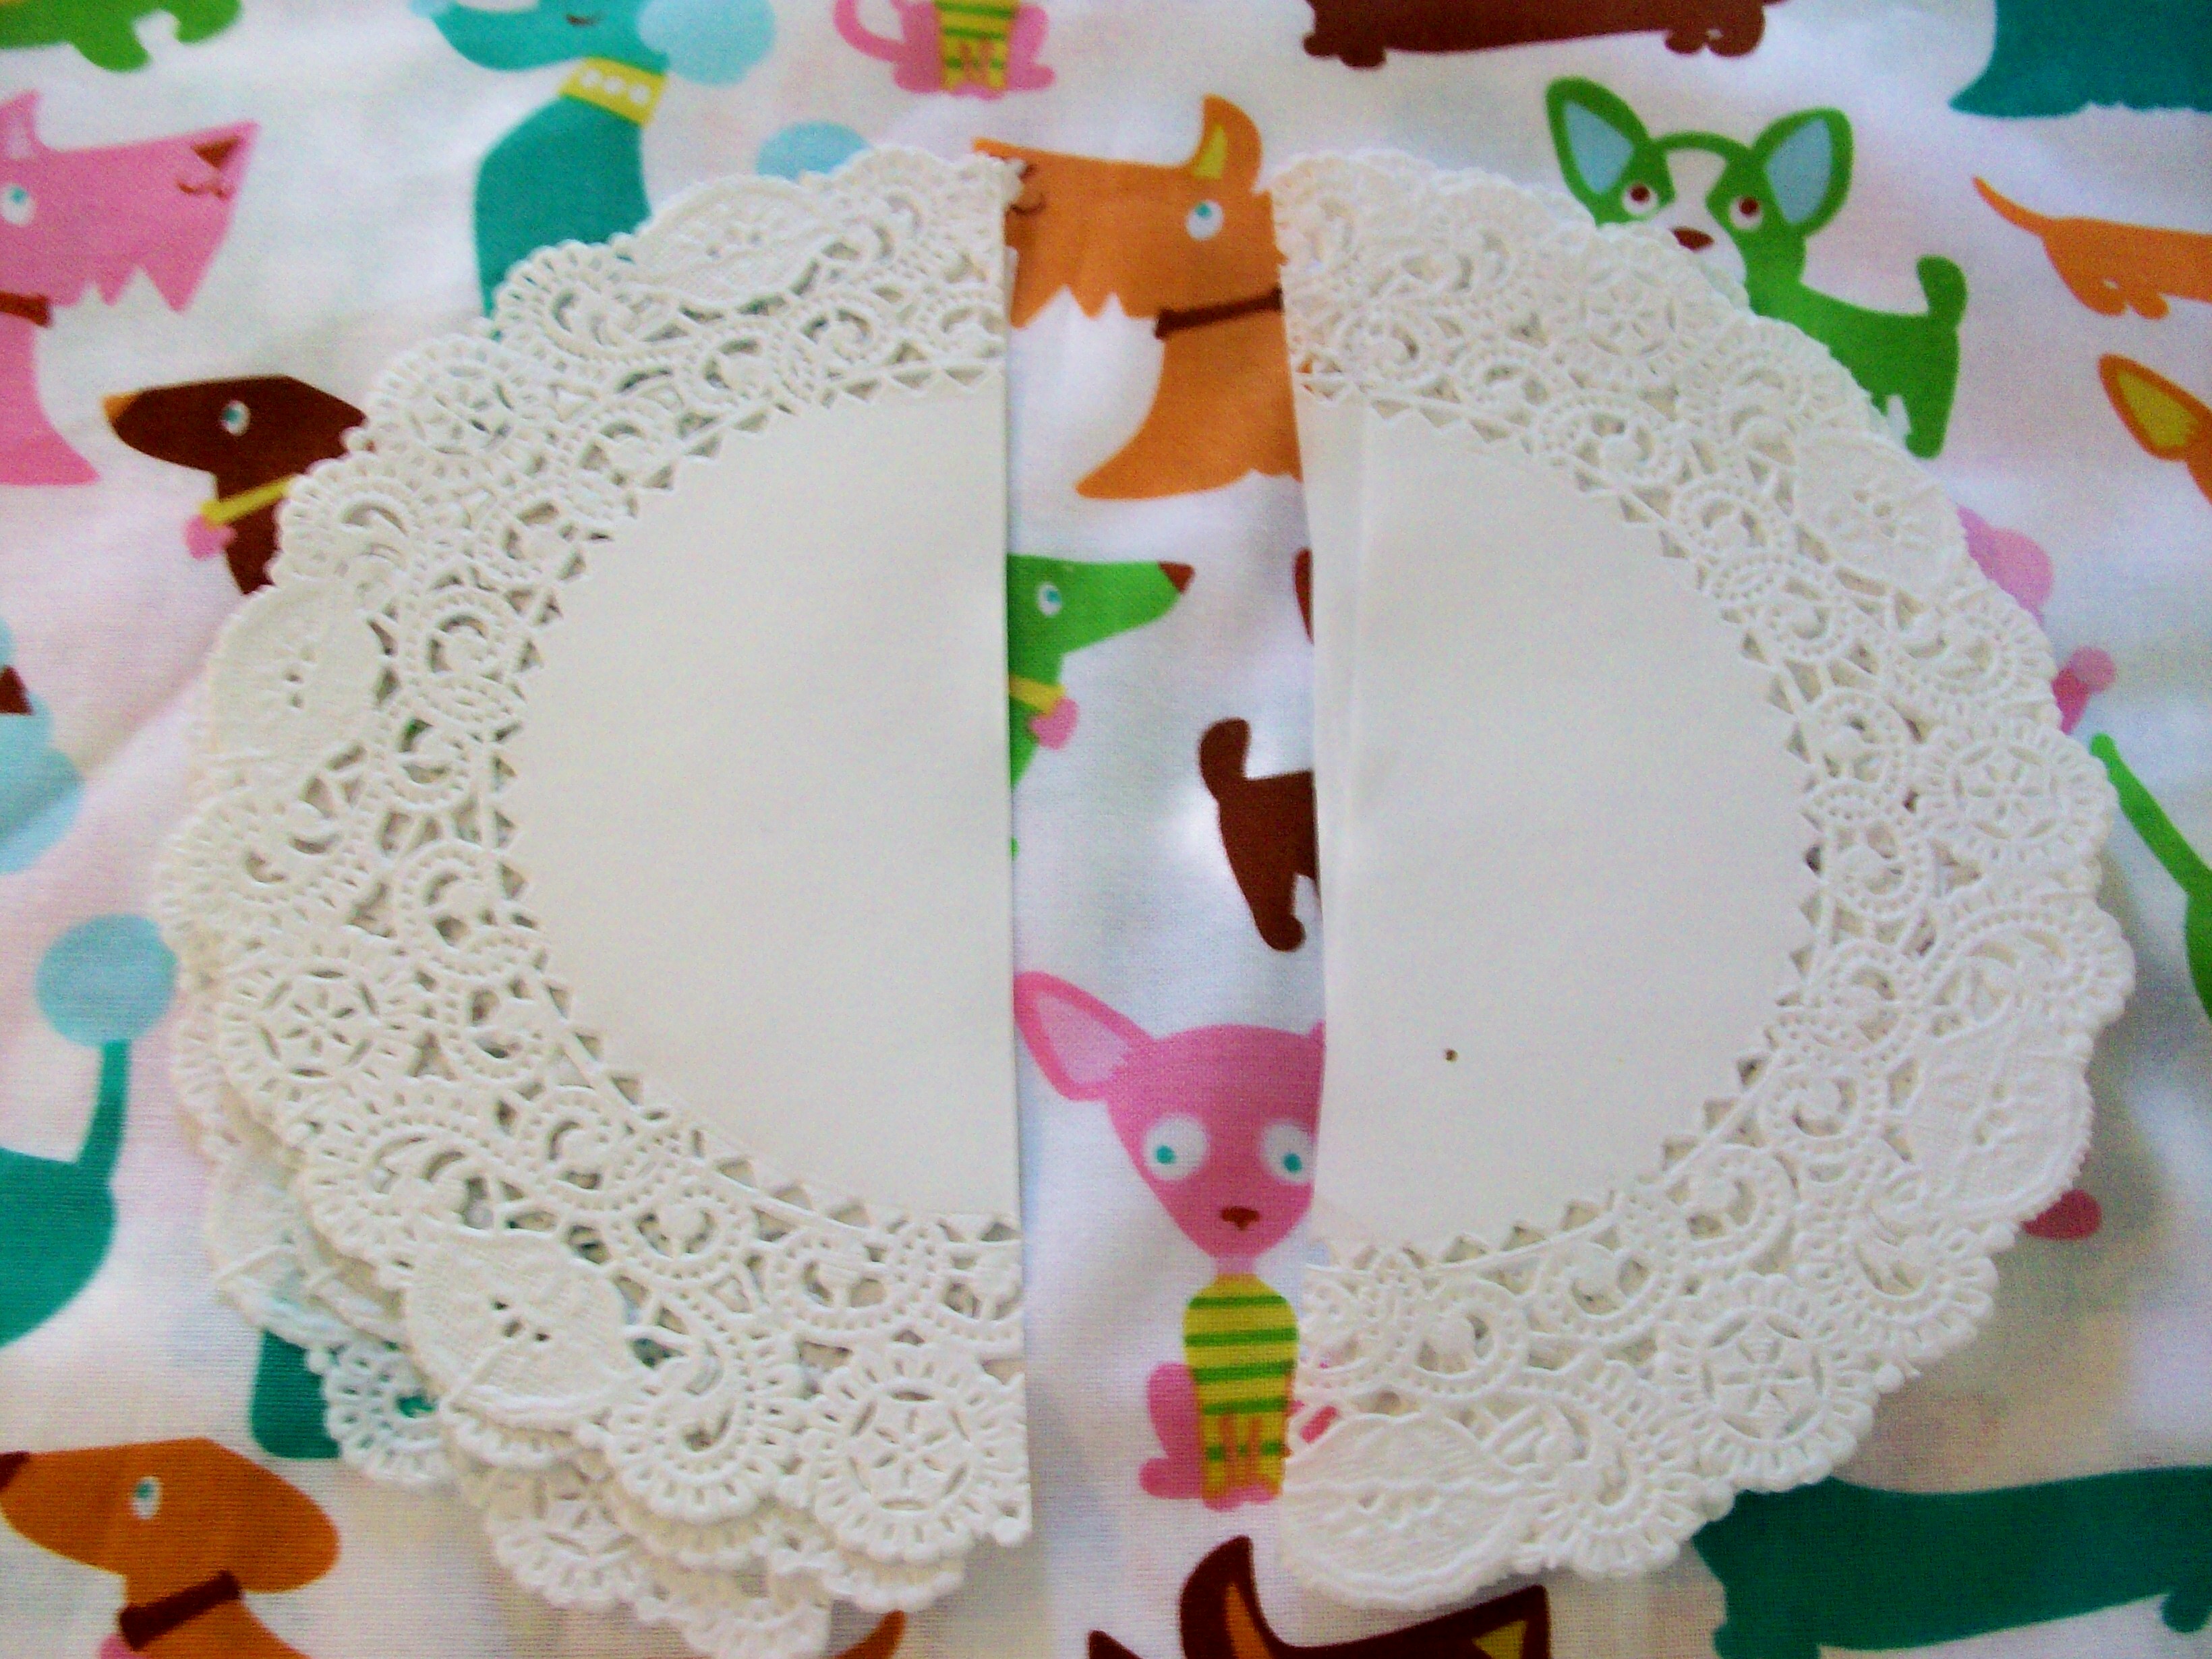
Again, cut your doily in half.  These were 6" in diameter.


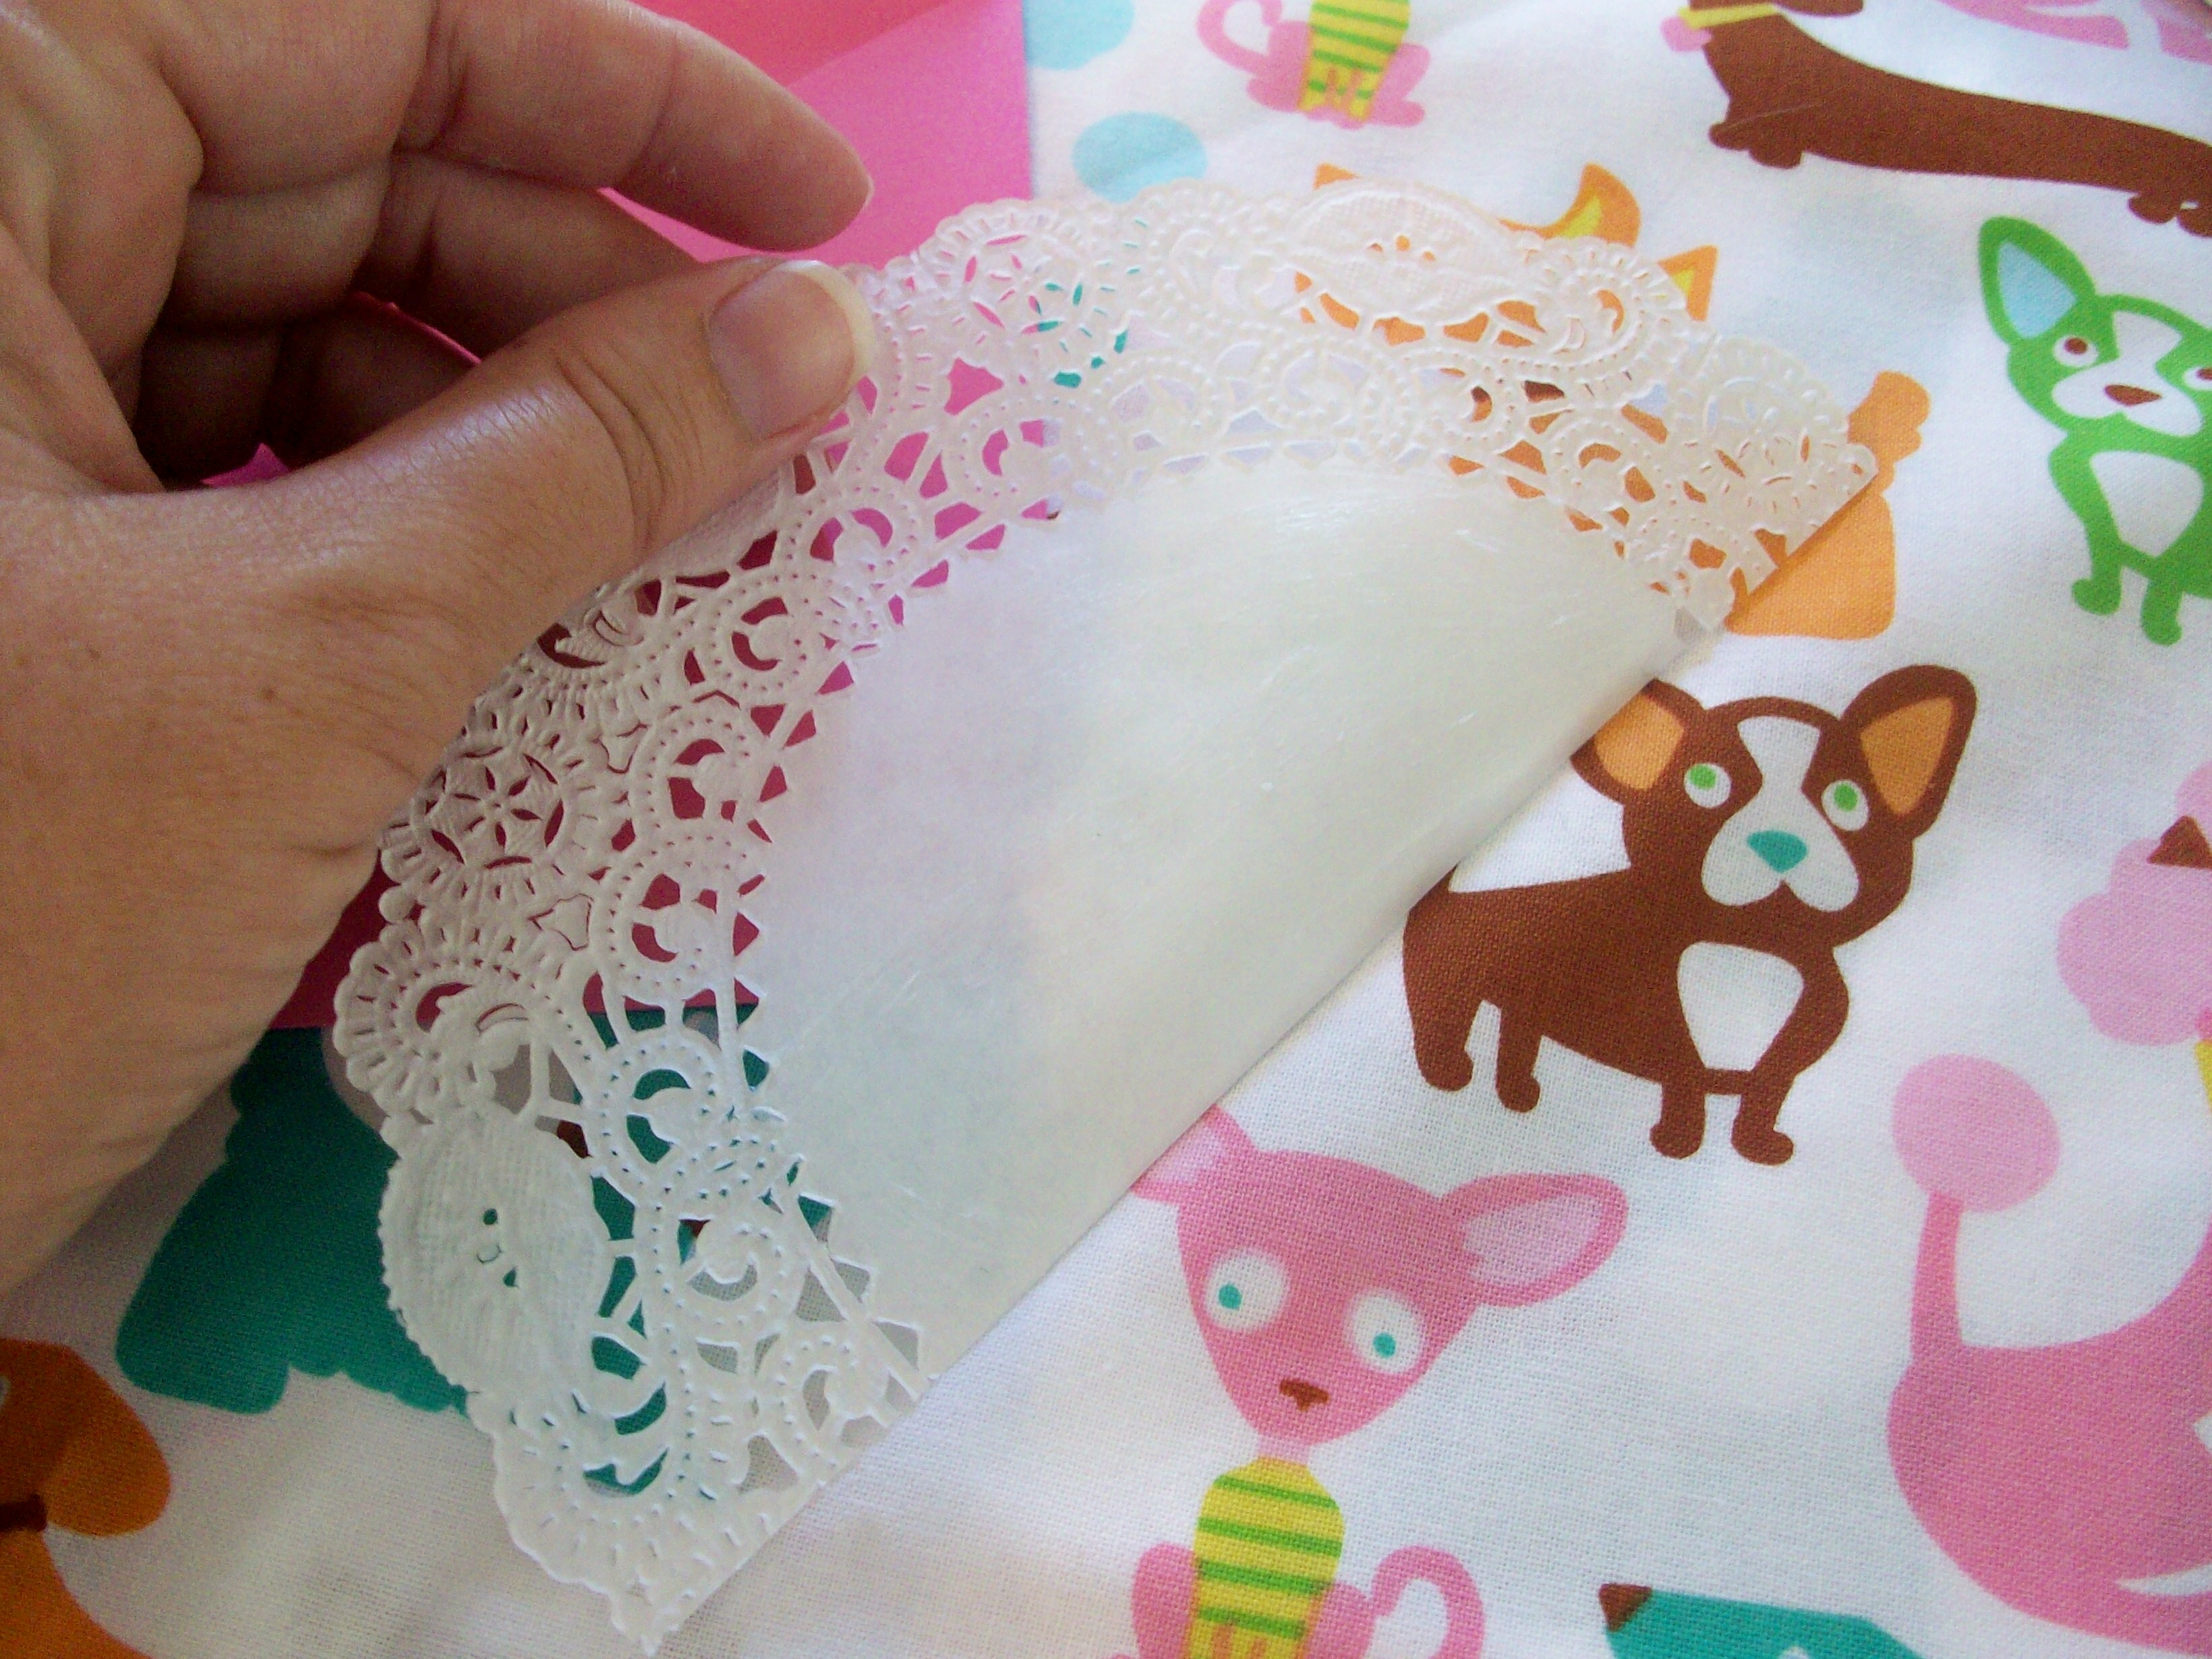
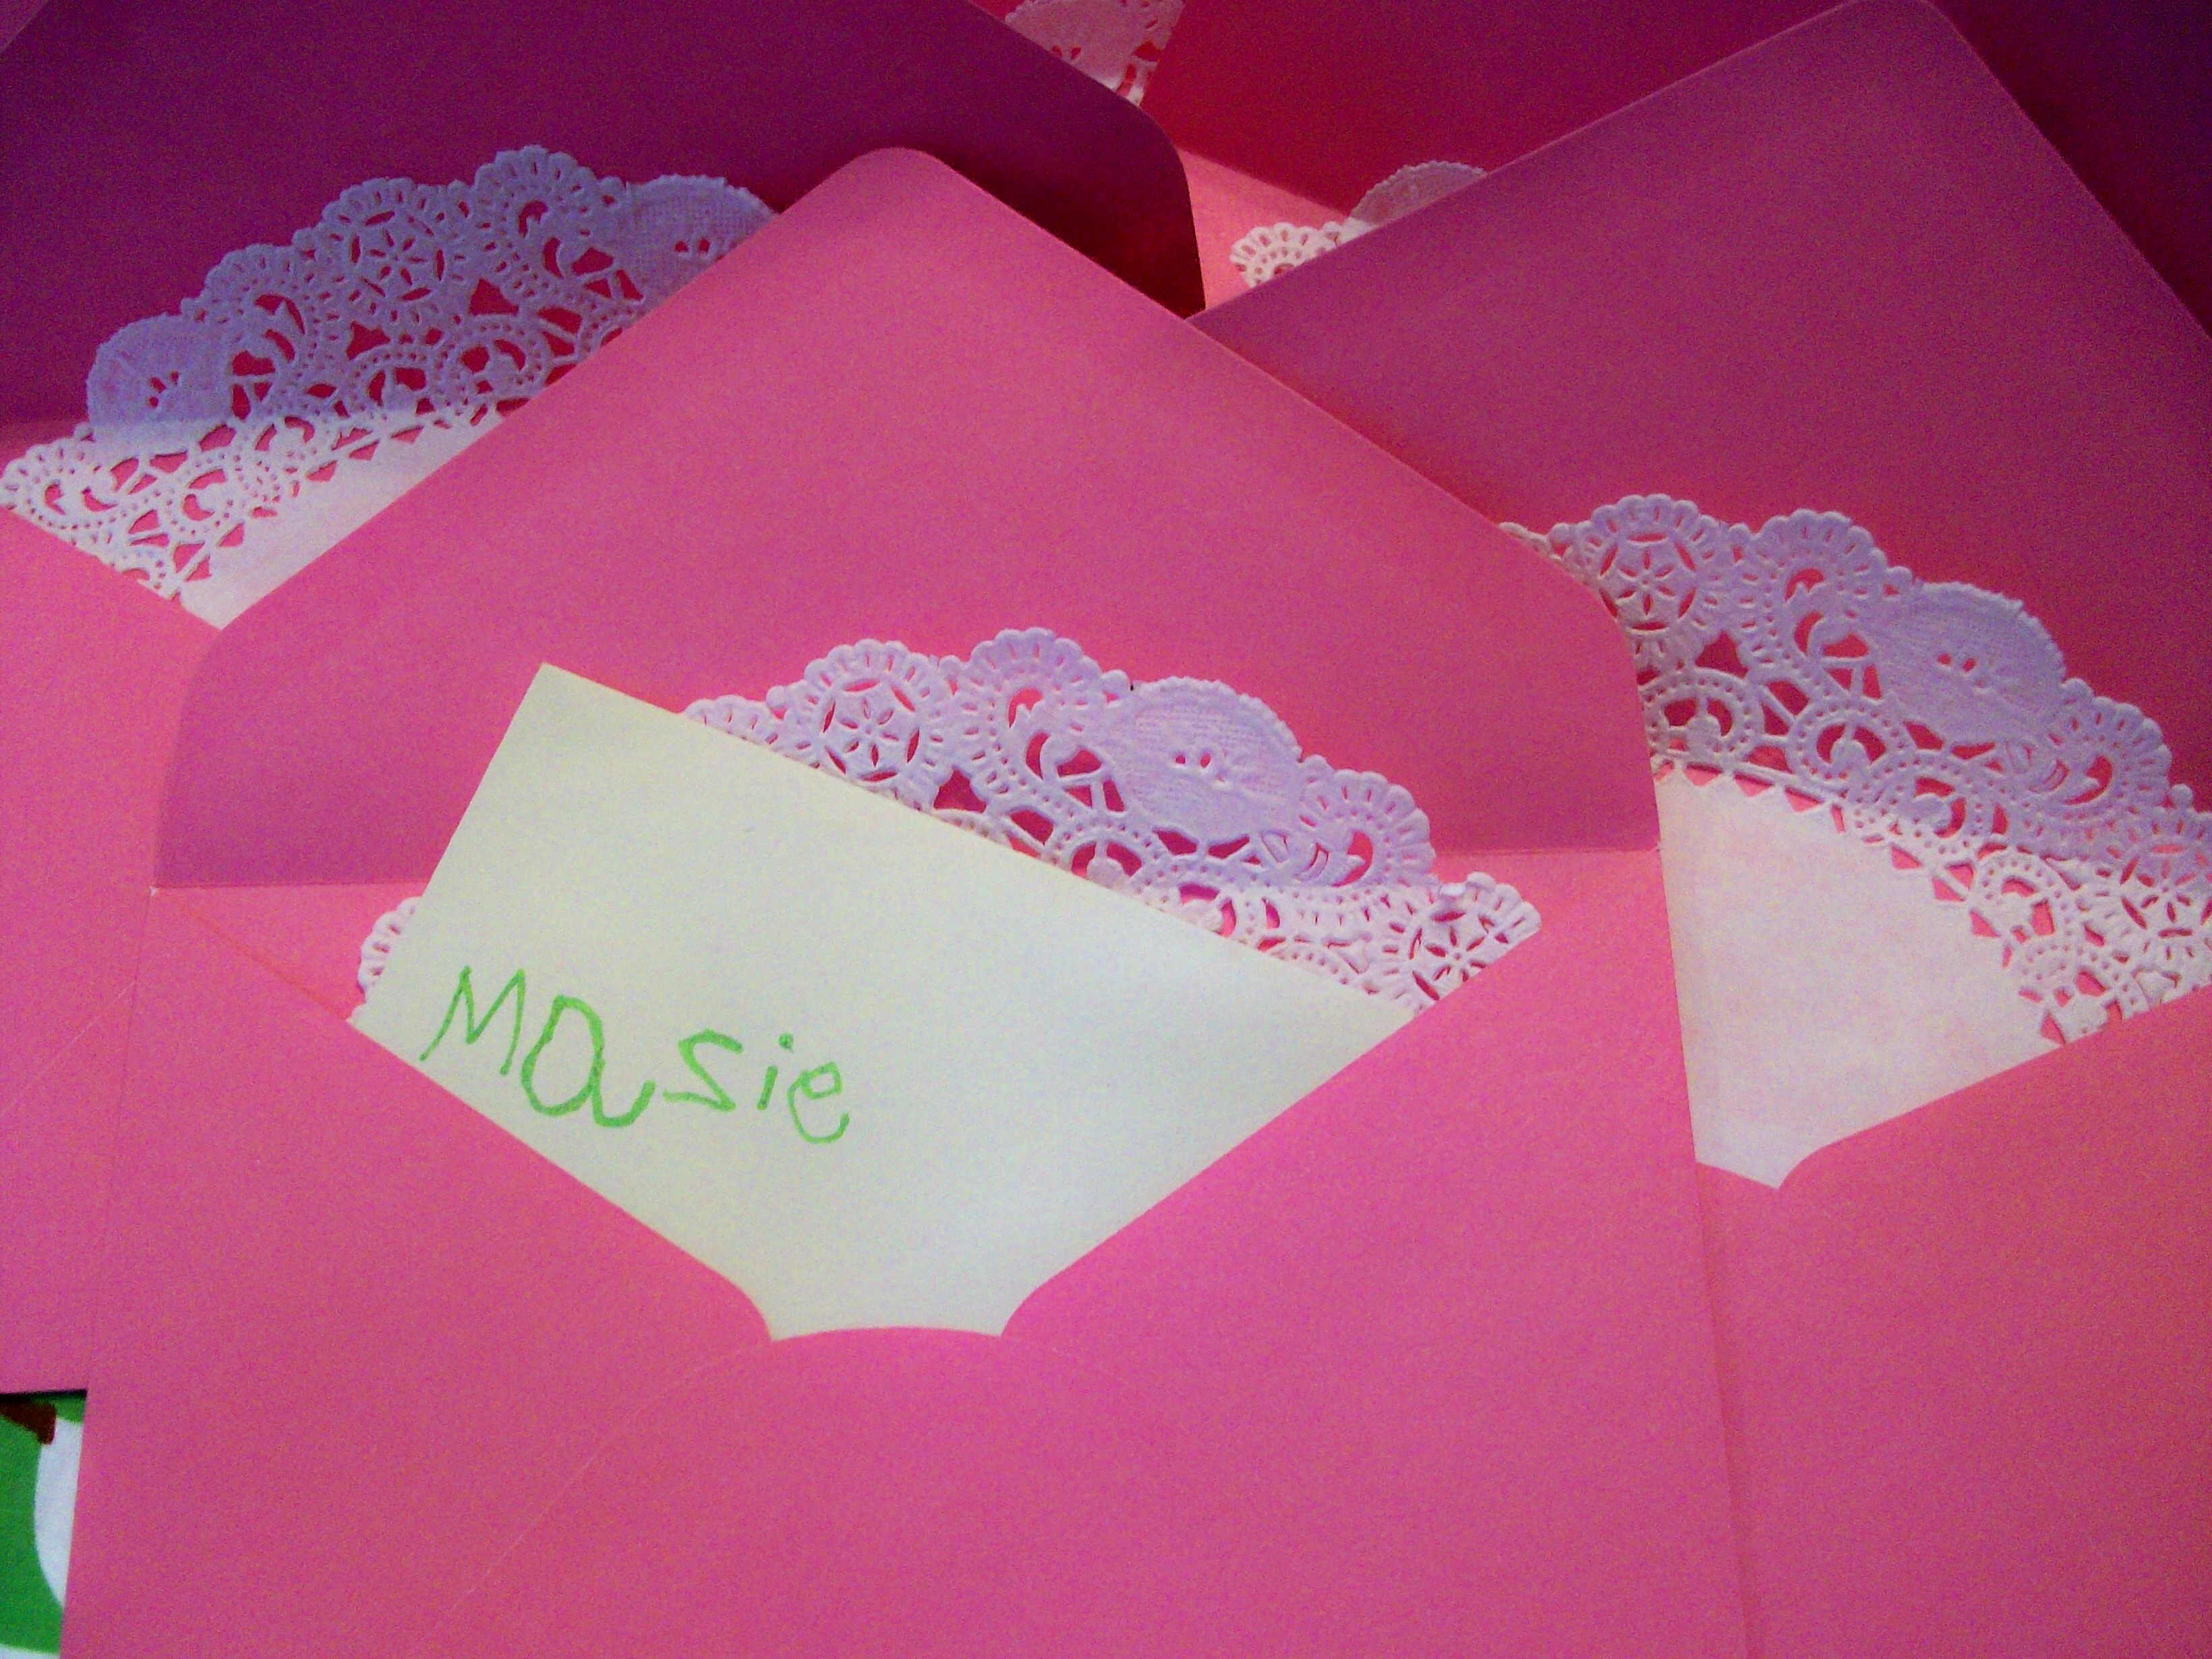
Get out your glue stick!  Apply the glue to the solid paper portion of the doily.  It's not necessary to use too much glue.


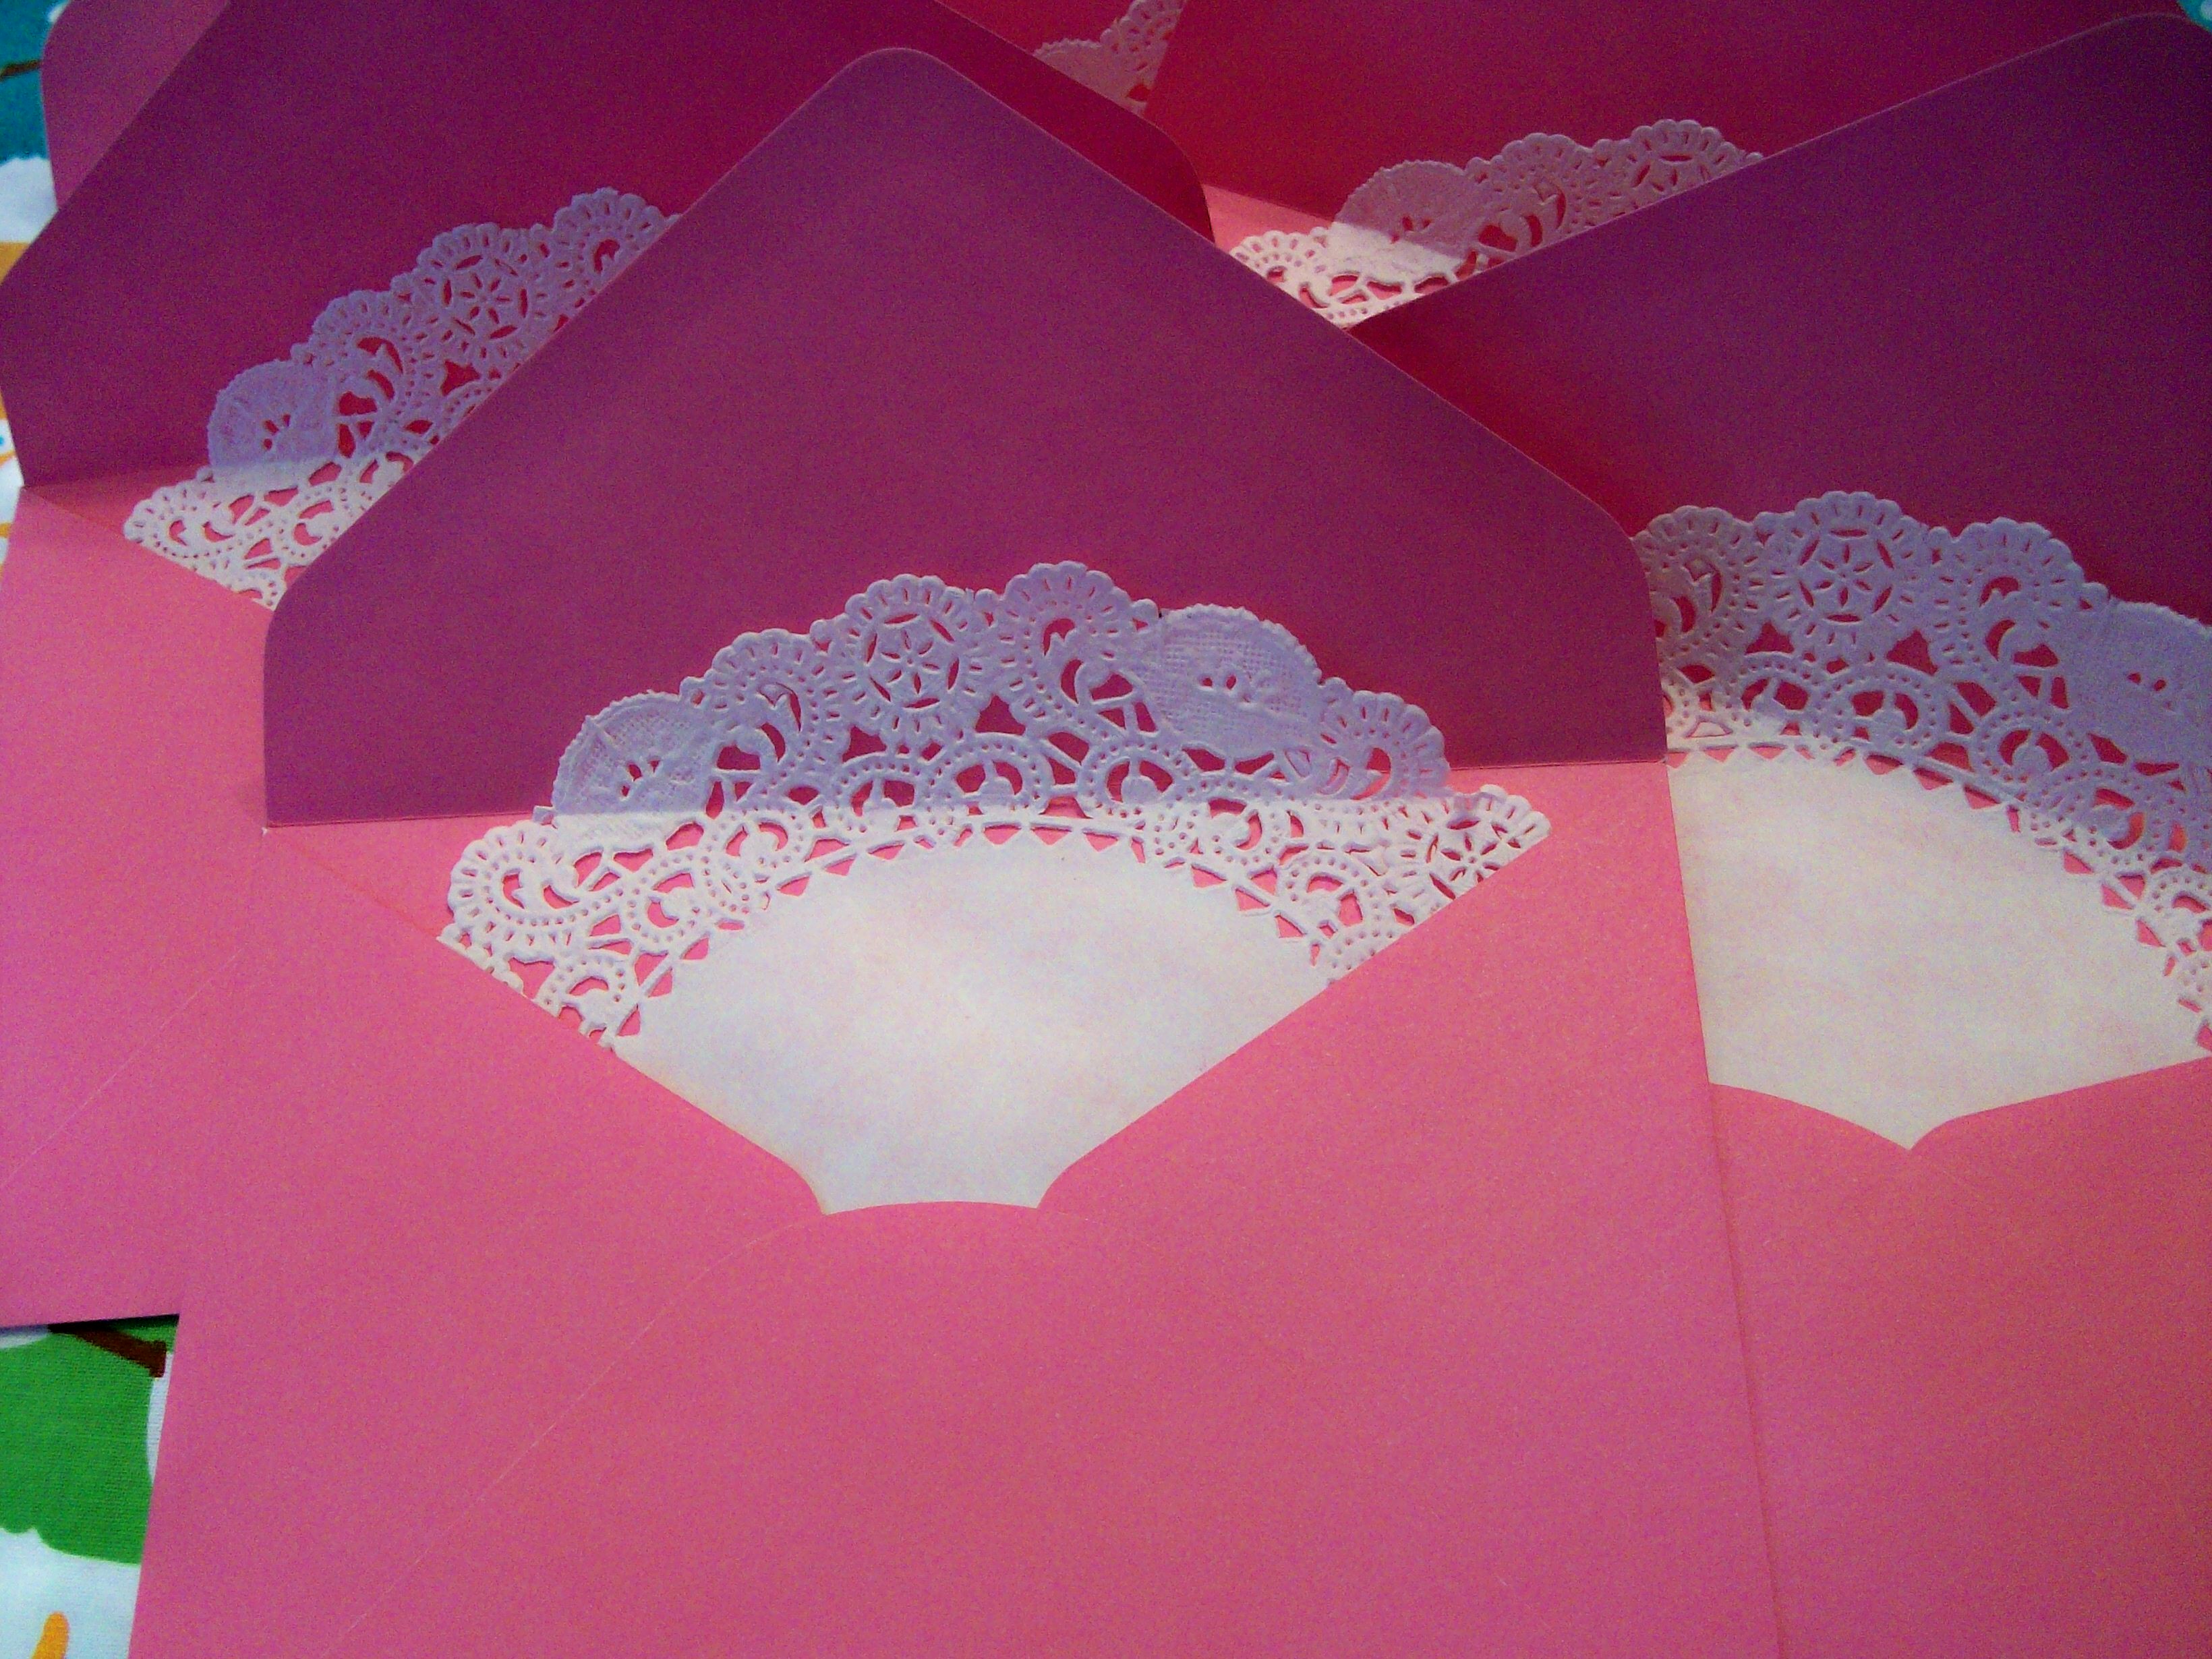
Carefully insert the doily into your envelope.  Just so you can see the top of the doily.  Carefully fold over the flap to create a crease.


After you have left the glue to dry insert your tiny envelopes.  And you are almost done!


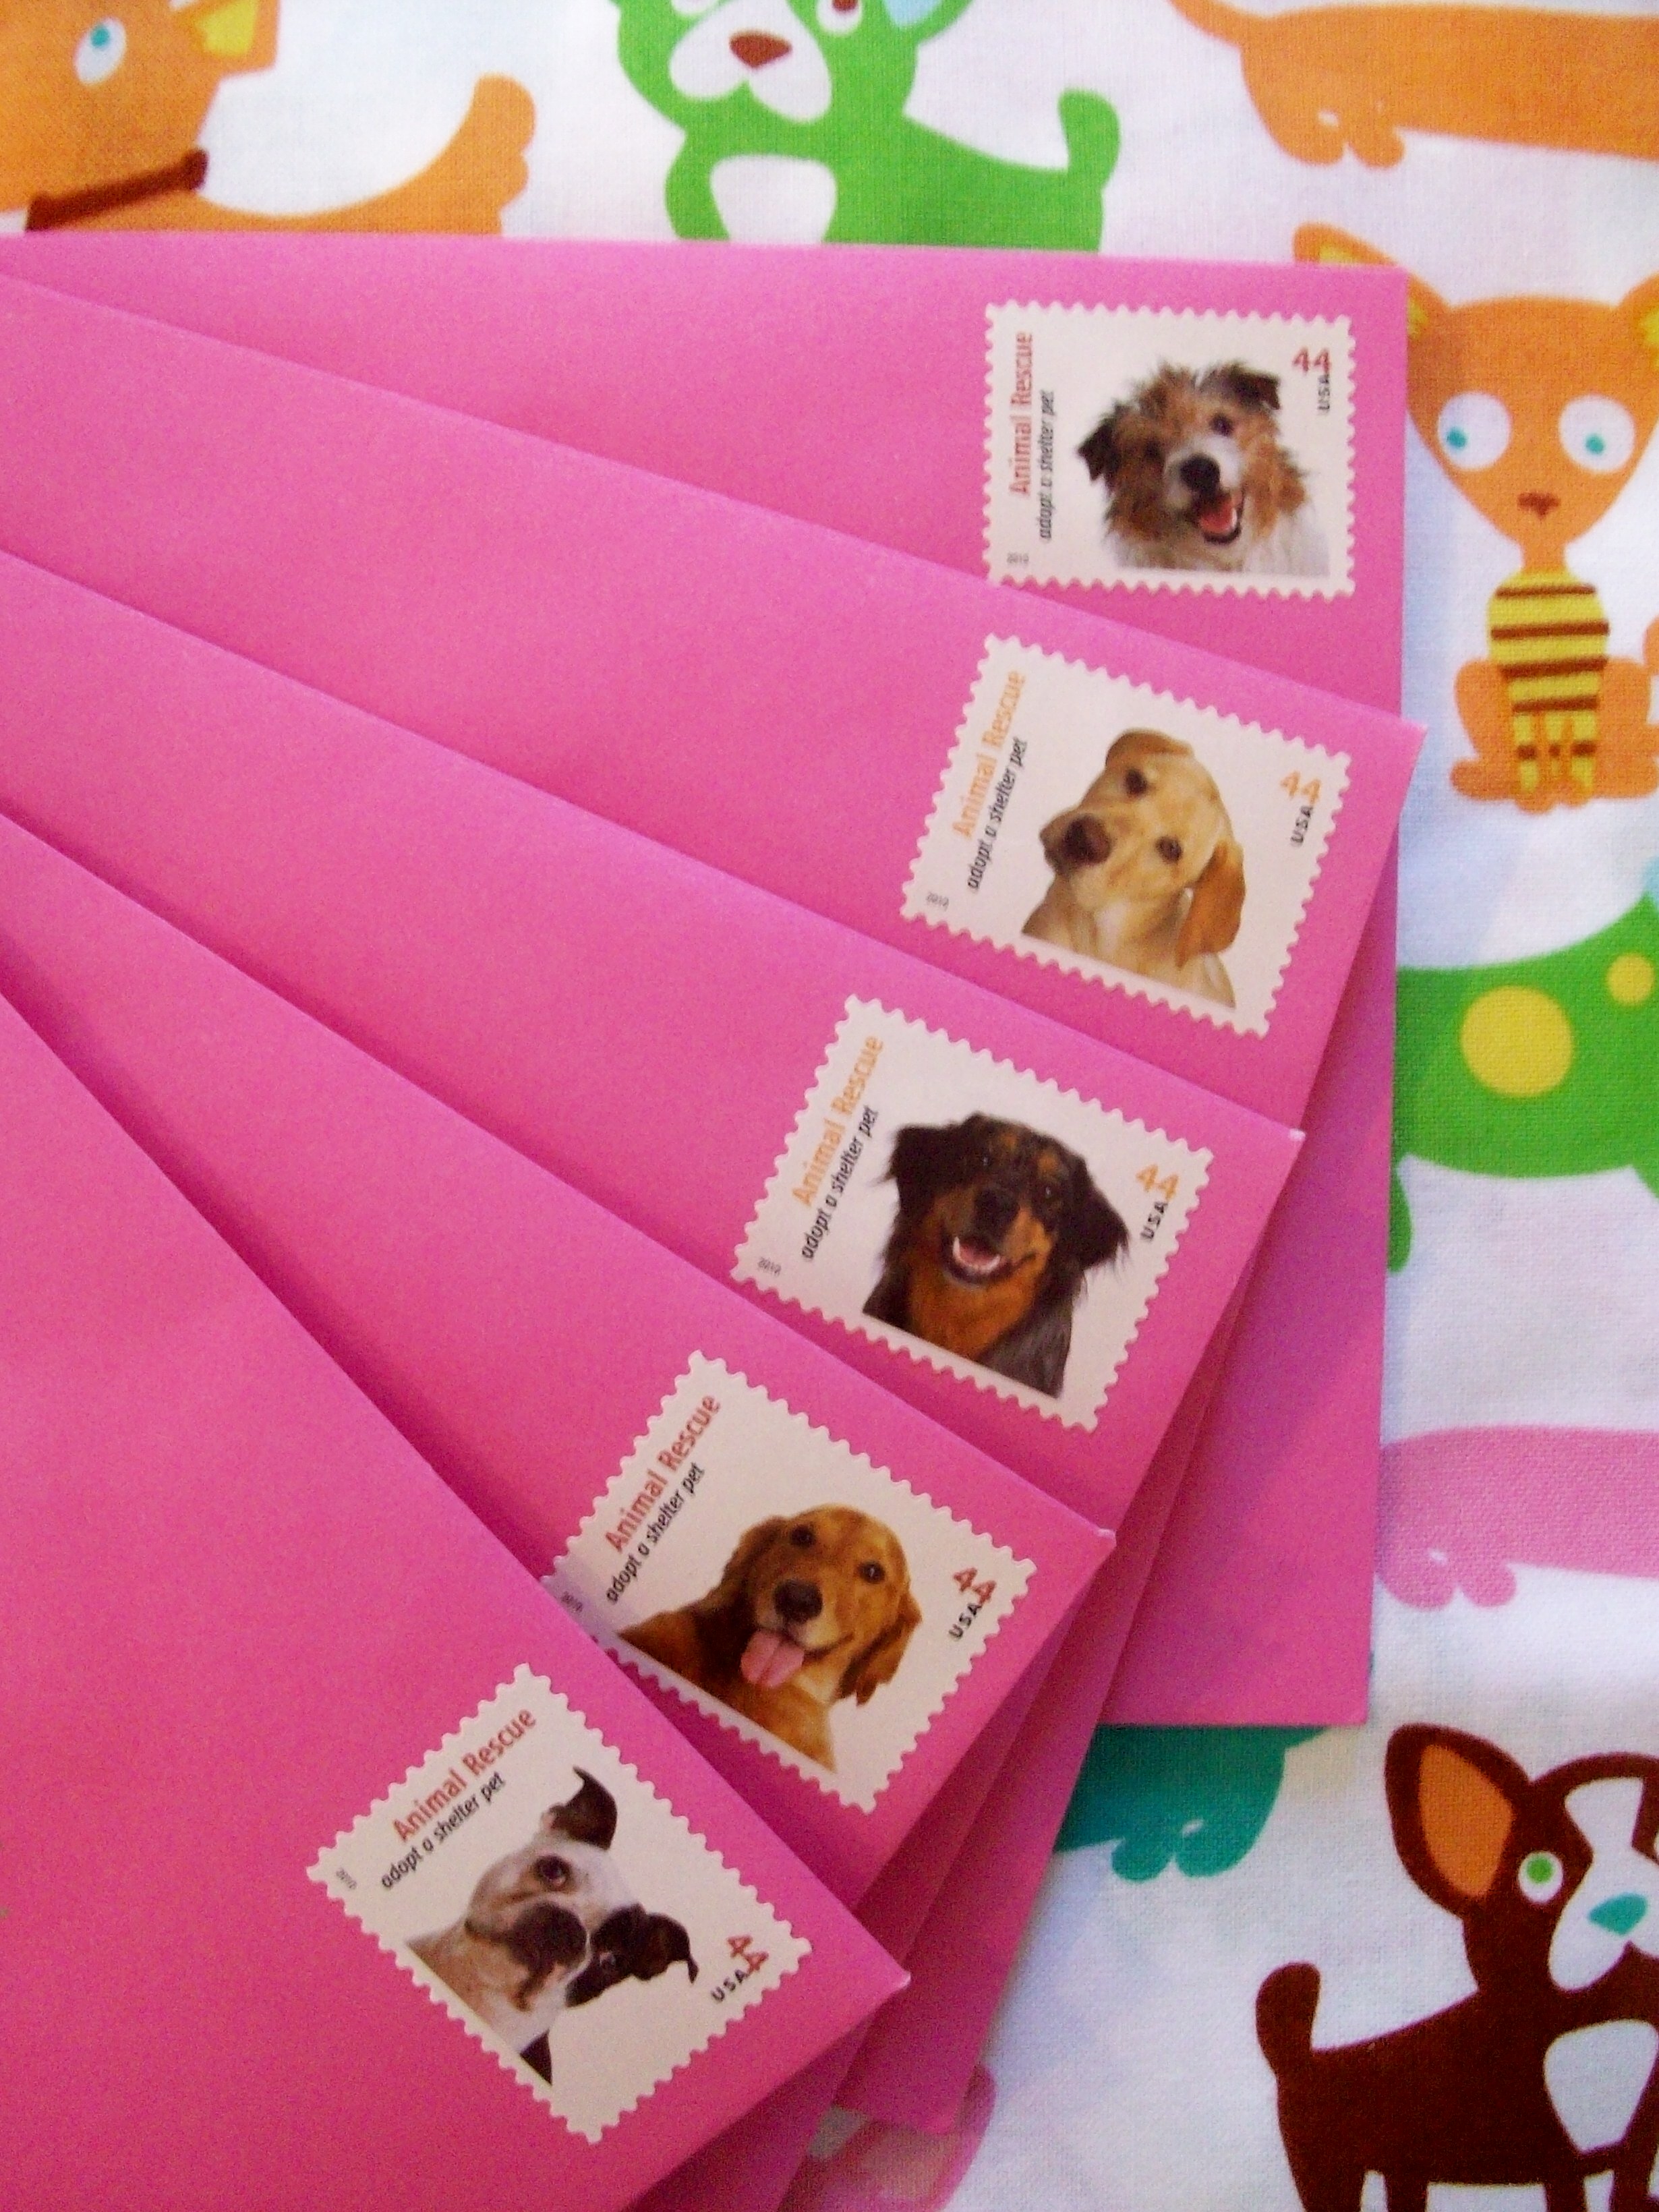
Don't forget your cute dog postage stamps to go with the doggie themed birthday party!

Sunday, August 1, 2010

doily banner tutorial

I love using my fabric scraps!  And I do love those doily banners.  I wanted to make one but with a touch of katie jean.  So here is my little tutorial just for your enjoyment!


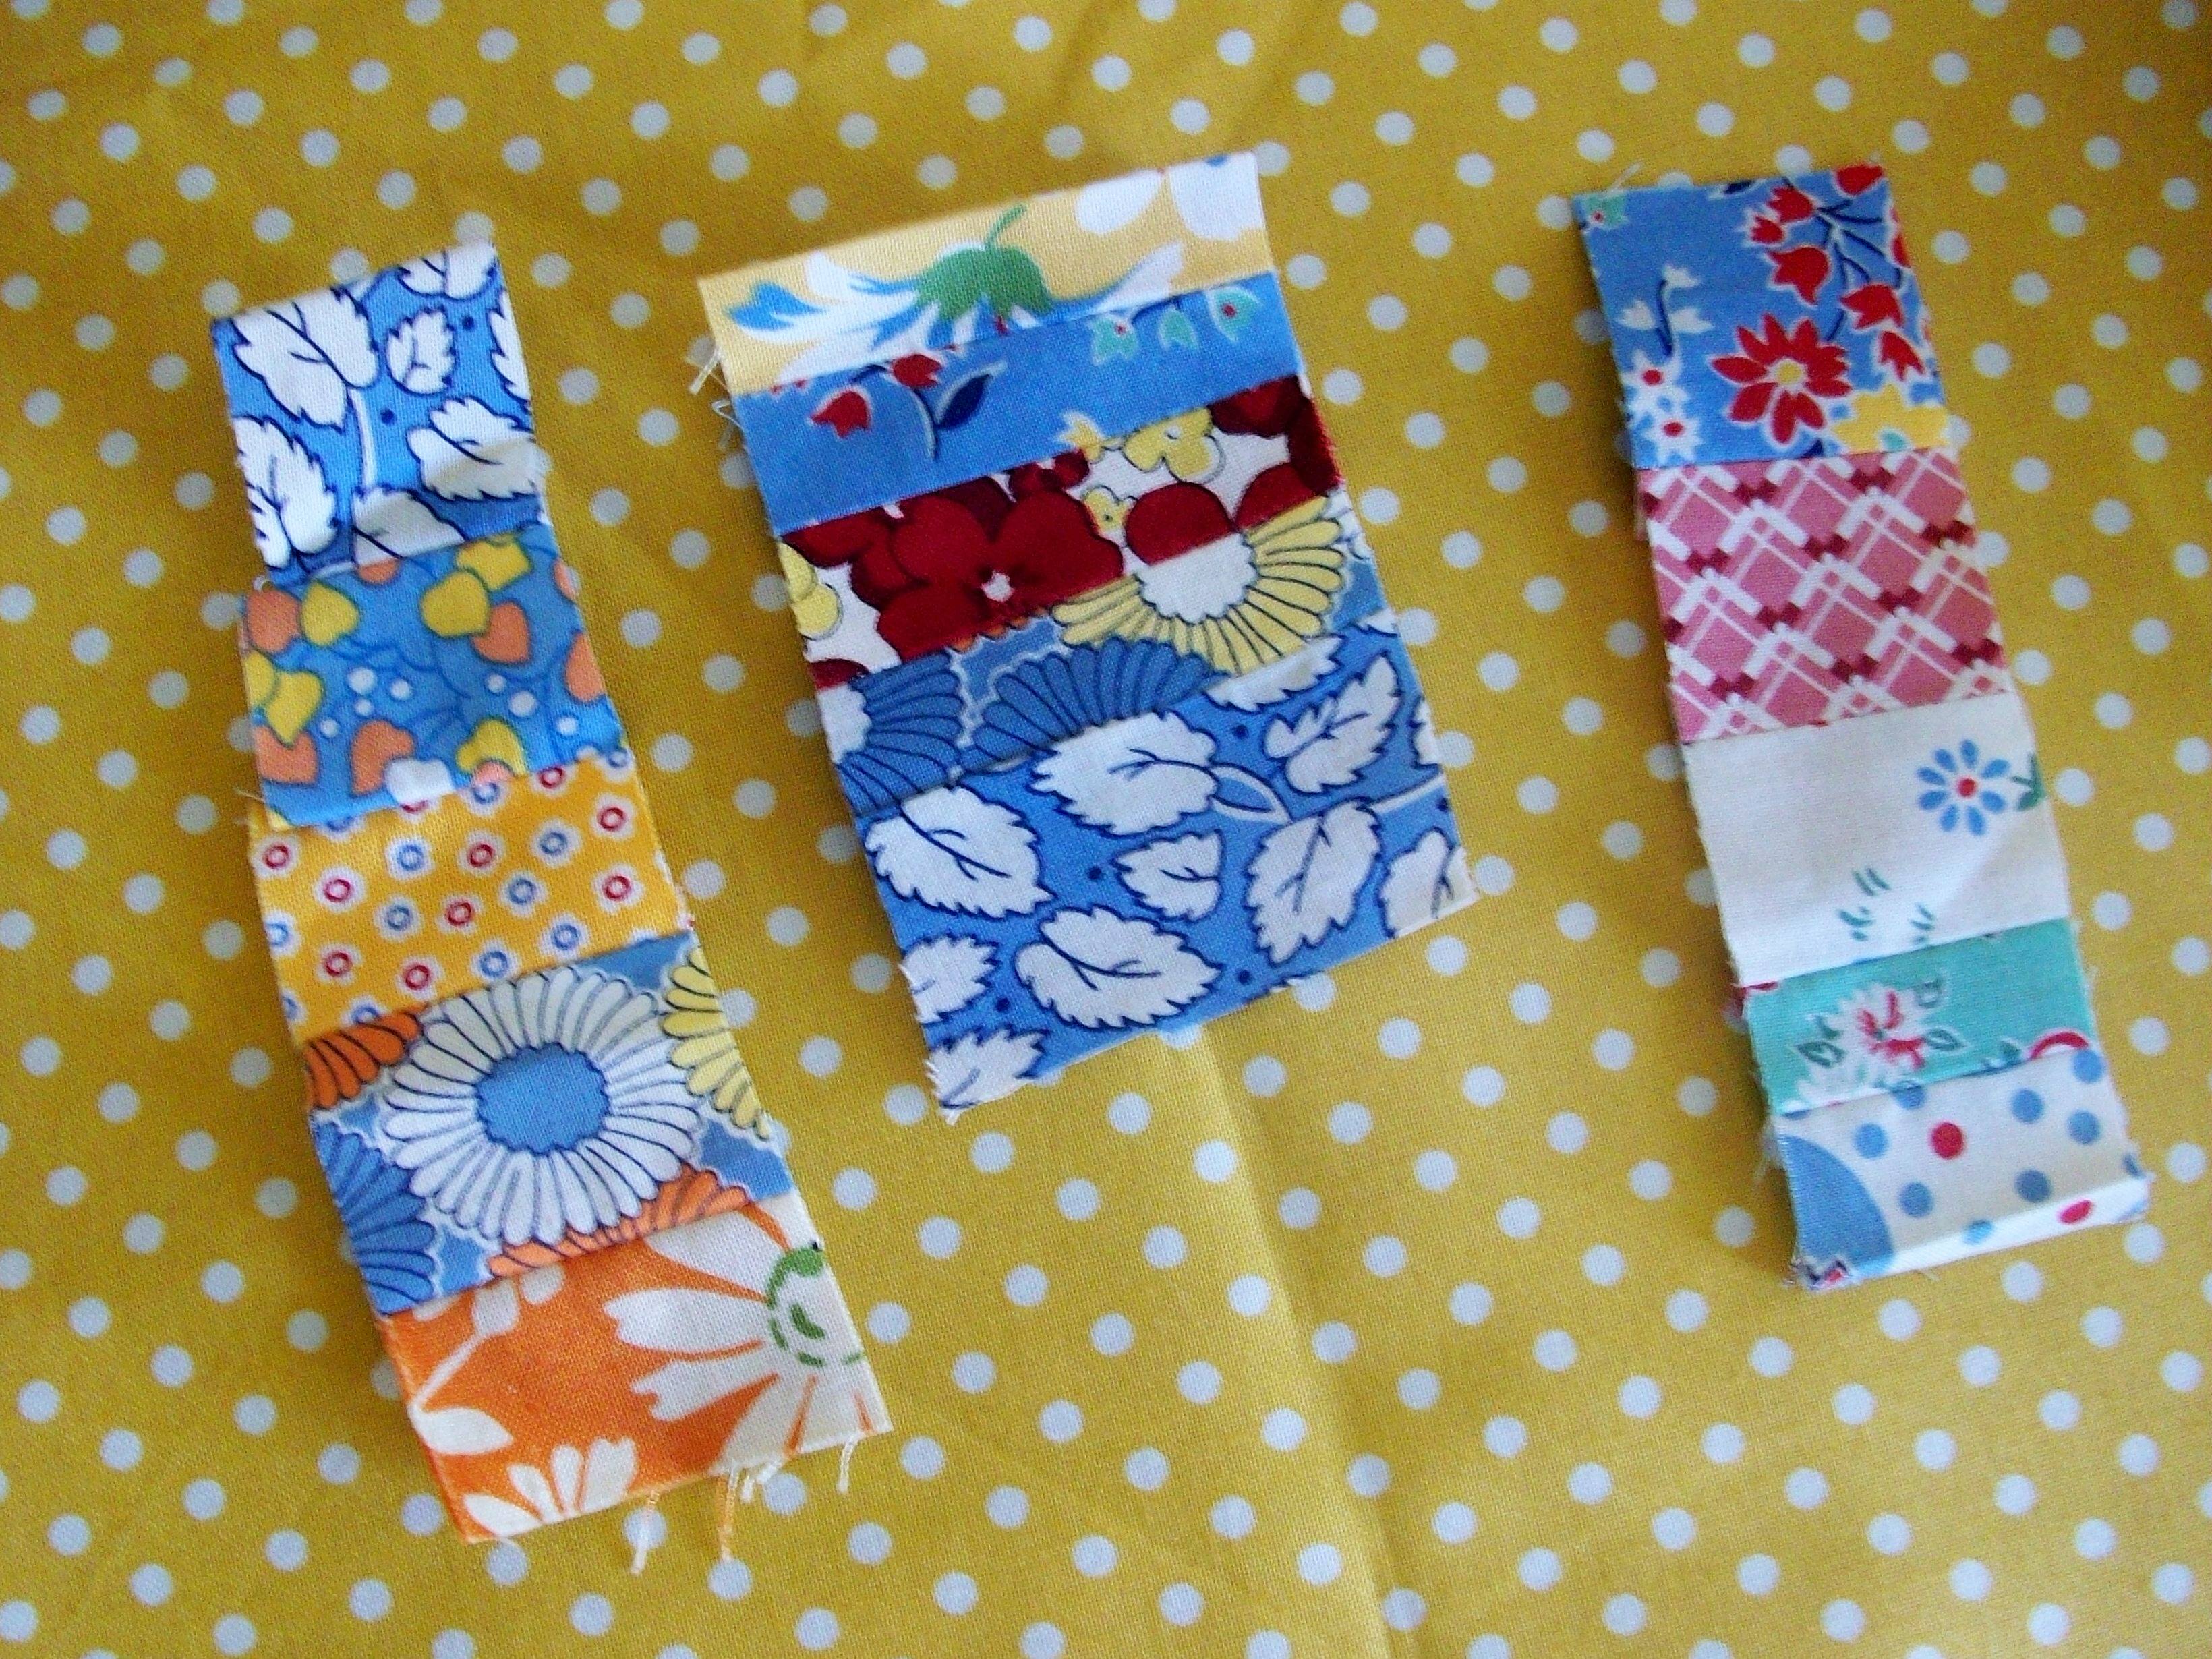
Go through your fabric scraps and cut various pieces in random a 1/2" width.  The length can vary.  This can be very random and imperfect.  Your kids can even help out here!  No need to iron the strips.


Cut your doilies in half.  Here I used 6" diameter doilies.  Check out the $ store for a good deal on these.


Here I start to sew them up.  I start with a bit of a tail and then add the first doily.  The next strip of fabric is just laid on top of the previous piece.  There is maybe a 1/2" of overlap there.


I take about six stitches and then lay down another doily right on top of that little strip of fabric.  My needle was already done for when I started this project so I didn't worry about ruining it.  I just changed it when I was through sewing on the paper.


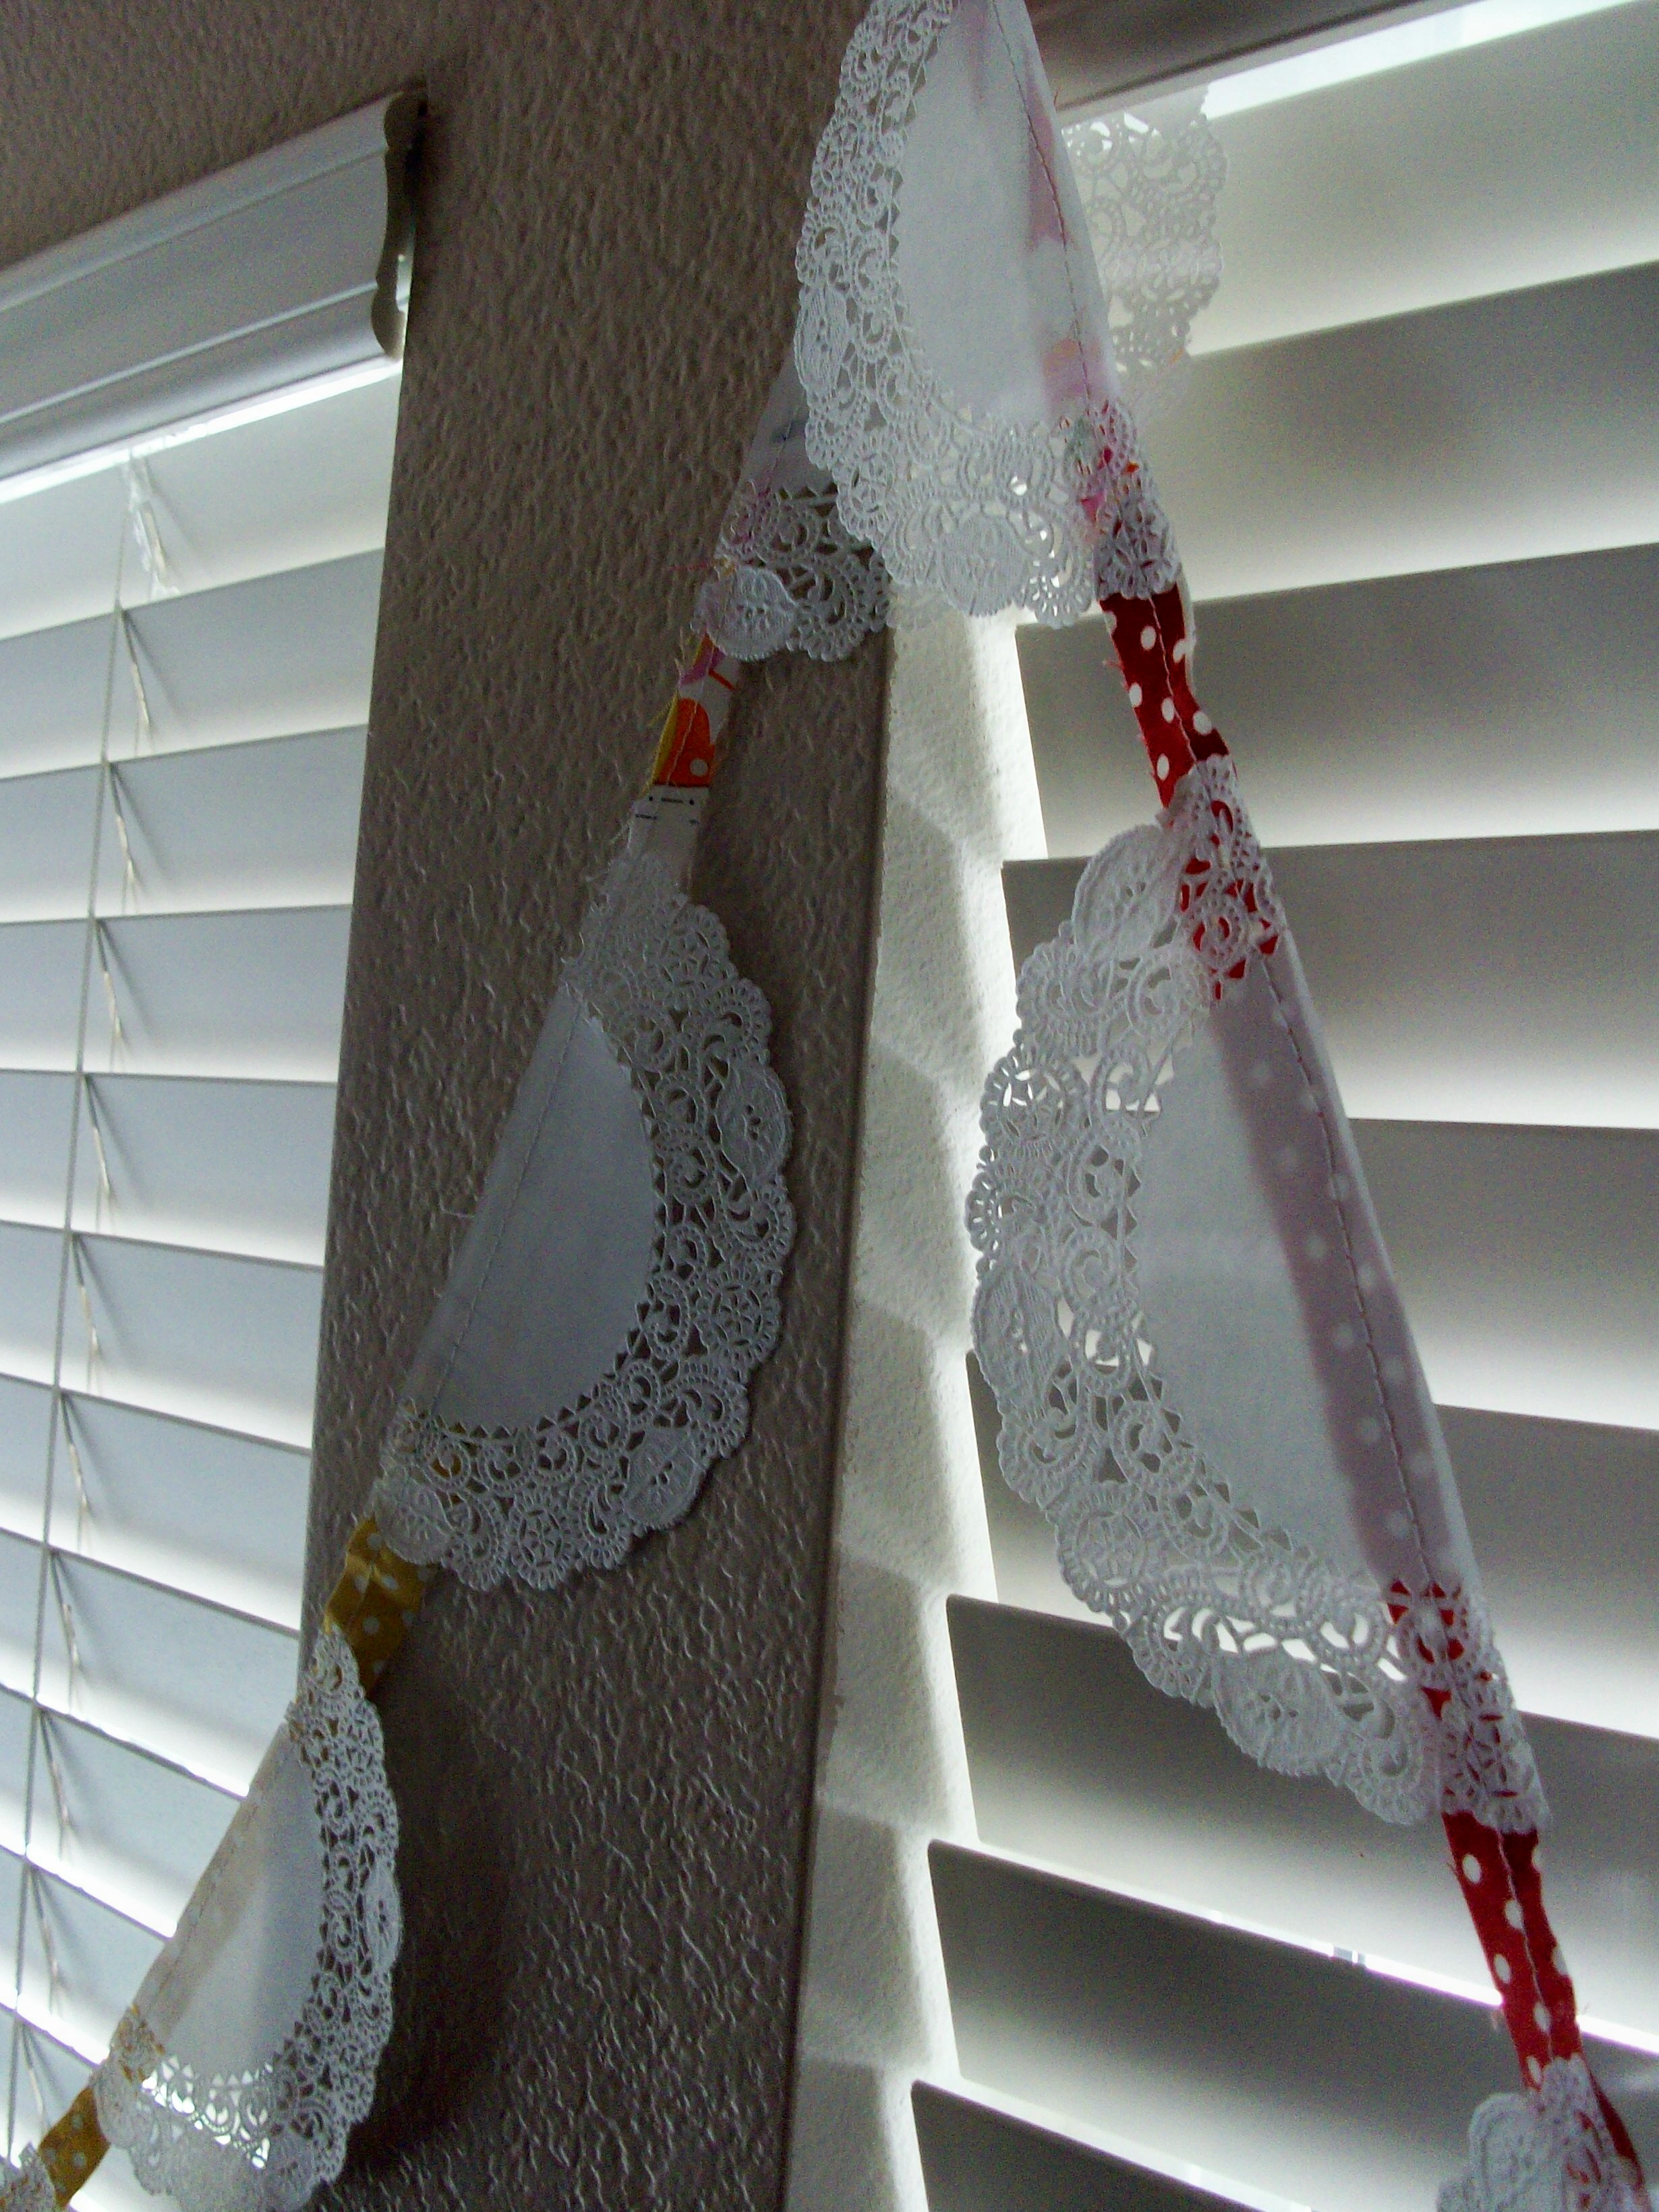
And it's finished! I just love seeing all of the different bits of fabric peaking through!


It came out really long!  I just had fun doing a little crafty easy sewing.  I did not want to stop!


Can you see the fabric peaking through the white paper.  It looks almost transparent with the light coming through the back.  These will be up for my girl's birthday party!  I hope this little tutorial inspires you to use some of your fabric scraps.  Thanks for looking!

Tuesday, February 23, 2010

a tutorial and a giveaway


I don't know why, but I do seem to make a lot of posie pins.  I think it has something to do with me liking to use little bits of fabrics.  But lucky for you I do show you how to make some for yourself!


Right now when you visit Sarah at Makin' Projiks, you will see the posie pin that I made for her Heart 2 Heart Valentine swap.  There is a tutorial and there is also a giveaway on the following post.  Have fun with it, make a bouquet!

Wednesday, January 27, 2010

oh my!

Yesterday was my birthday and I spent it on the couch, sick.  My mom came over and made a cake for me with my kids and we later ordered some Chinese food delivered.  Not too bad of a day.  I got plenty of rest and was cared for.

Today I am better.  I have spent most of the morning reading my facebook and catching up on emails.  Lastly I check the stats on my blog.  And holy cow! Almost 600 people visited my site yesterday!  Happy Birthday to me!


Most of this was because of Rachel at One Pretty Thing.  She featured my fancy girl headband too!  This is another fun site where all sorts of crafters are featured with tutorials, free downloads, and places to shop.

Thank you everyone for sending me the love on my birthday!  Your birthday wishes truly mean so much to me.