
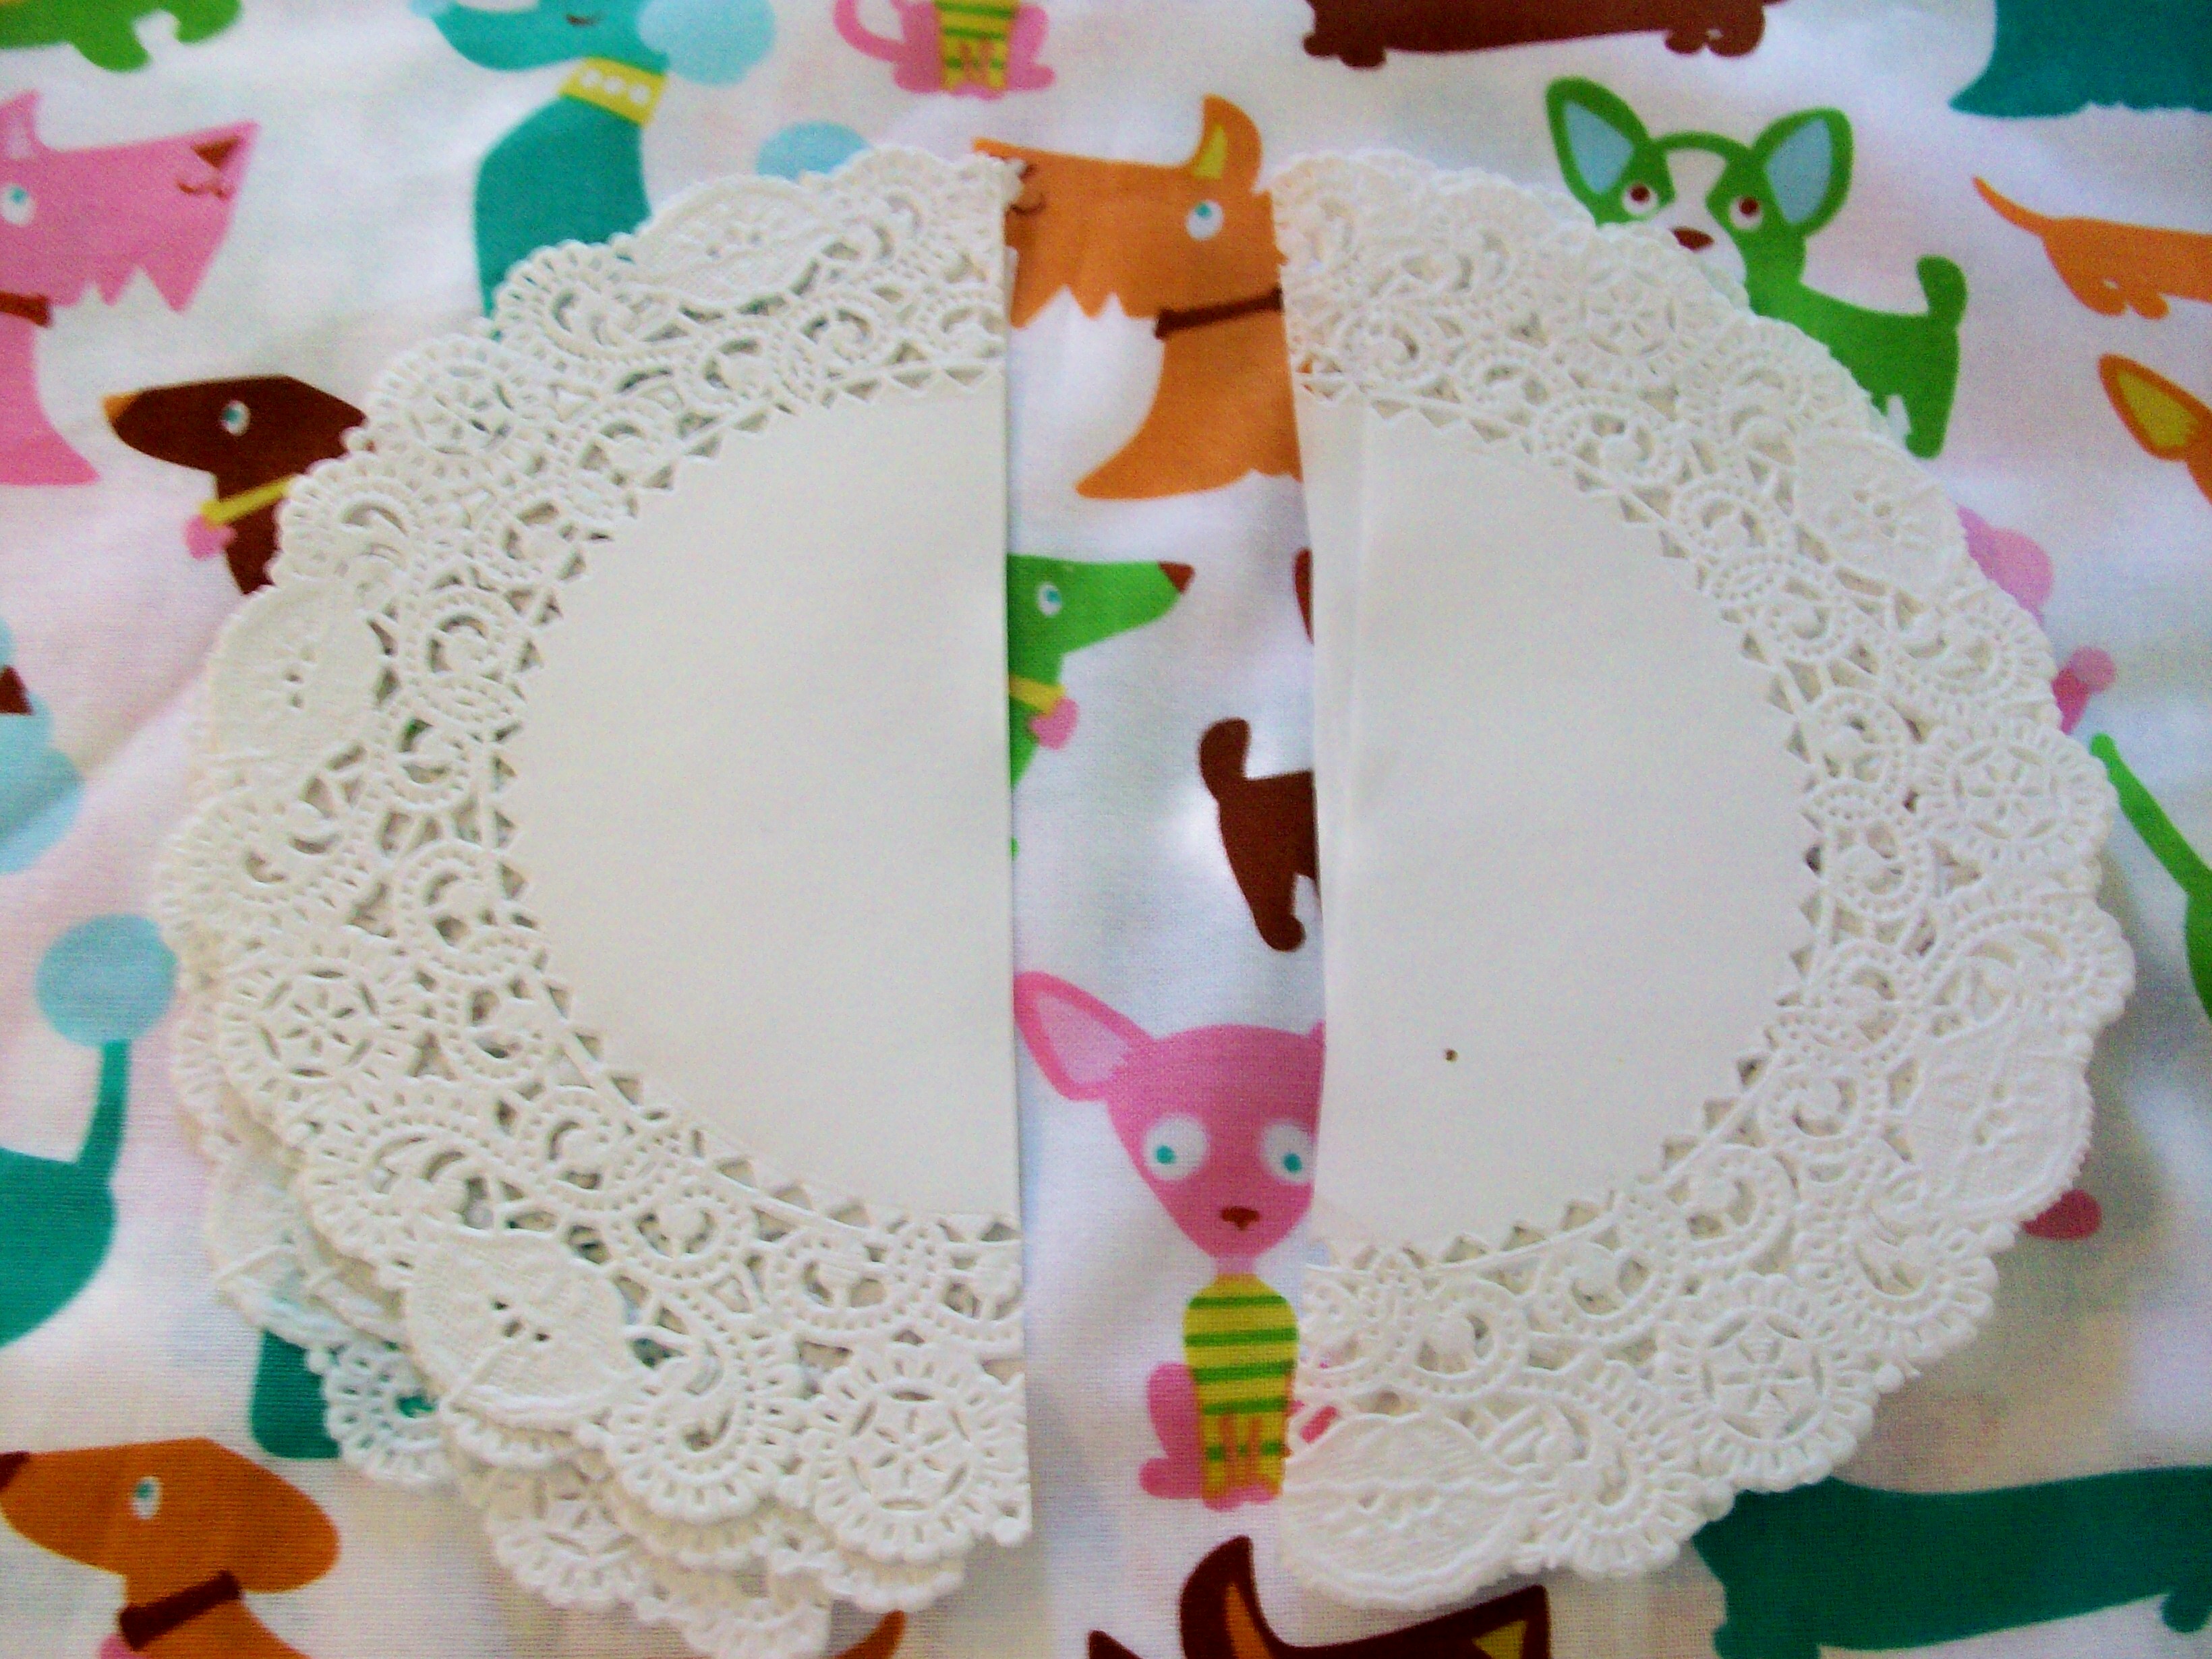
Again, cut your doily in half. These were 6" in diameter.
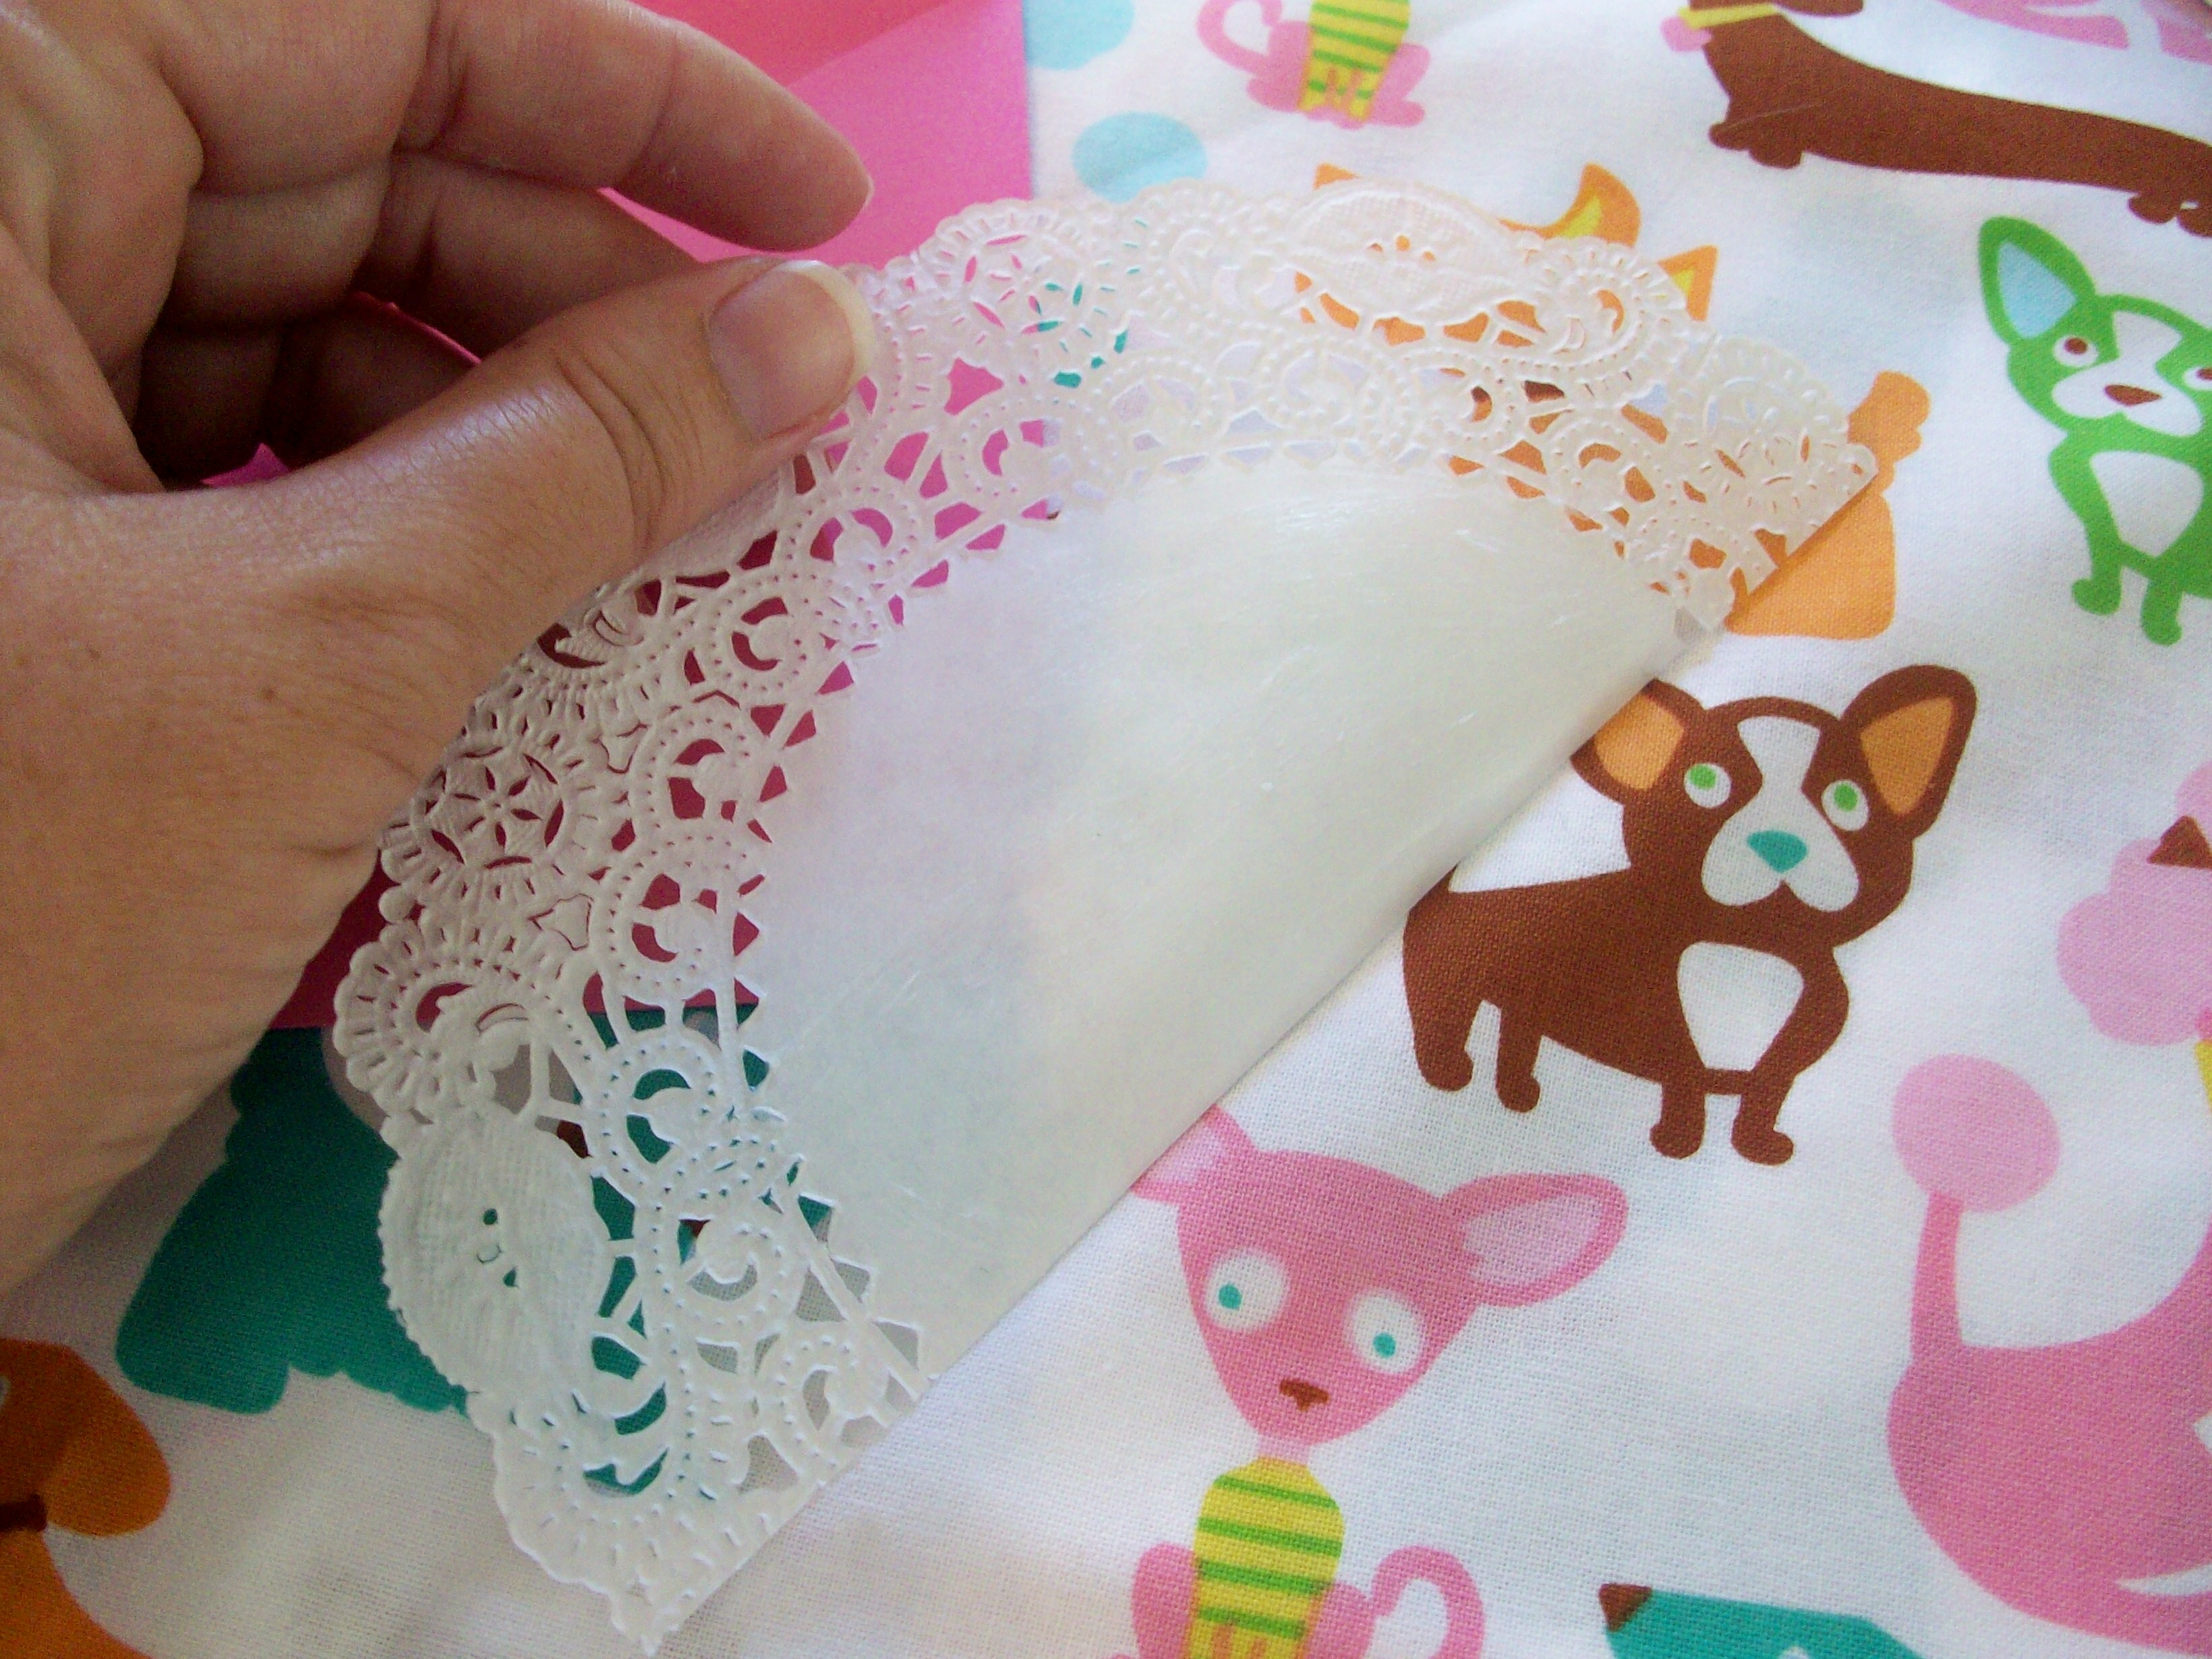
Get out your glue stick! Apply the glue to the solid paper portion of the doily. It's not necessary to use too much glue.
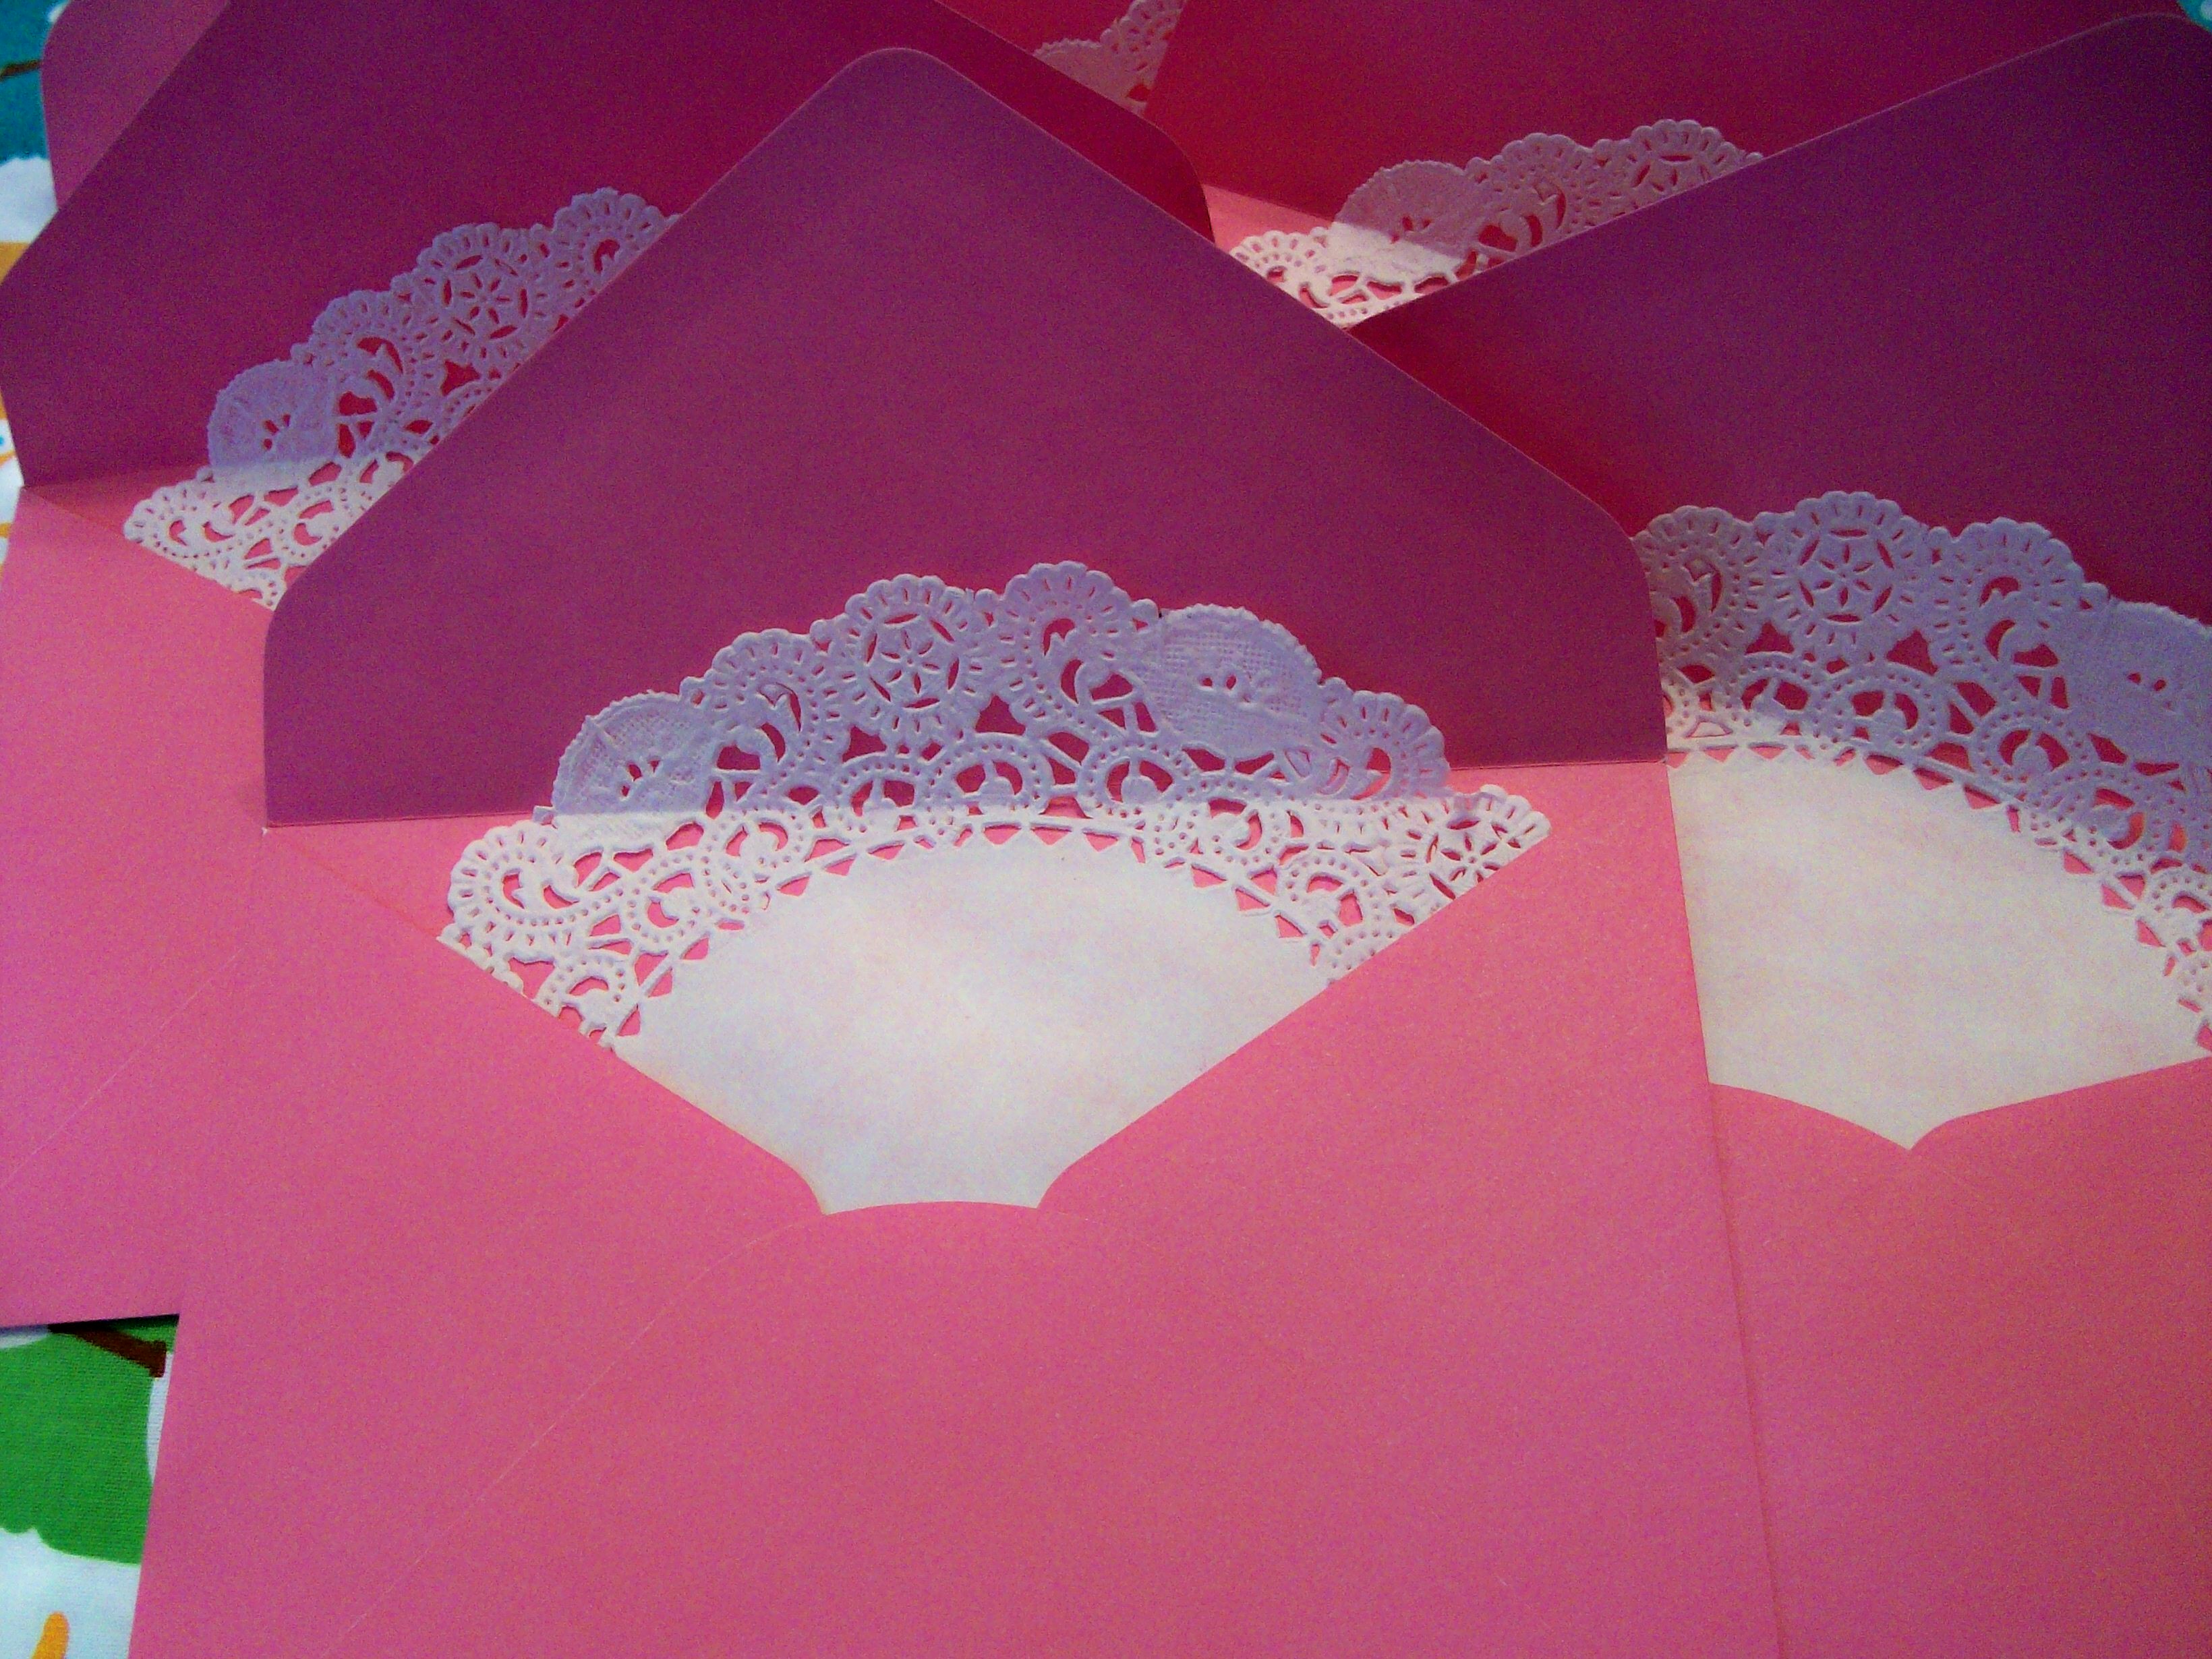
Carefully insert the doily into your envelope. Just so you can see the top of the doily. Carefully fold over the flap to create a crease.
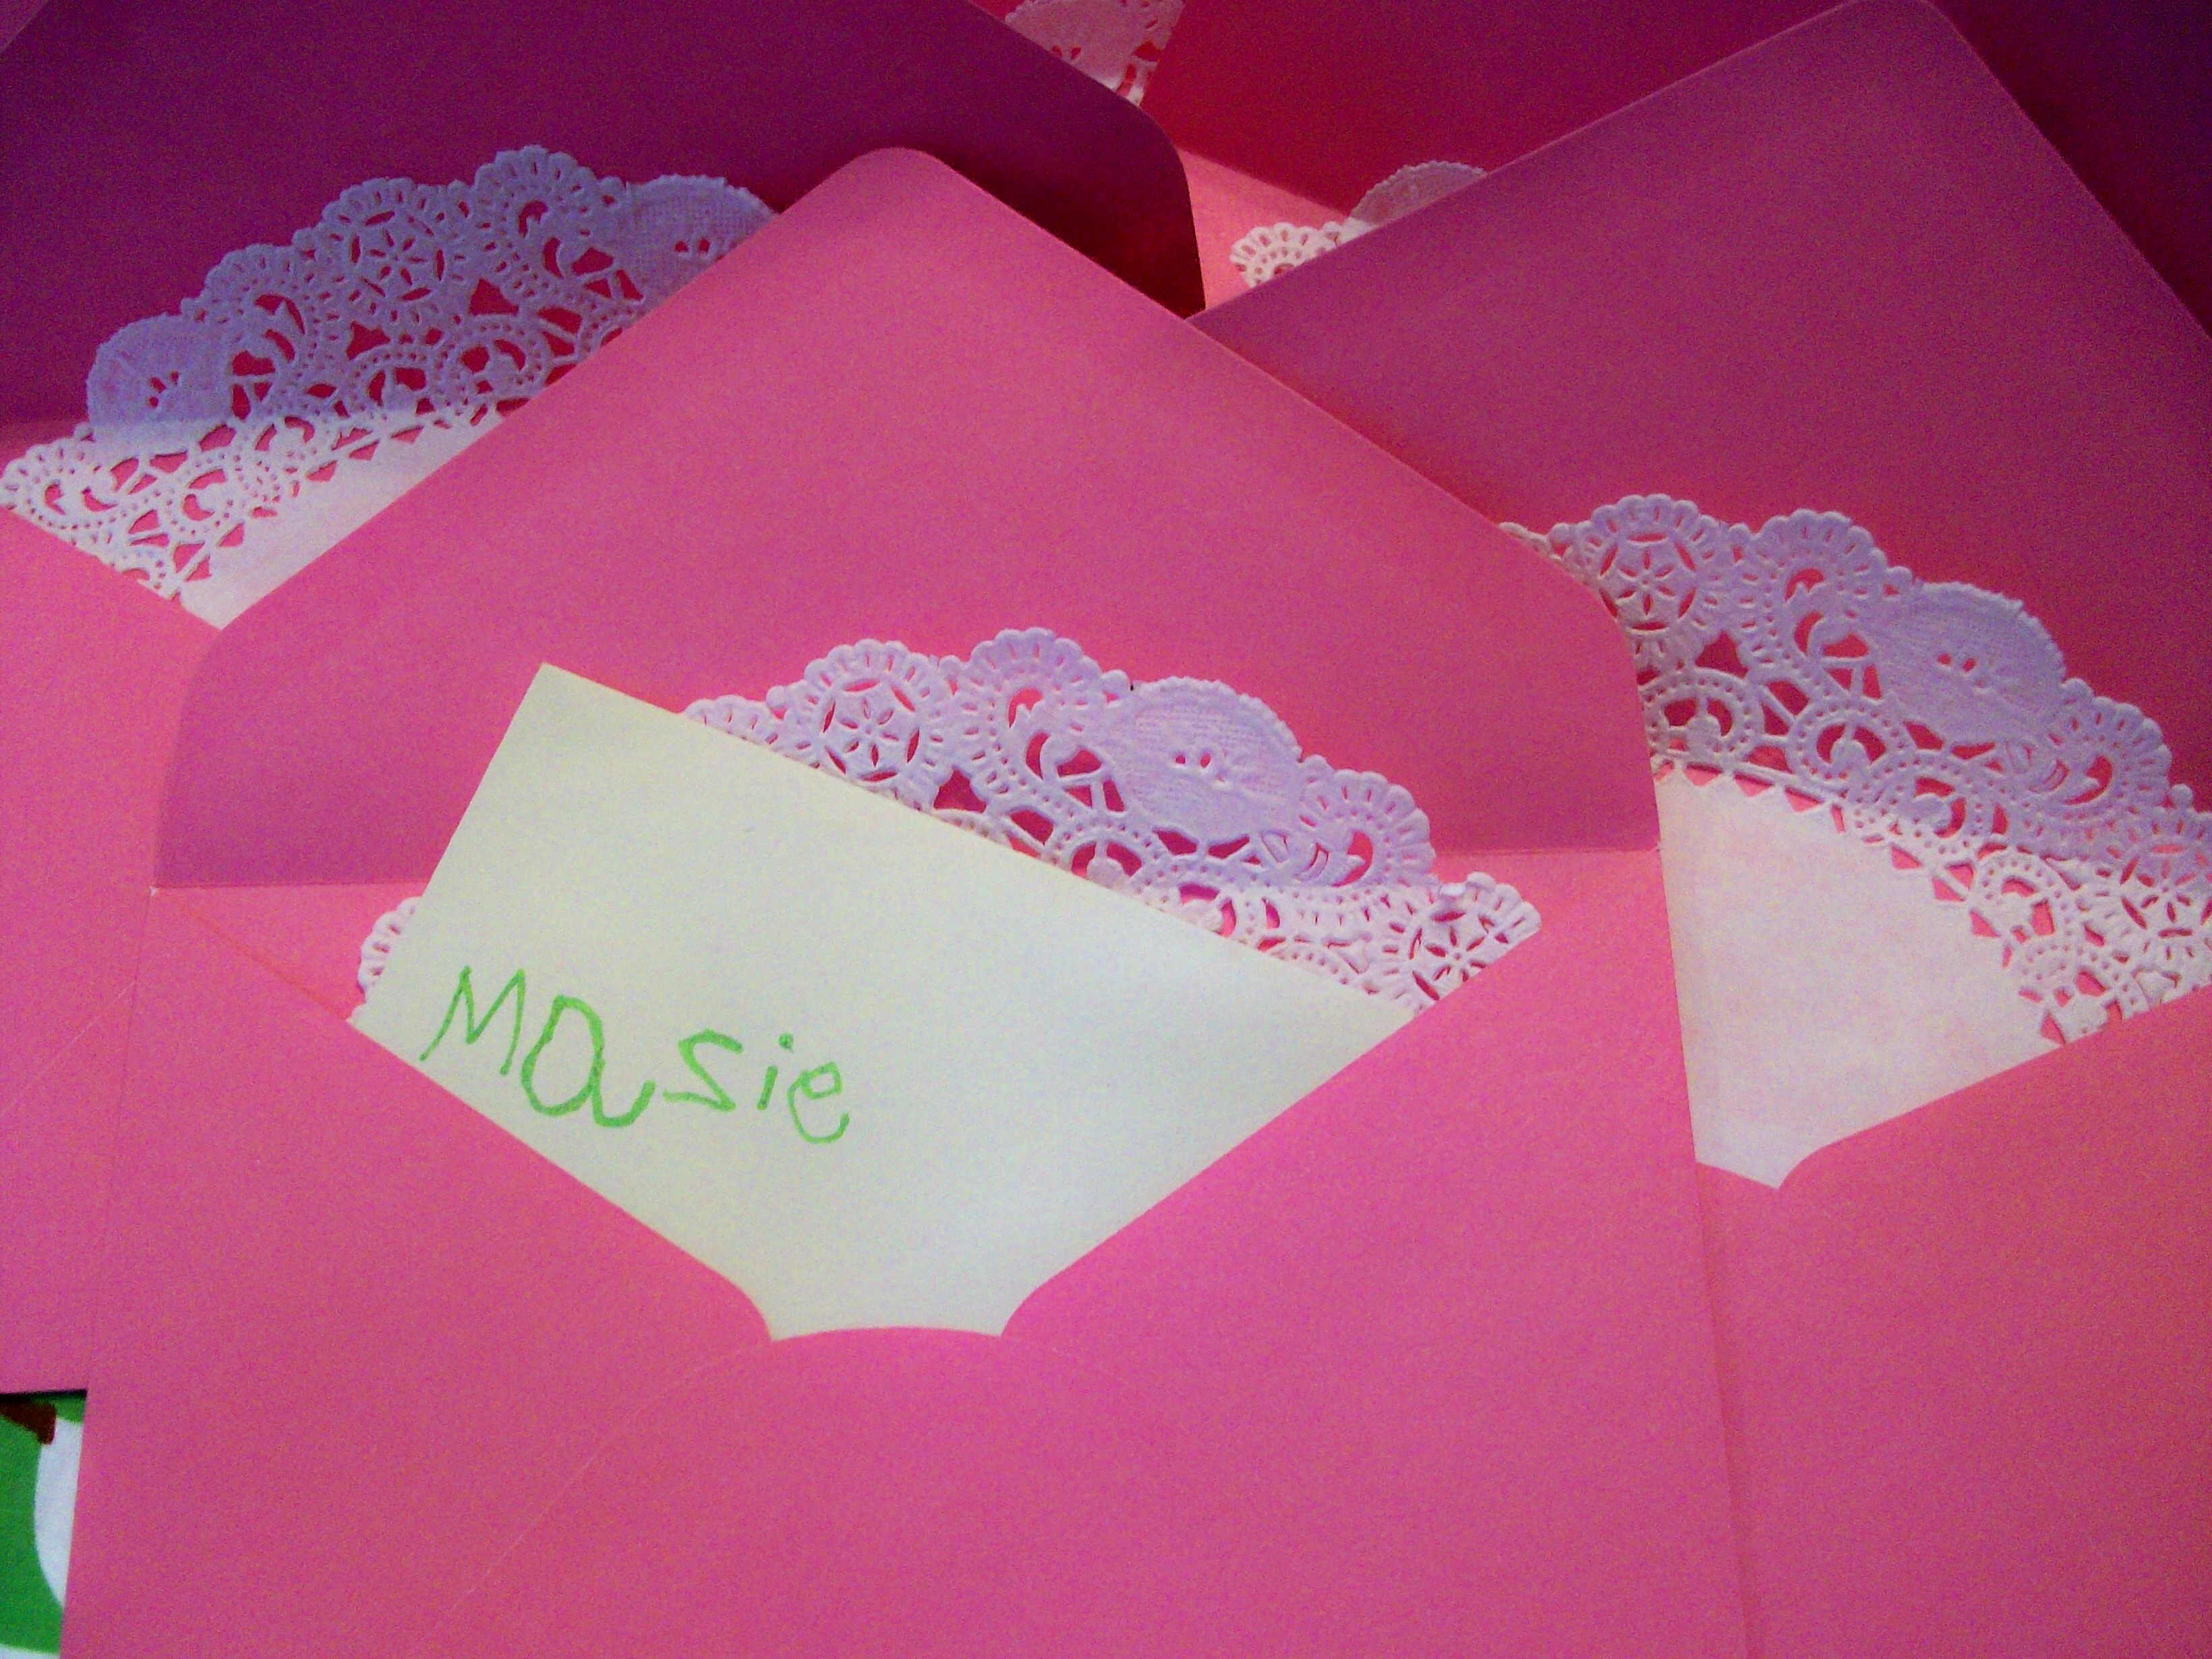
After you have left the glue to dry insert your tiny envelopes. And you are almost done!
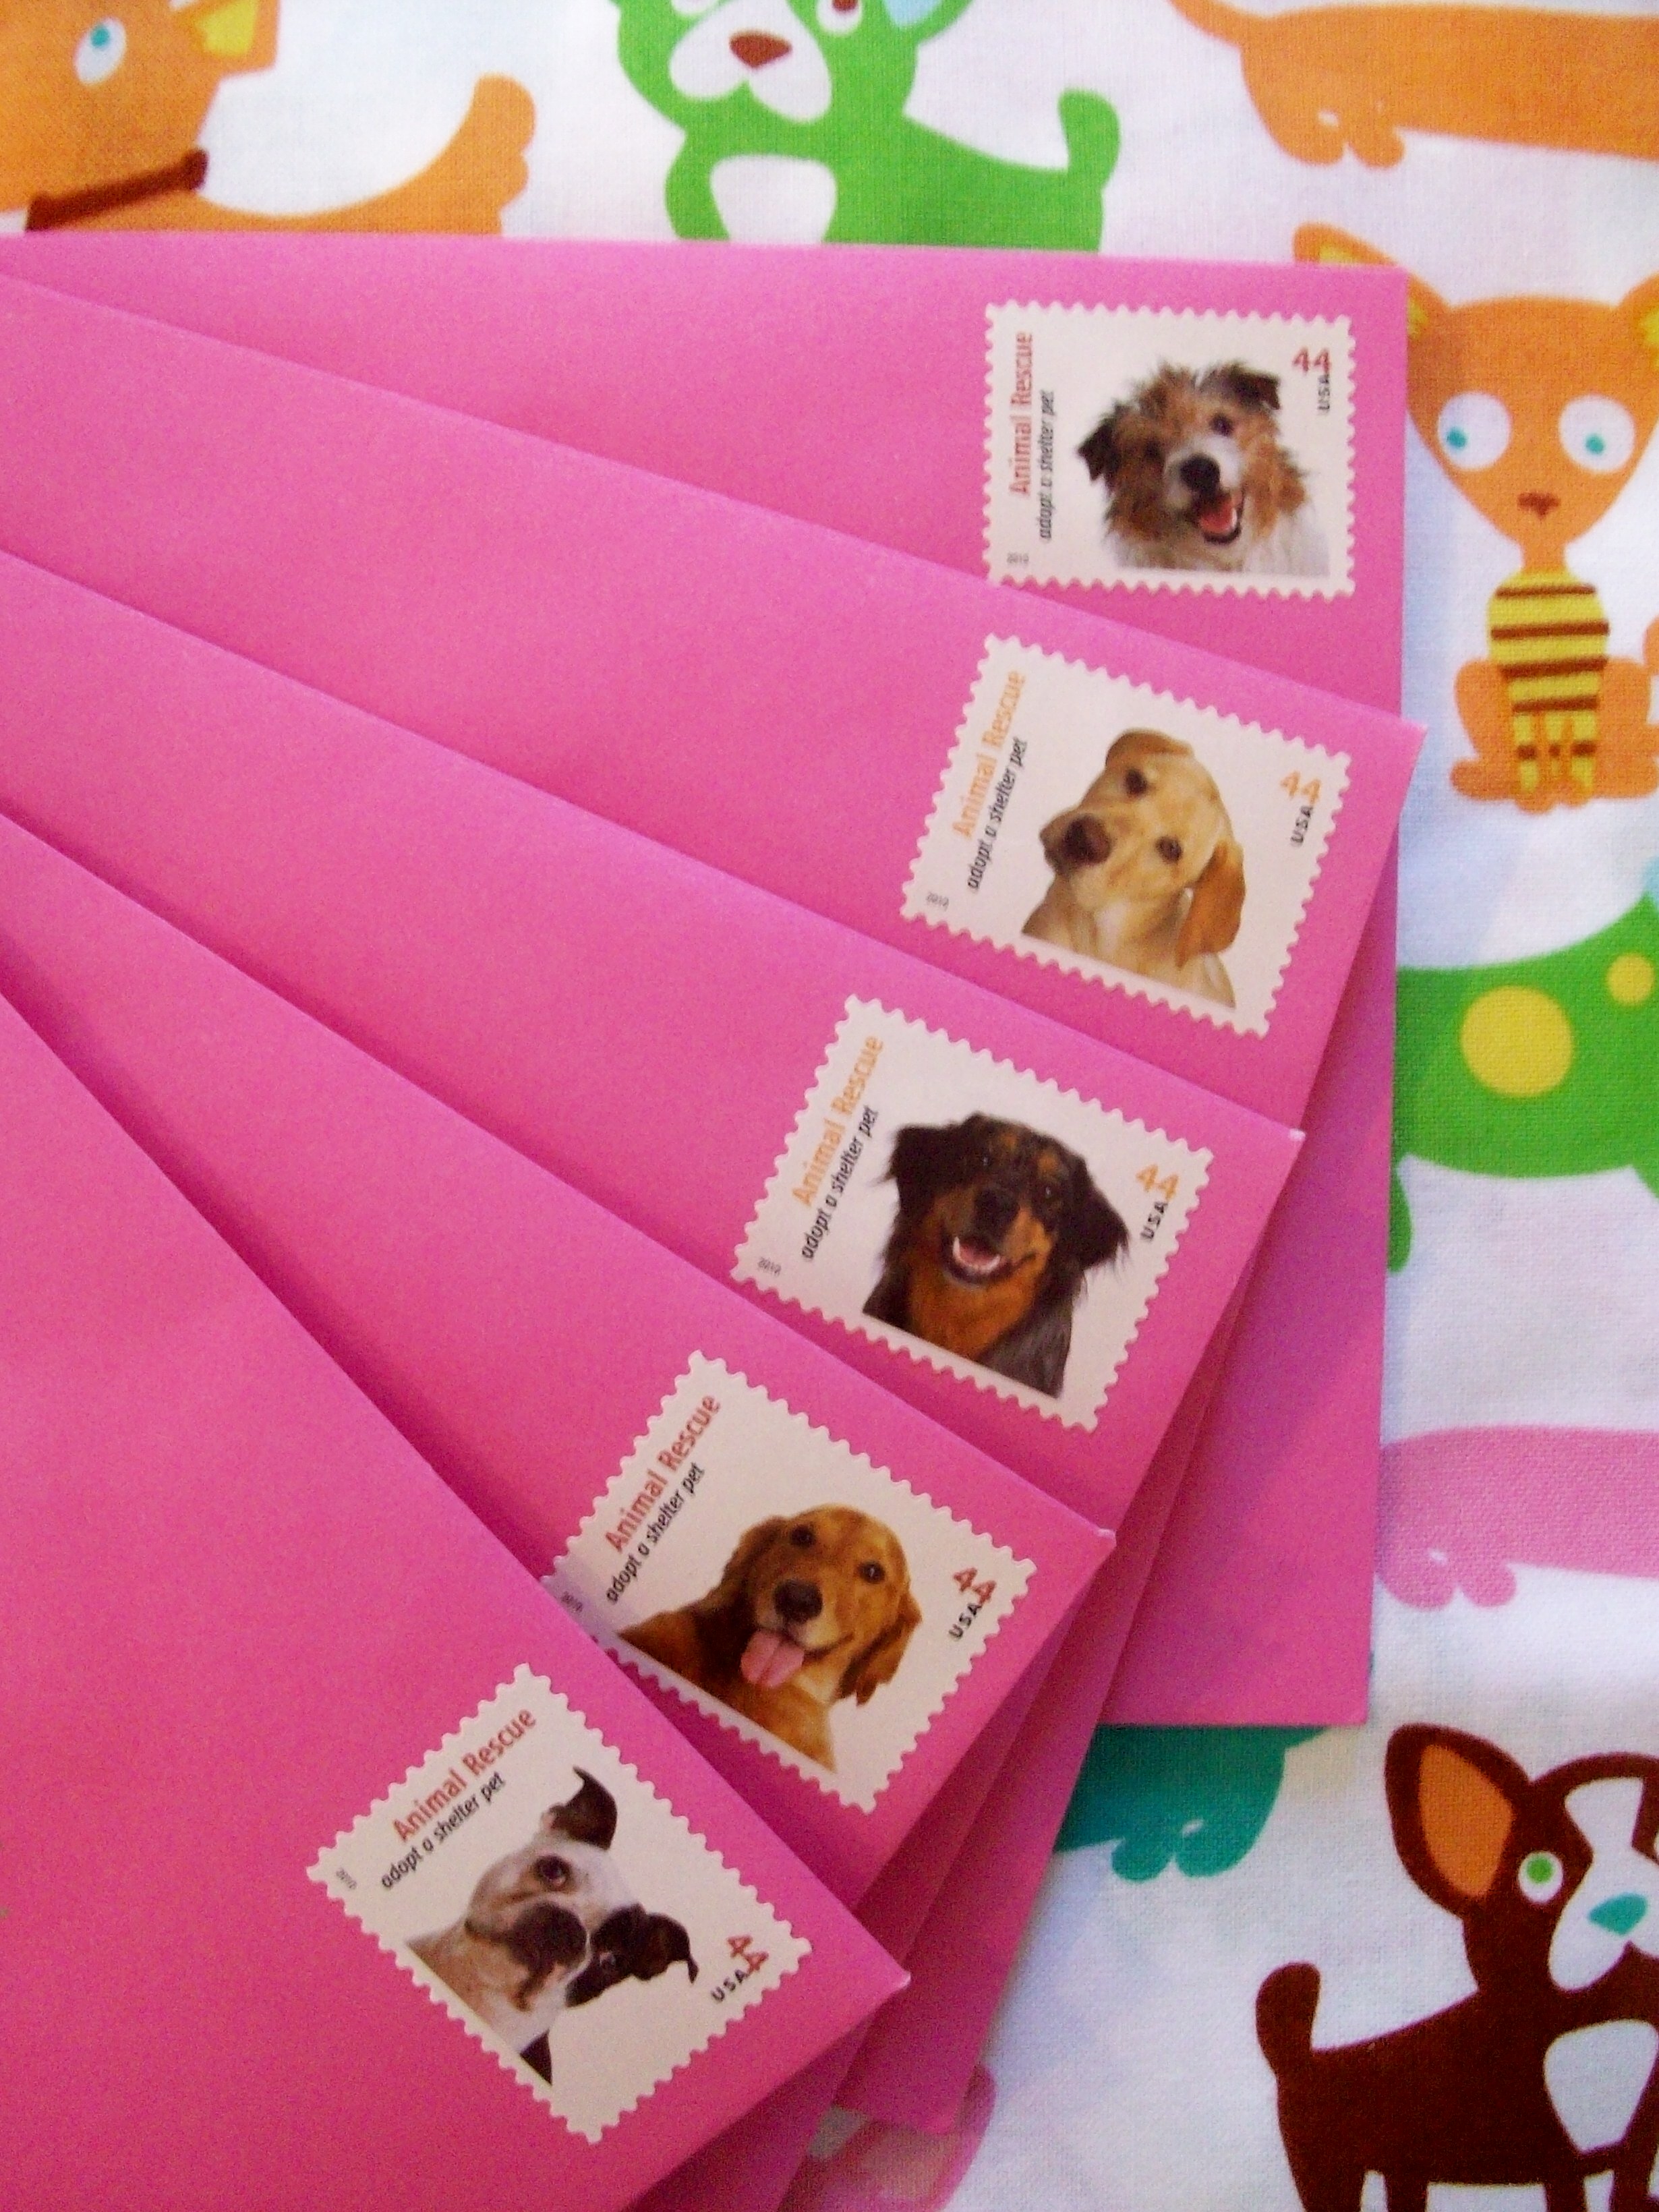
Don't forget your cute dog postage stamps to go with the doggie themed birthday party!
3 comments:
Great tip - simple and yet really effective. I'll remember this one.
YOU ARE AMAZING!! All of your ideas are so great!
That is such a pretty project. :)
Post a Comment