Monday, August 30, 2010

wonky class


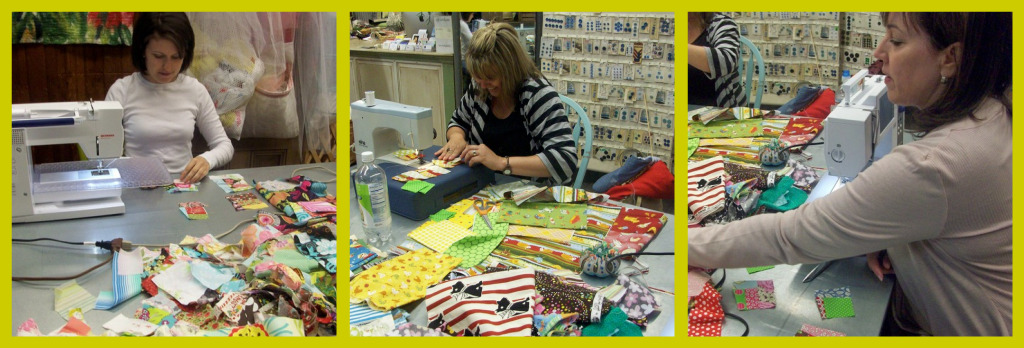
I taught my 2nd class at The Tin Thimble last Saturday.  And the girls that came were just the best!


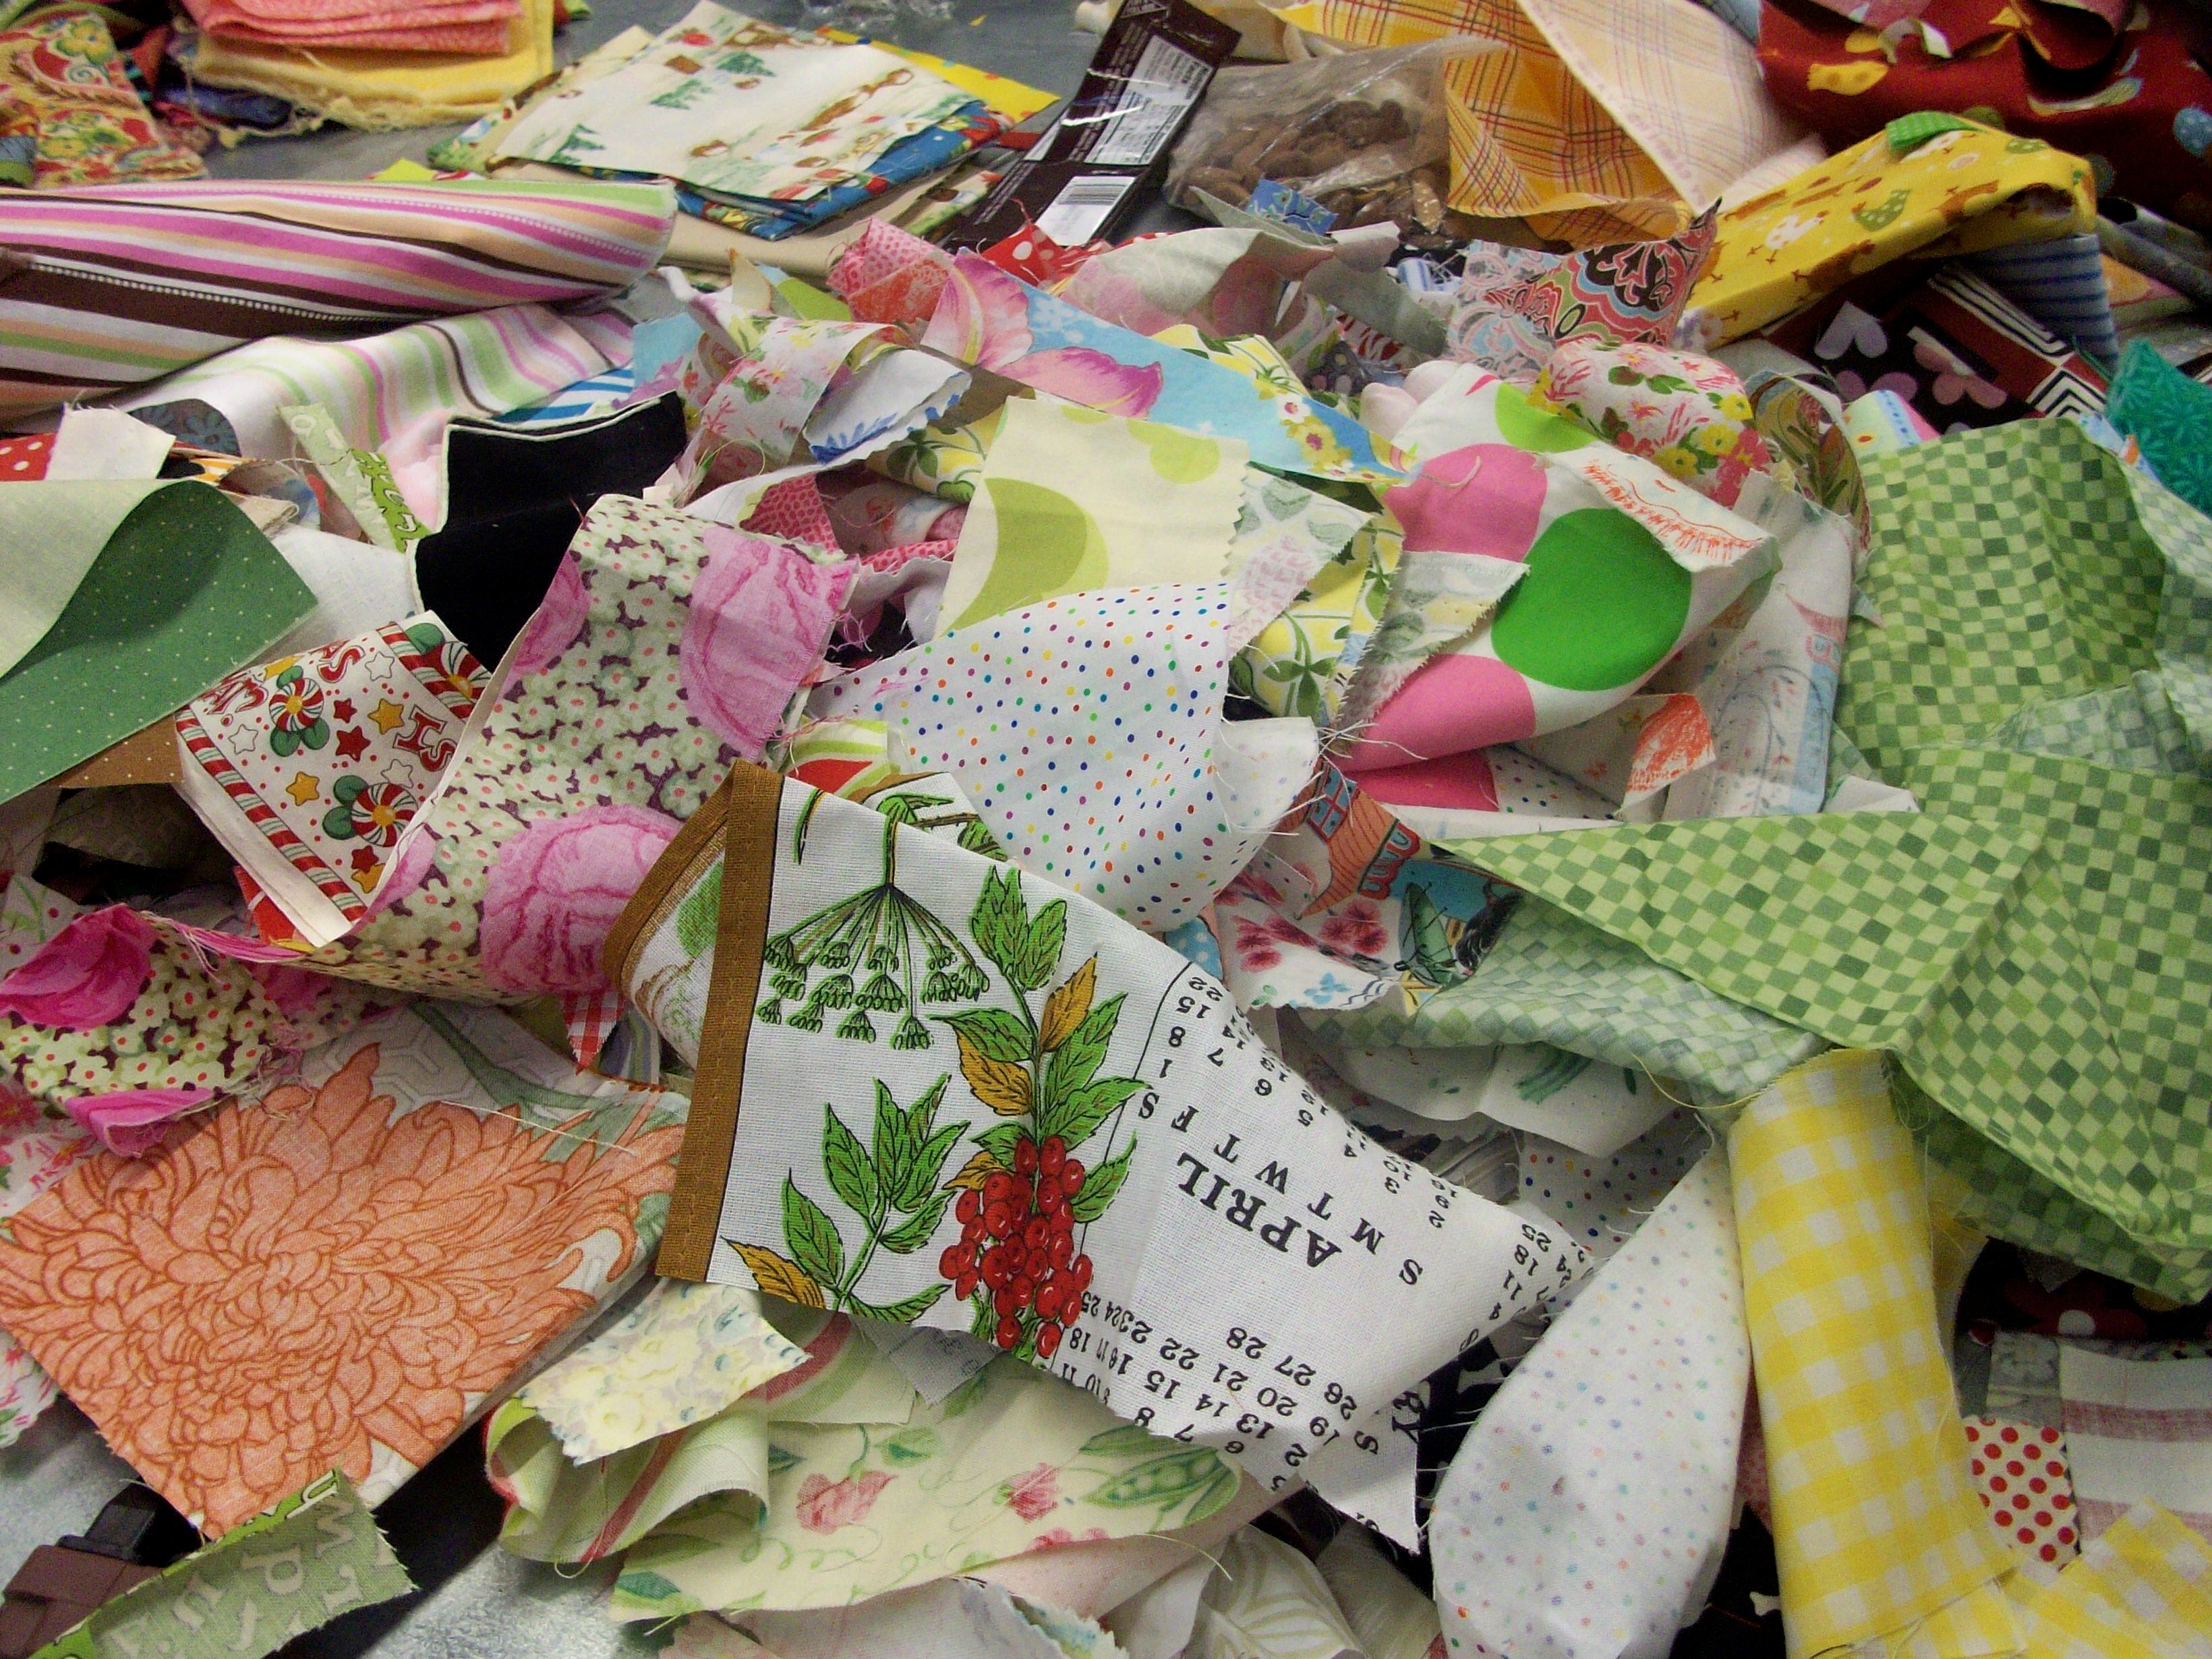
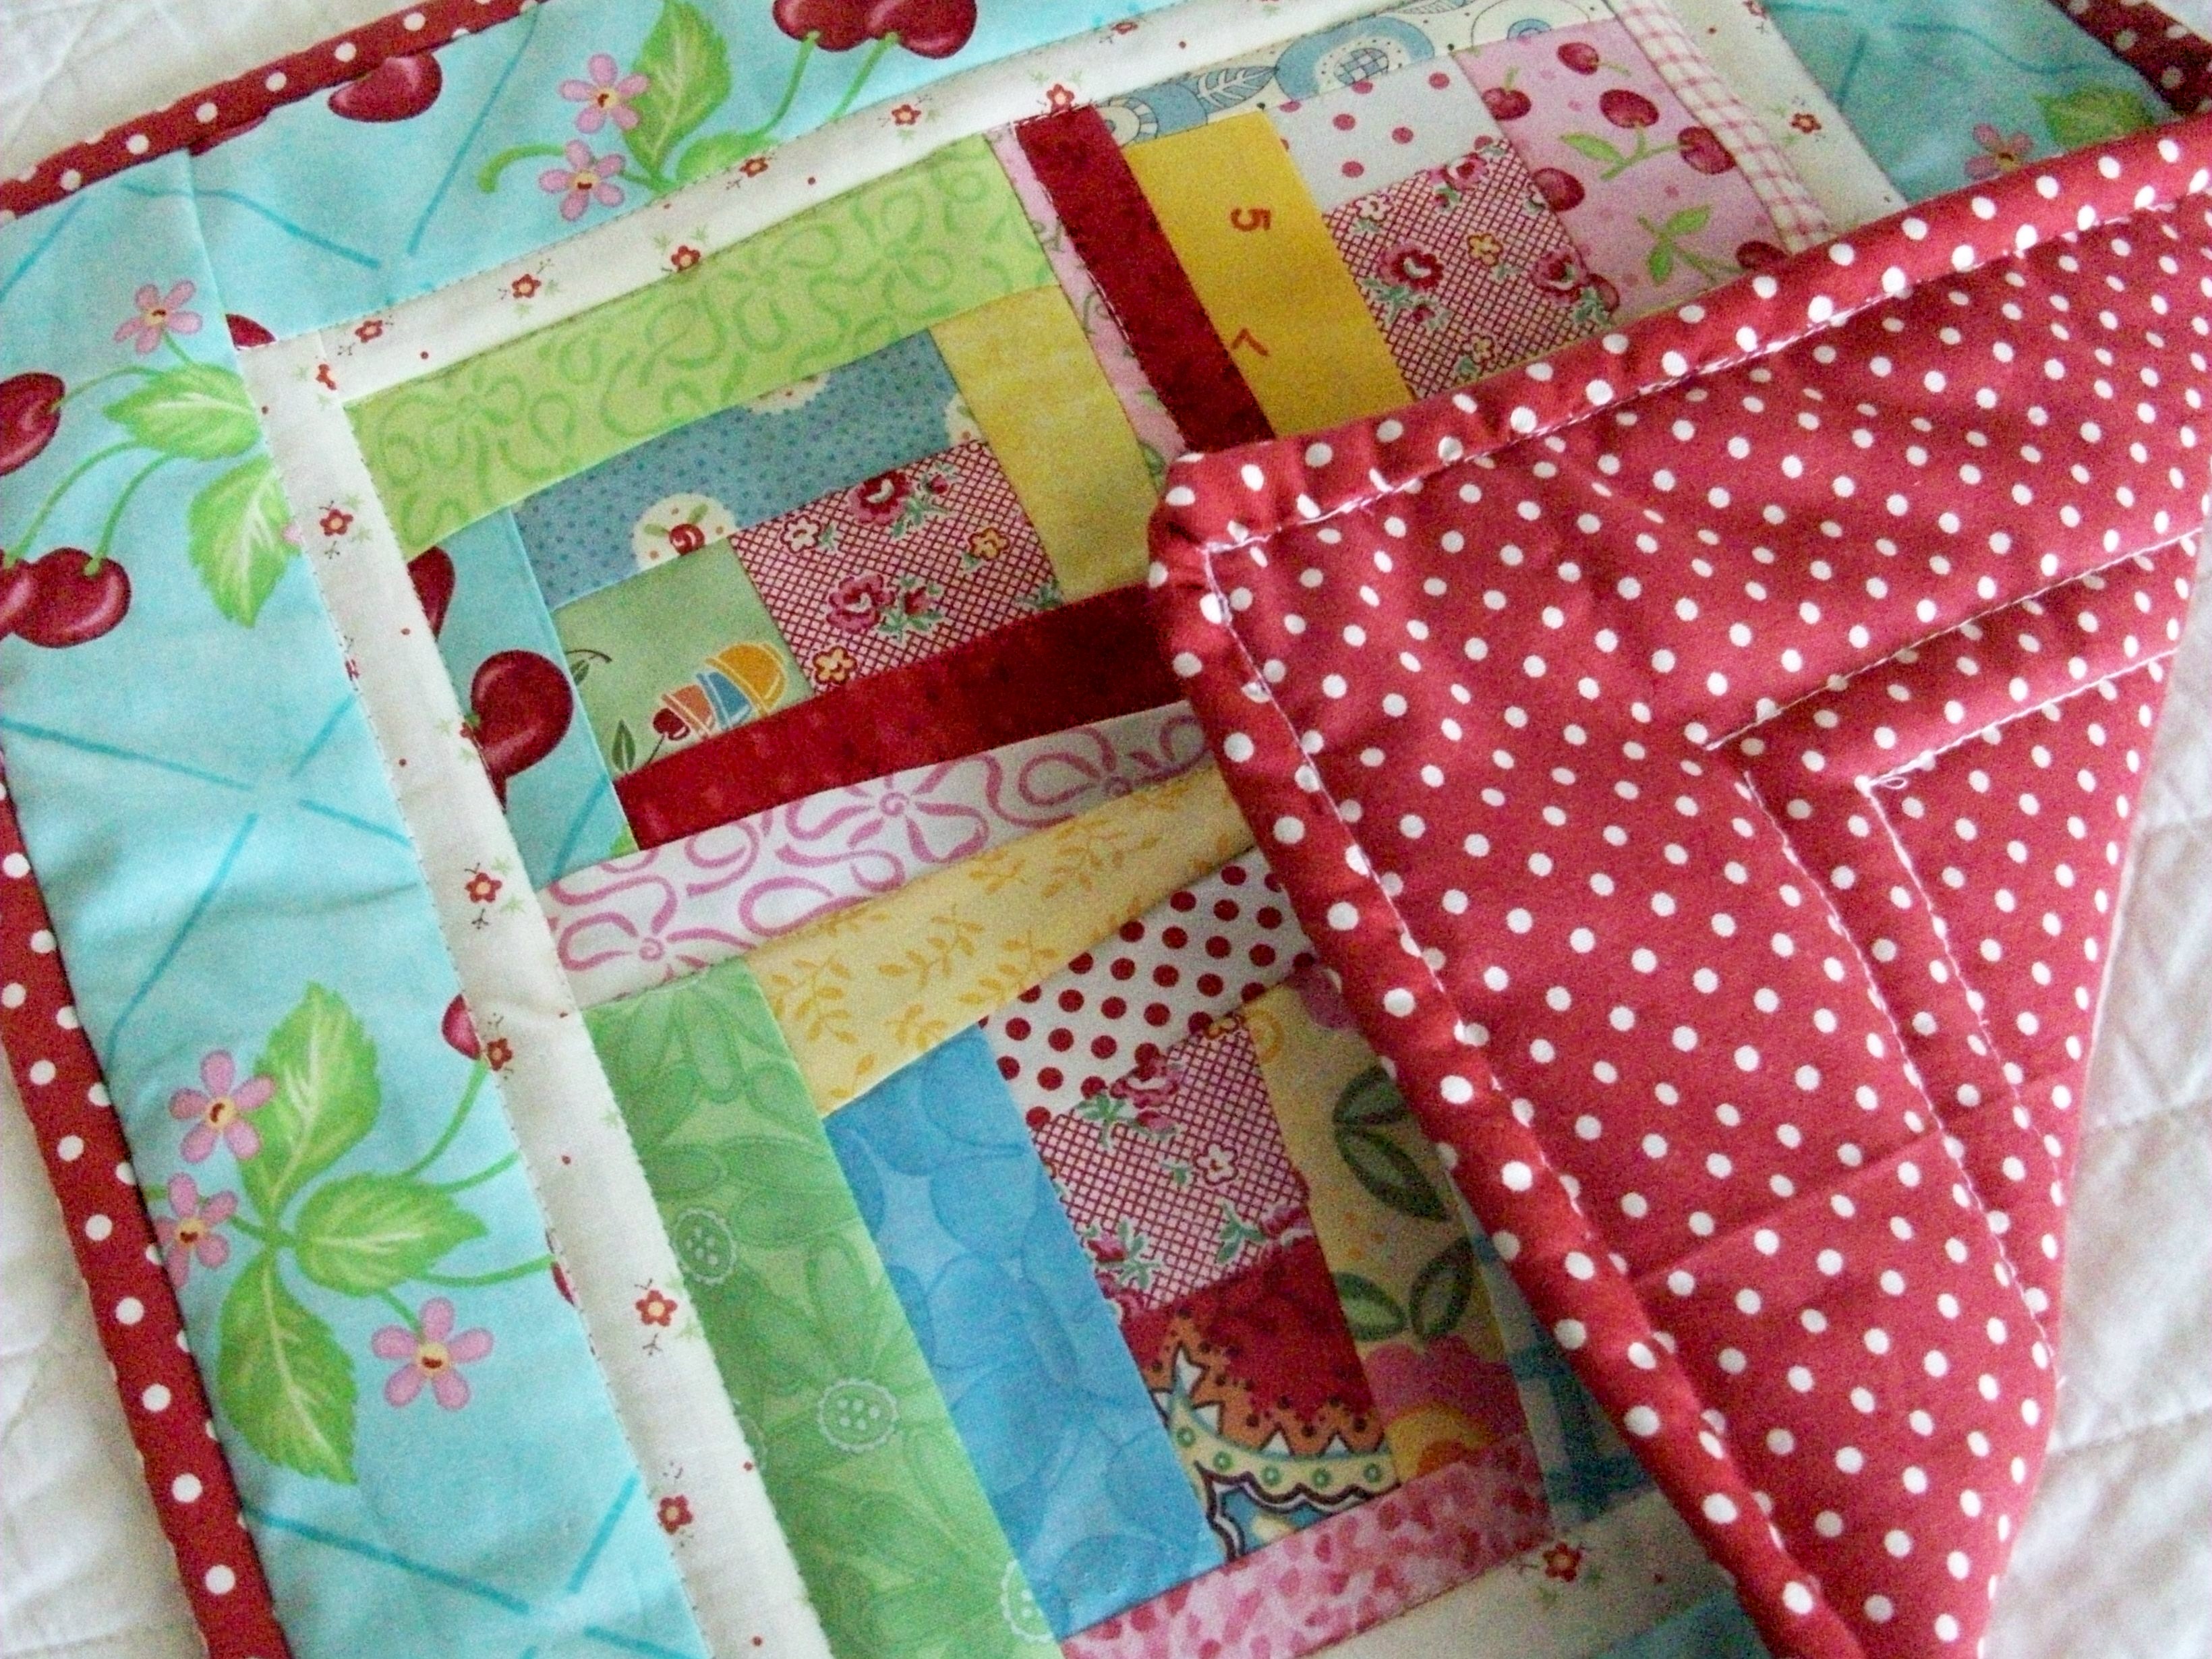
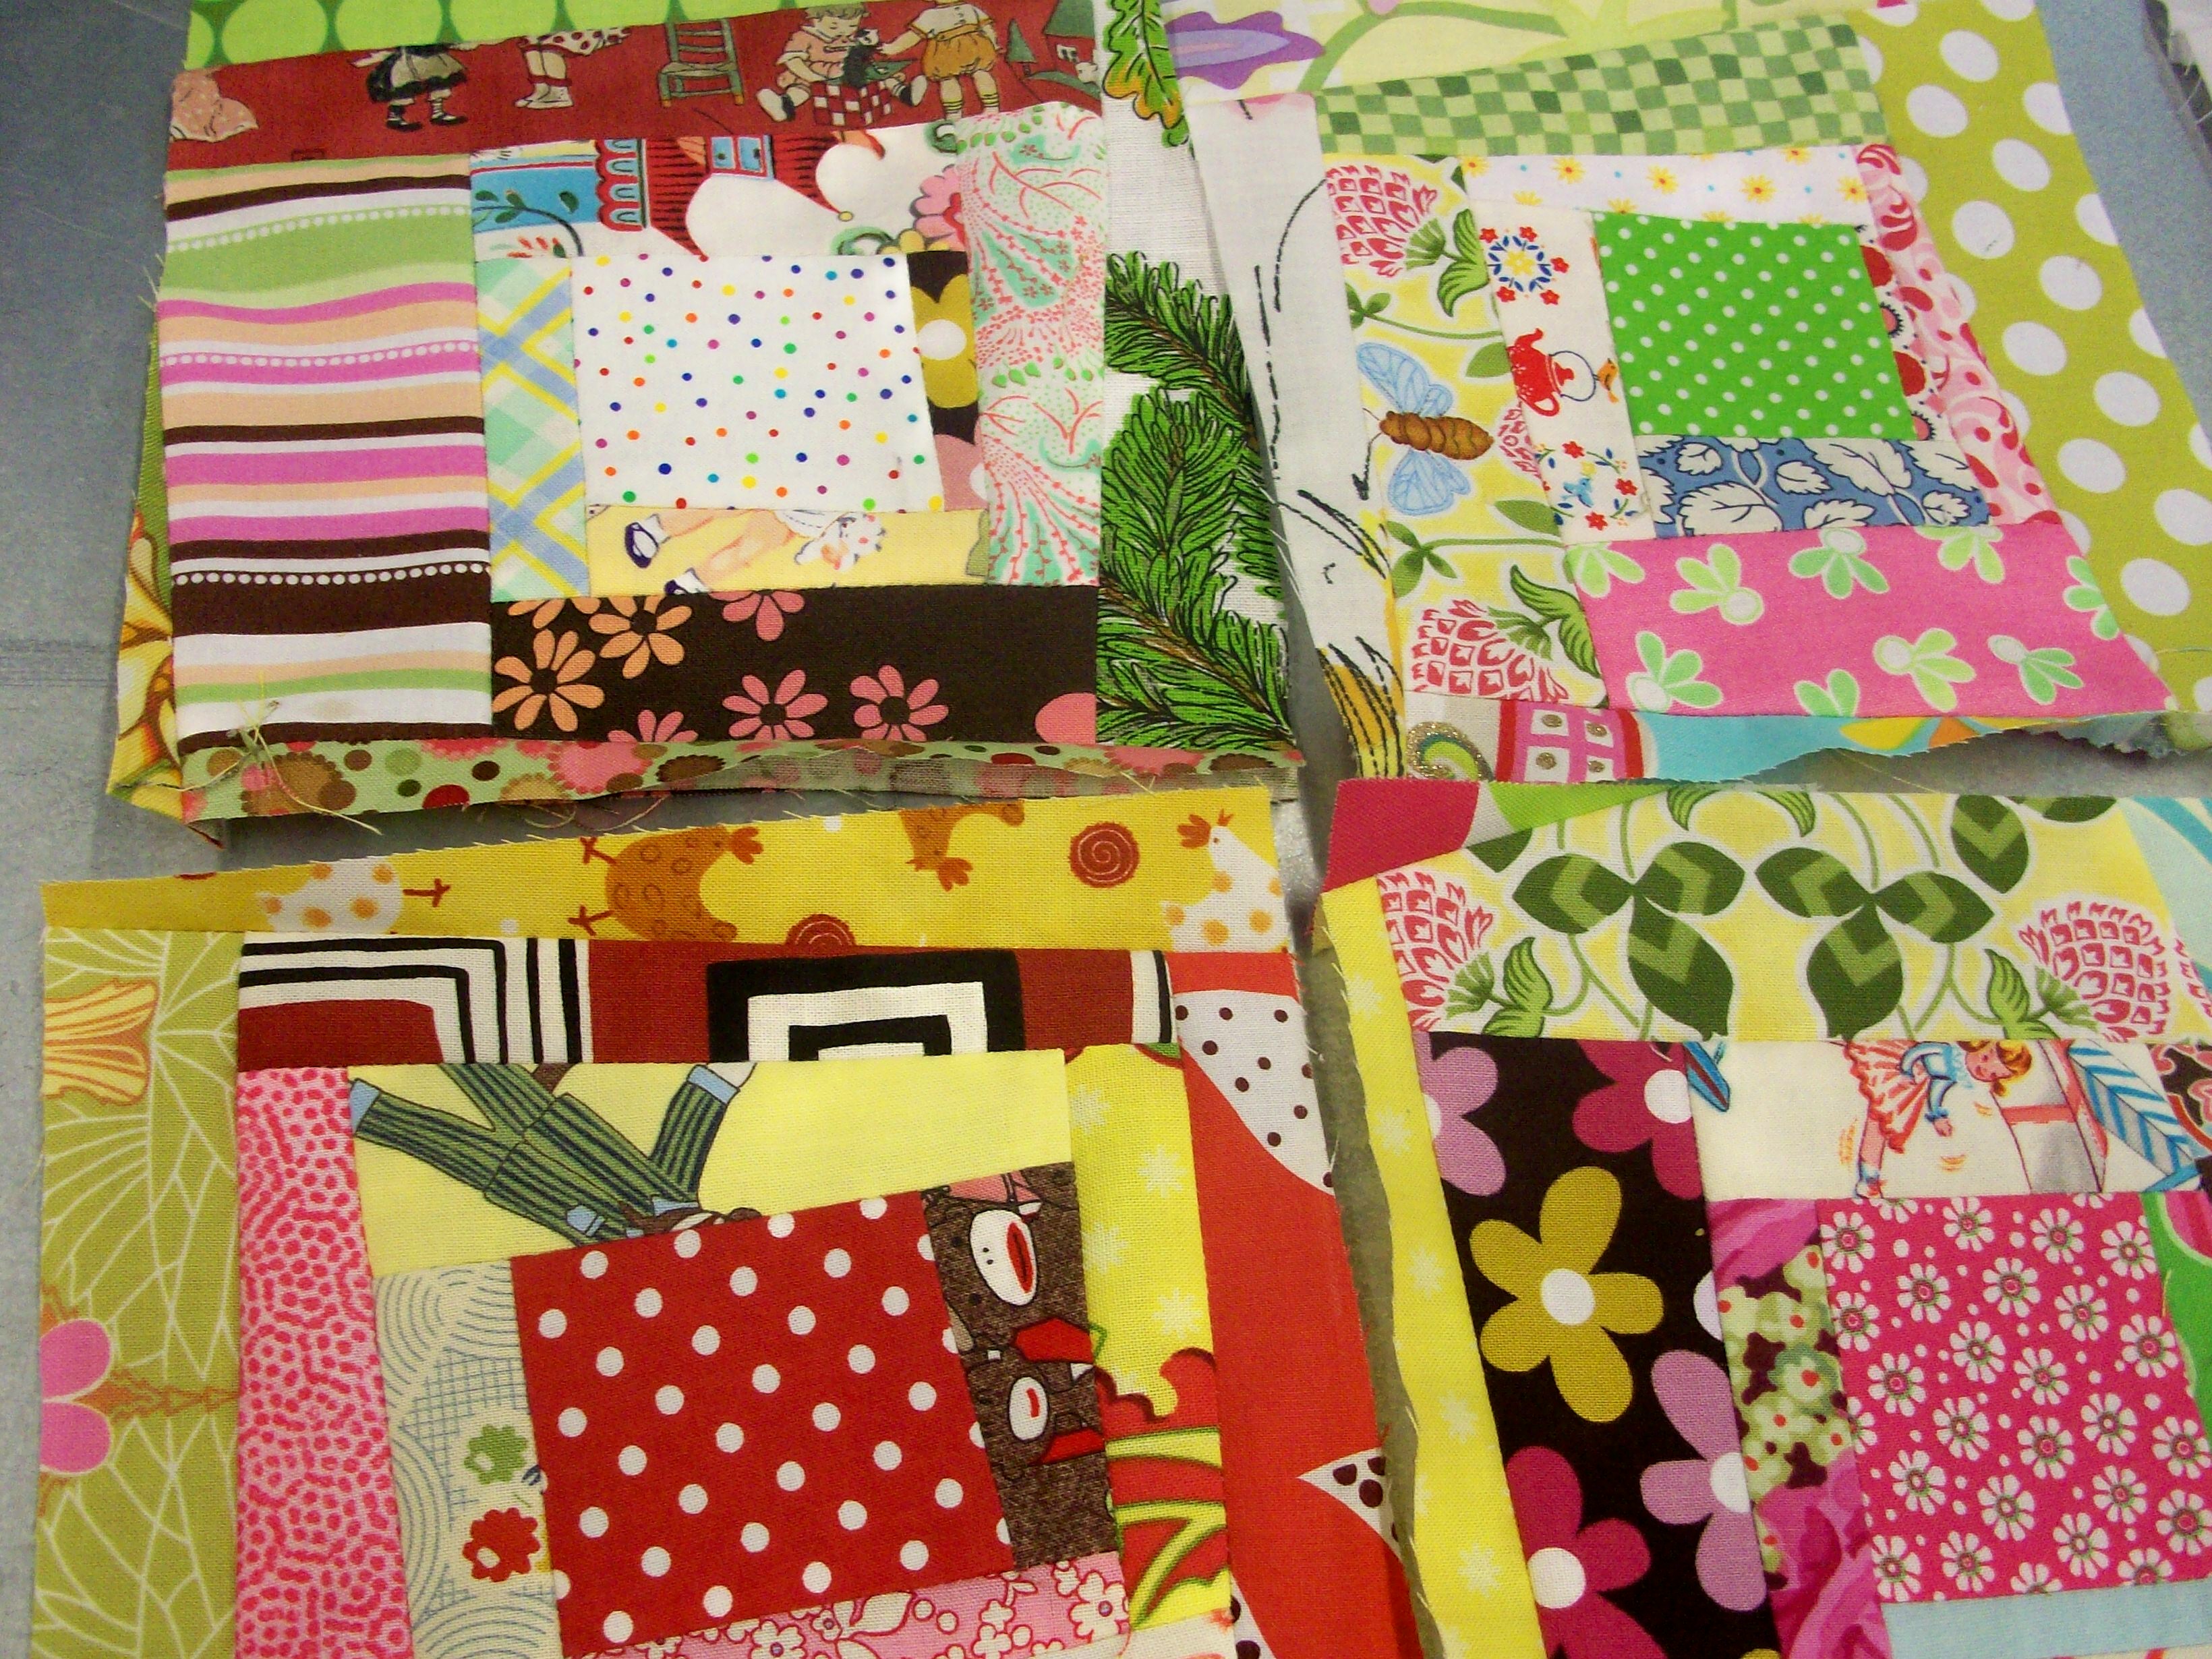
We started the class with a big pile of scraps.  Ready for us to all dig through.  I felt like I could remember where every little piece of fabric came from!


Everyone was so generous with their fabrics that I think I came home with more than what I left with :)  Not my plan, but I got some cute new fabrics, thanks to Brianna.


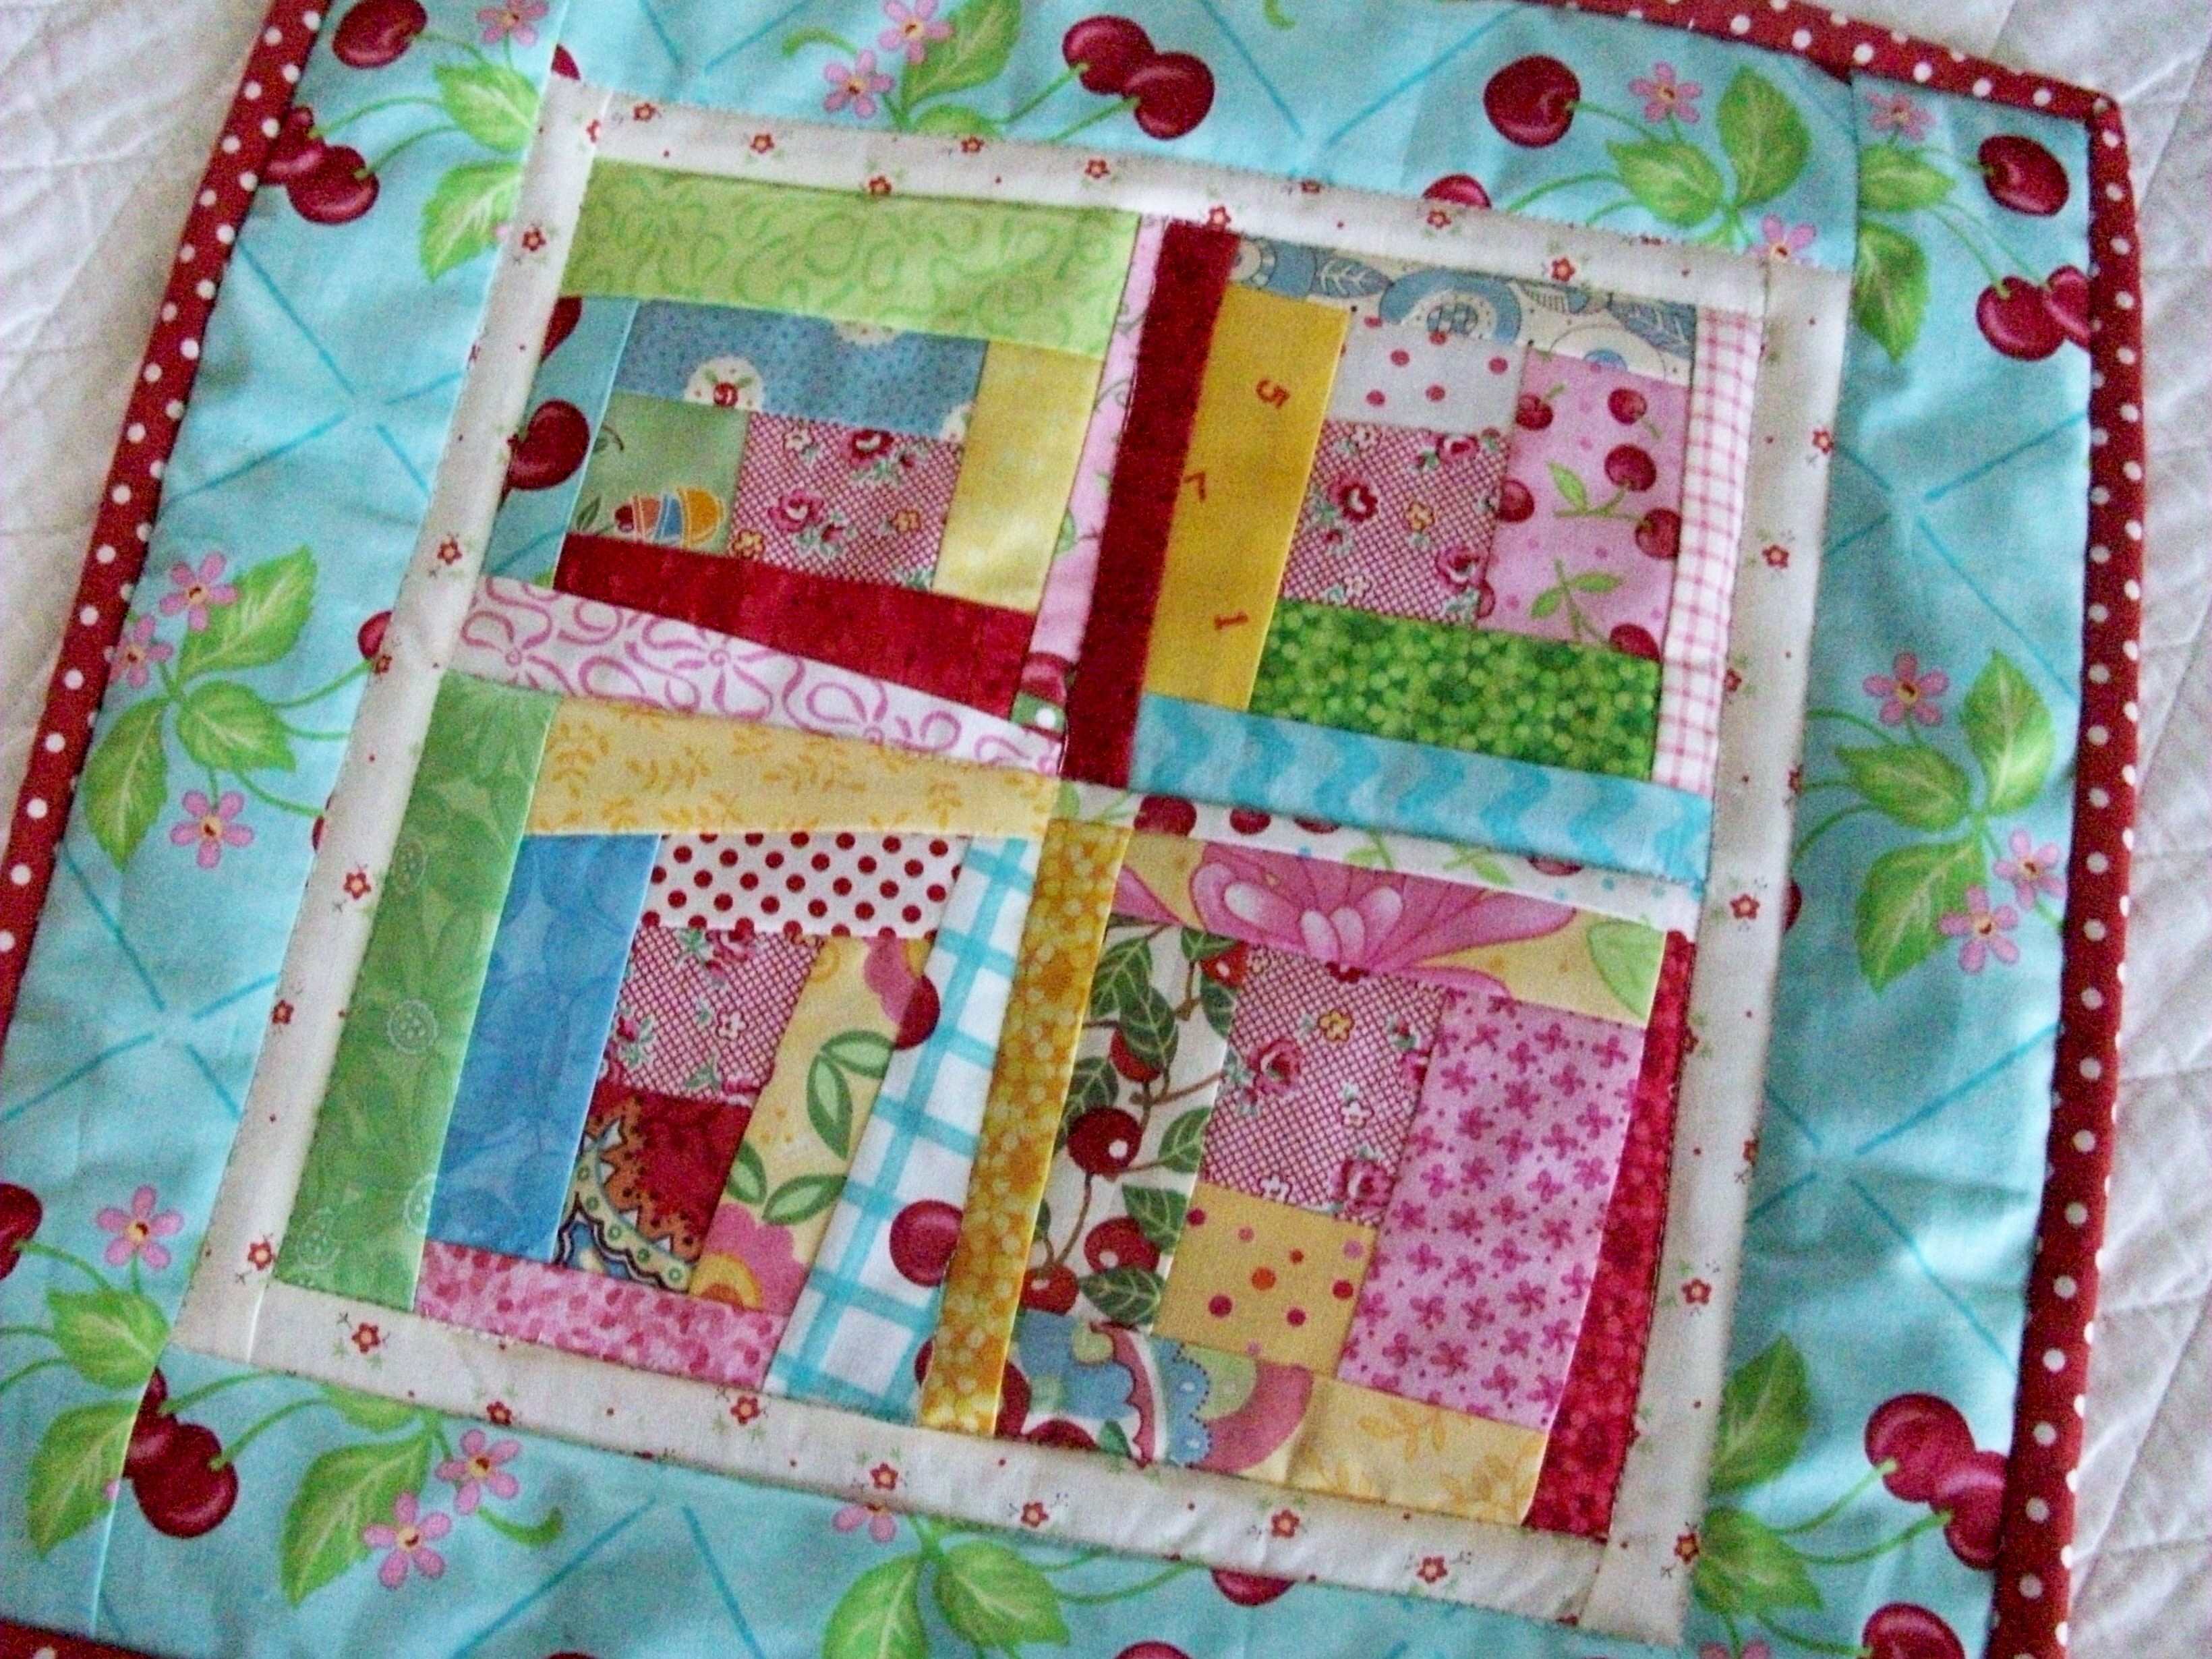
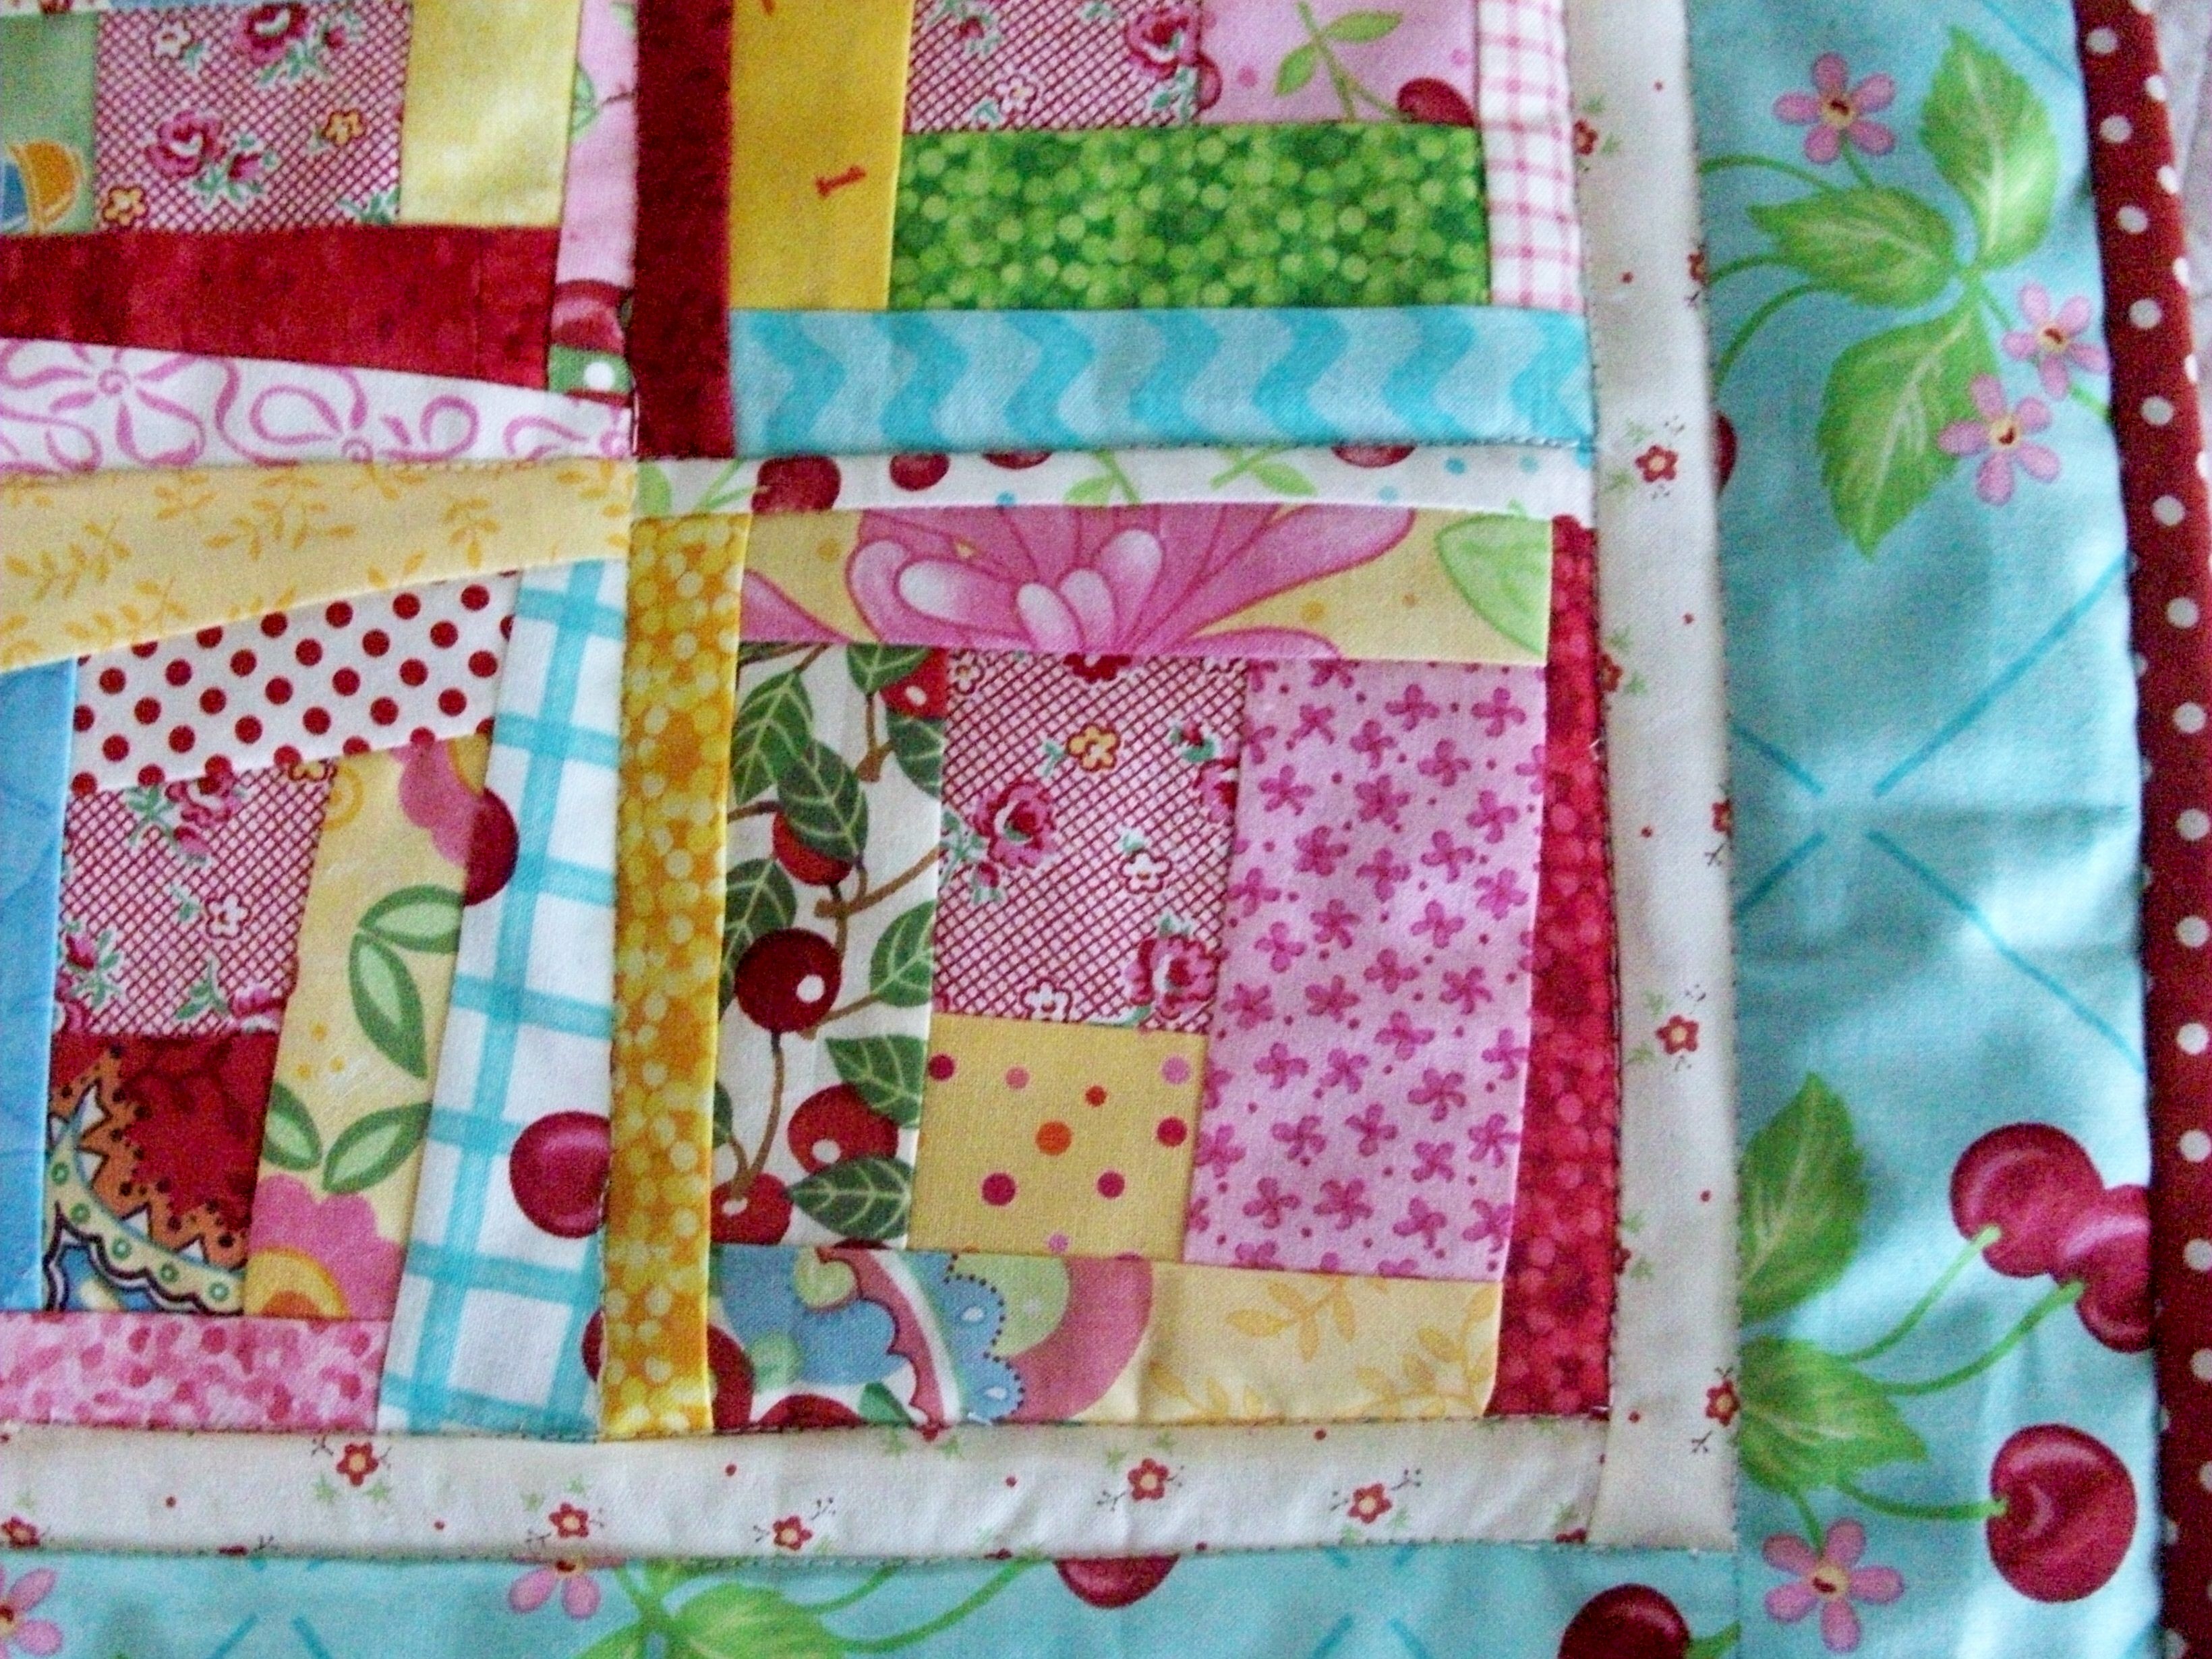
Each quilter took a different path on their wonky quest.


Some were random, some were steady, some were a little sloppy (that would be me).


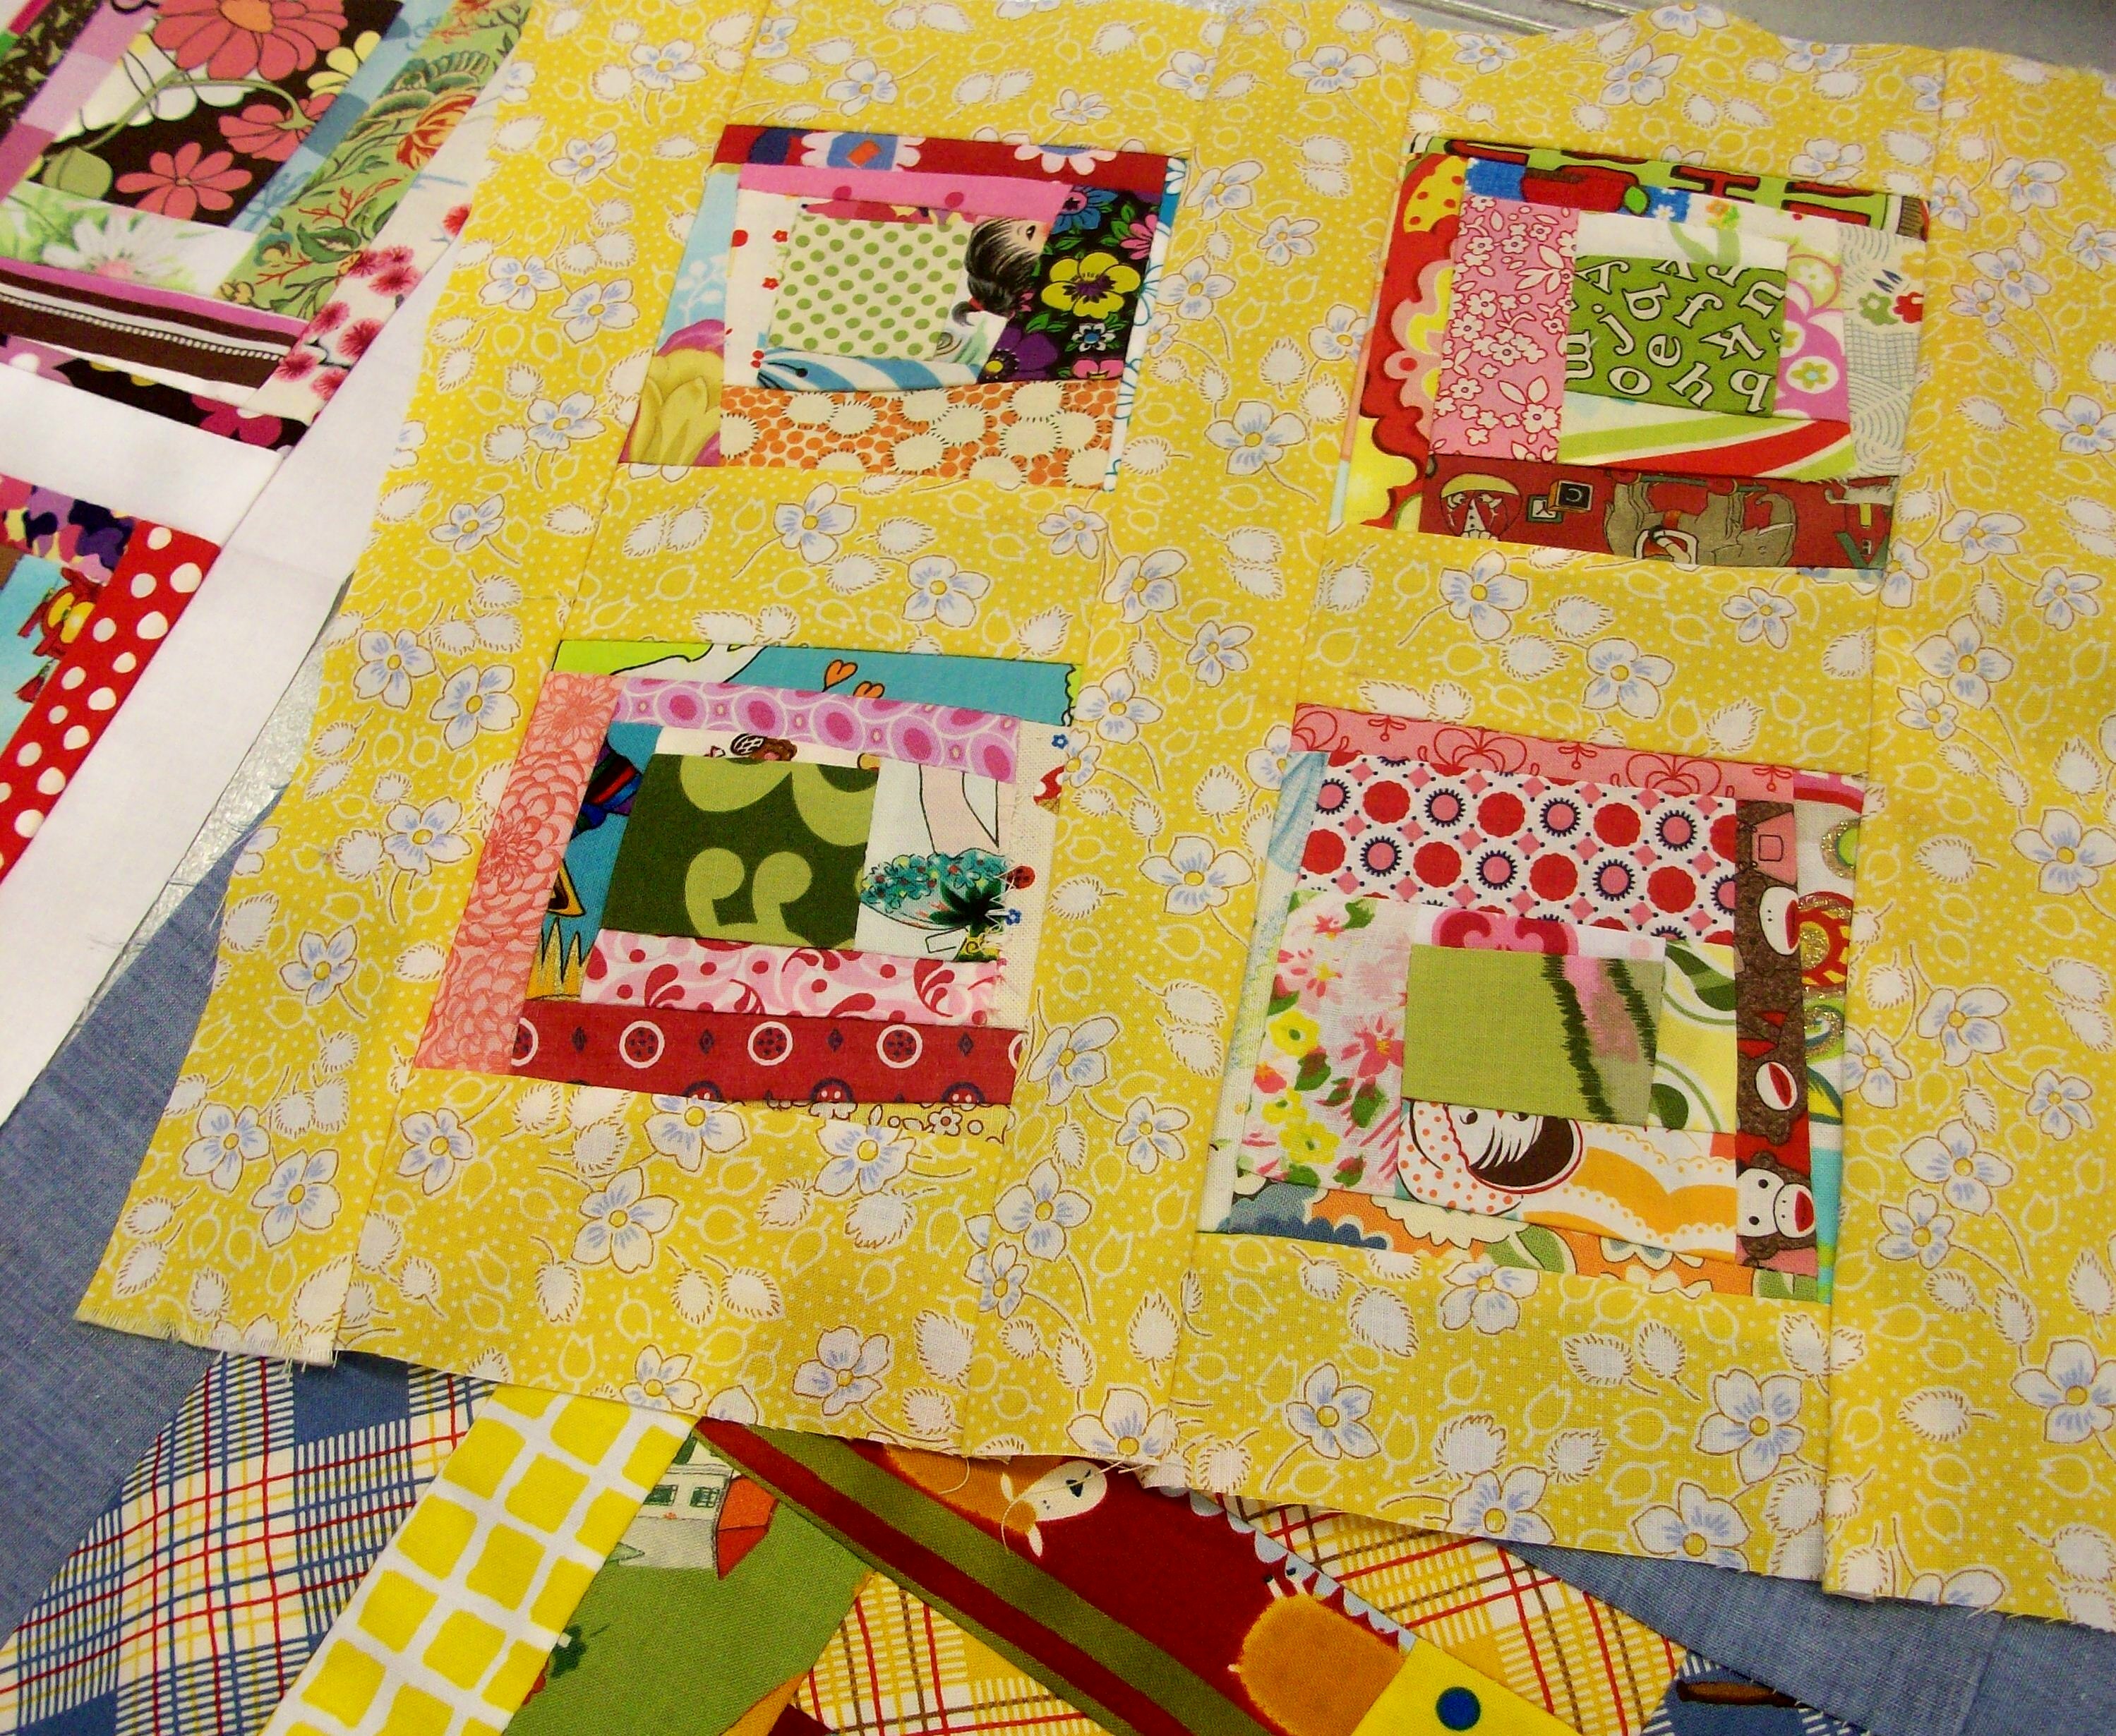
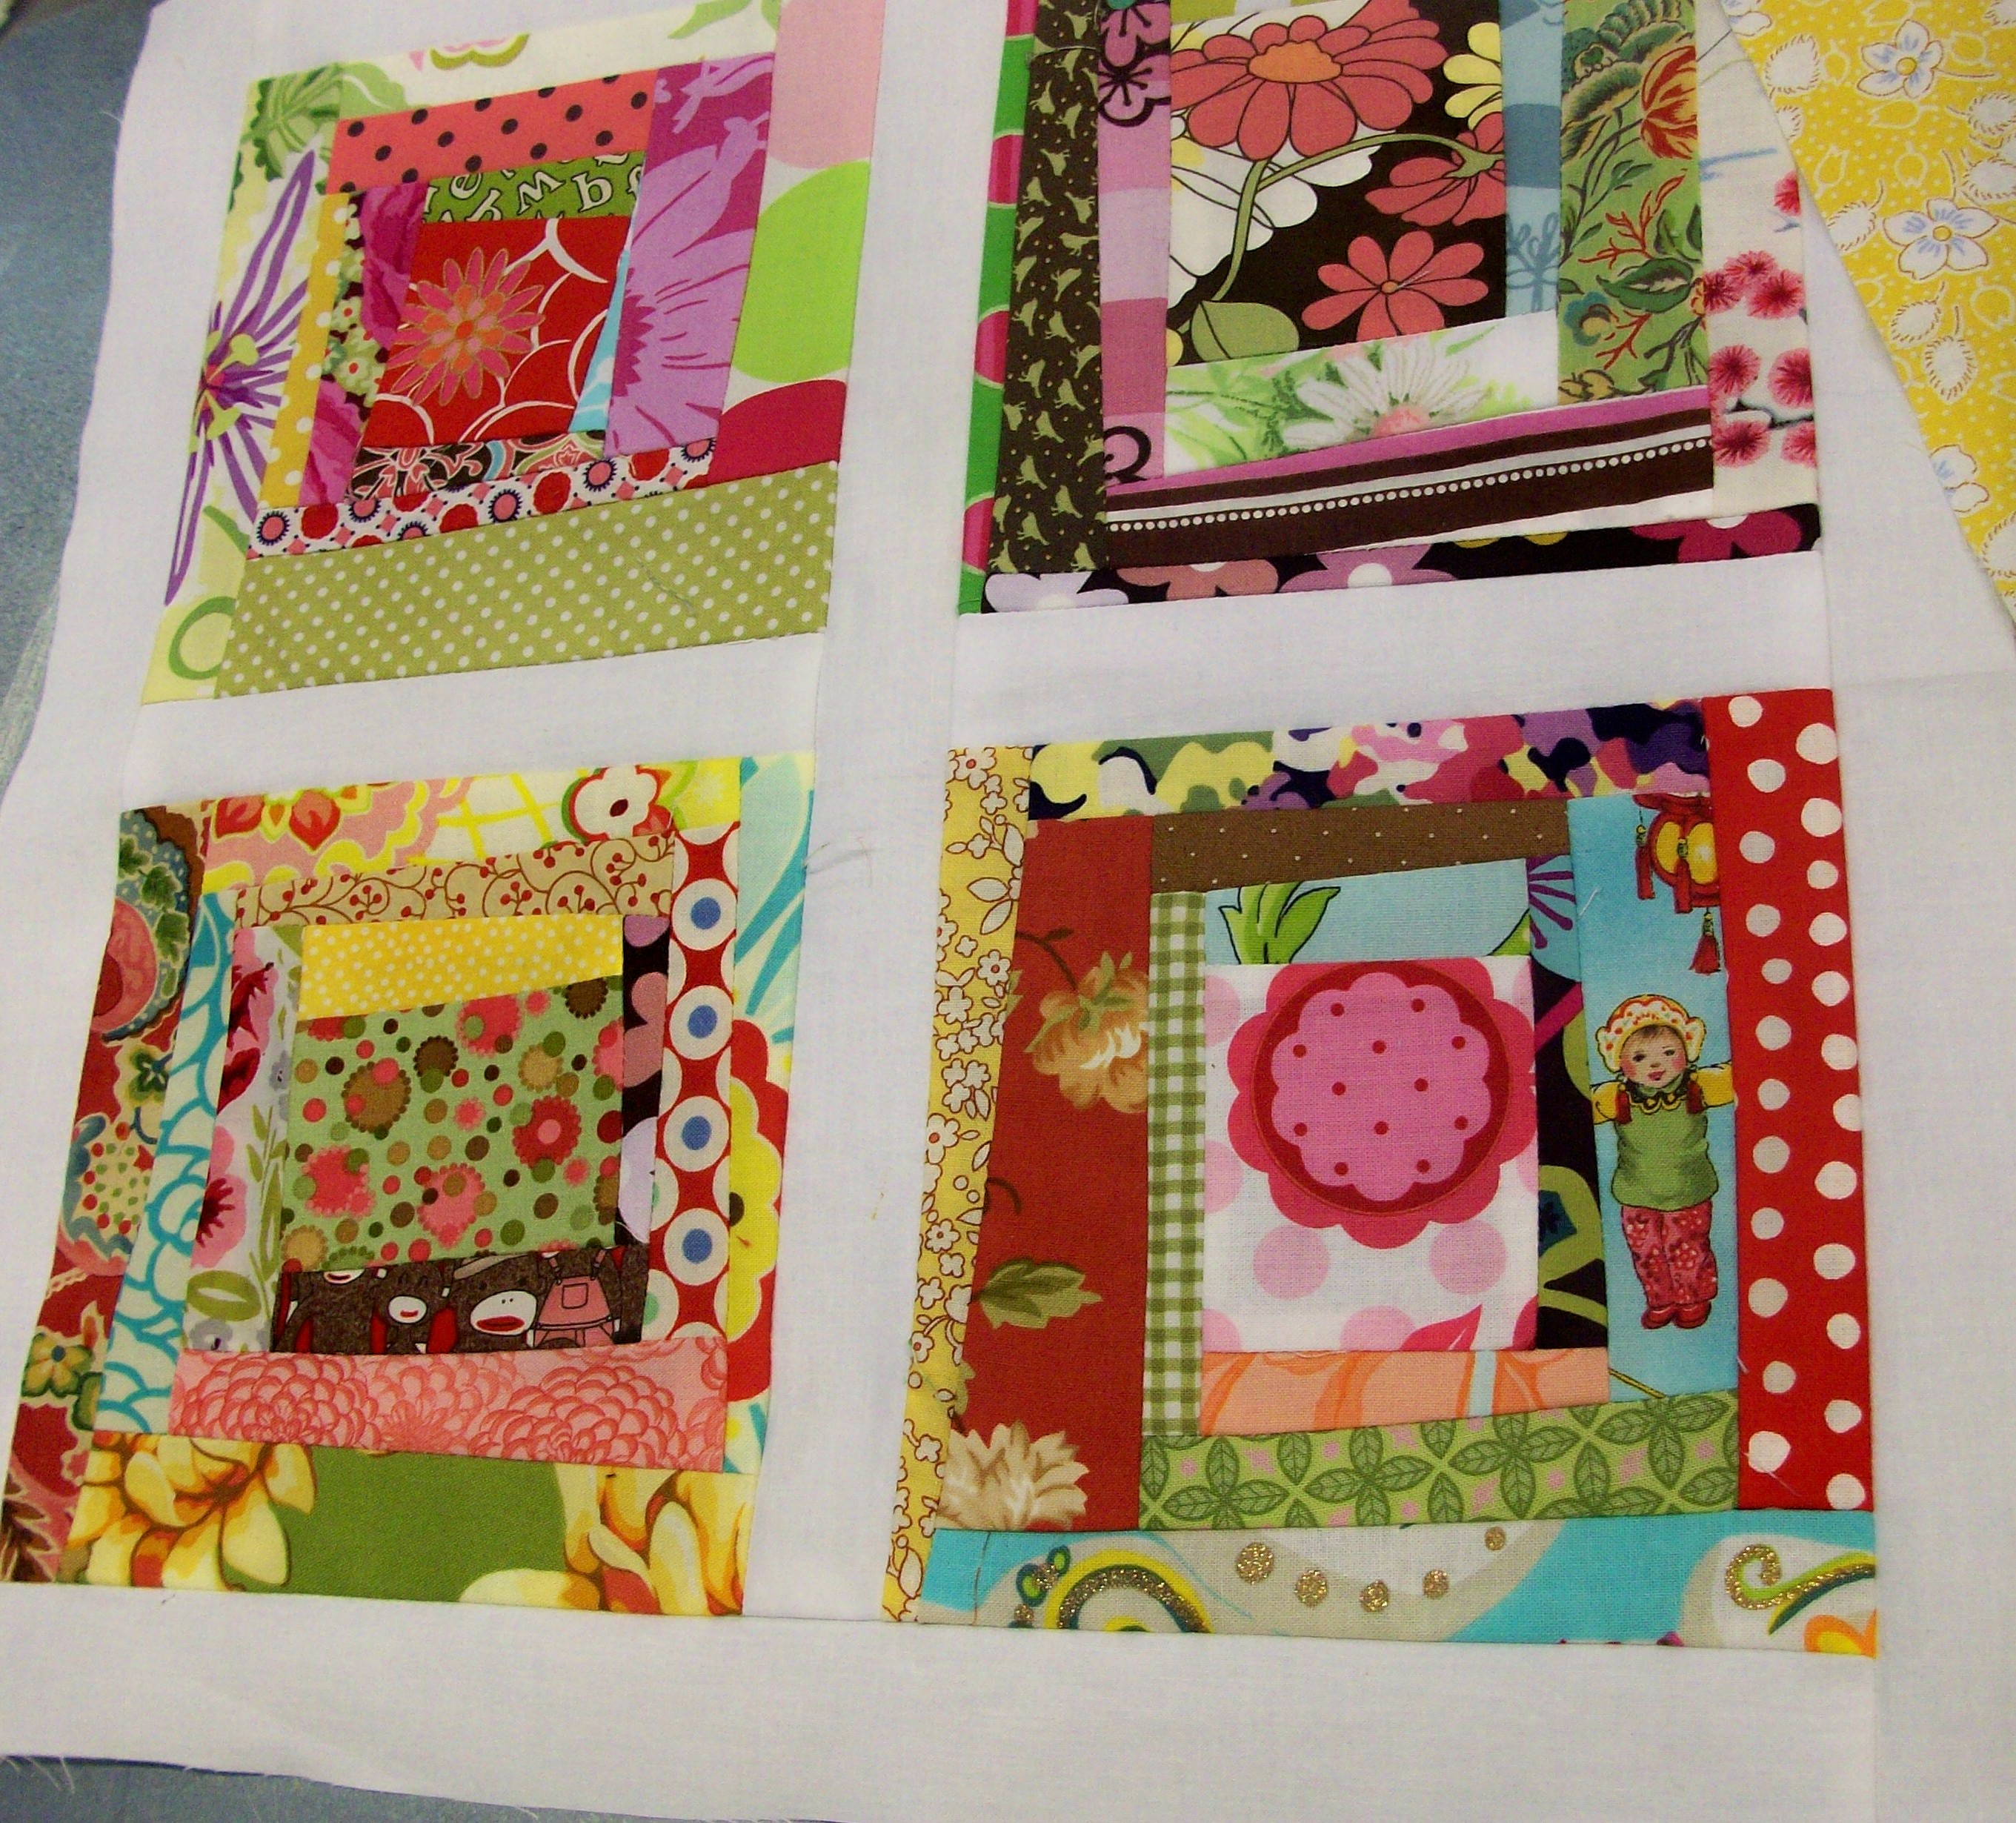
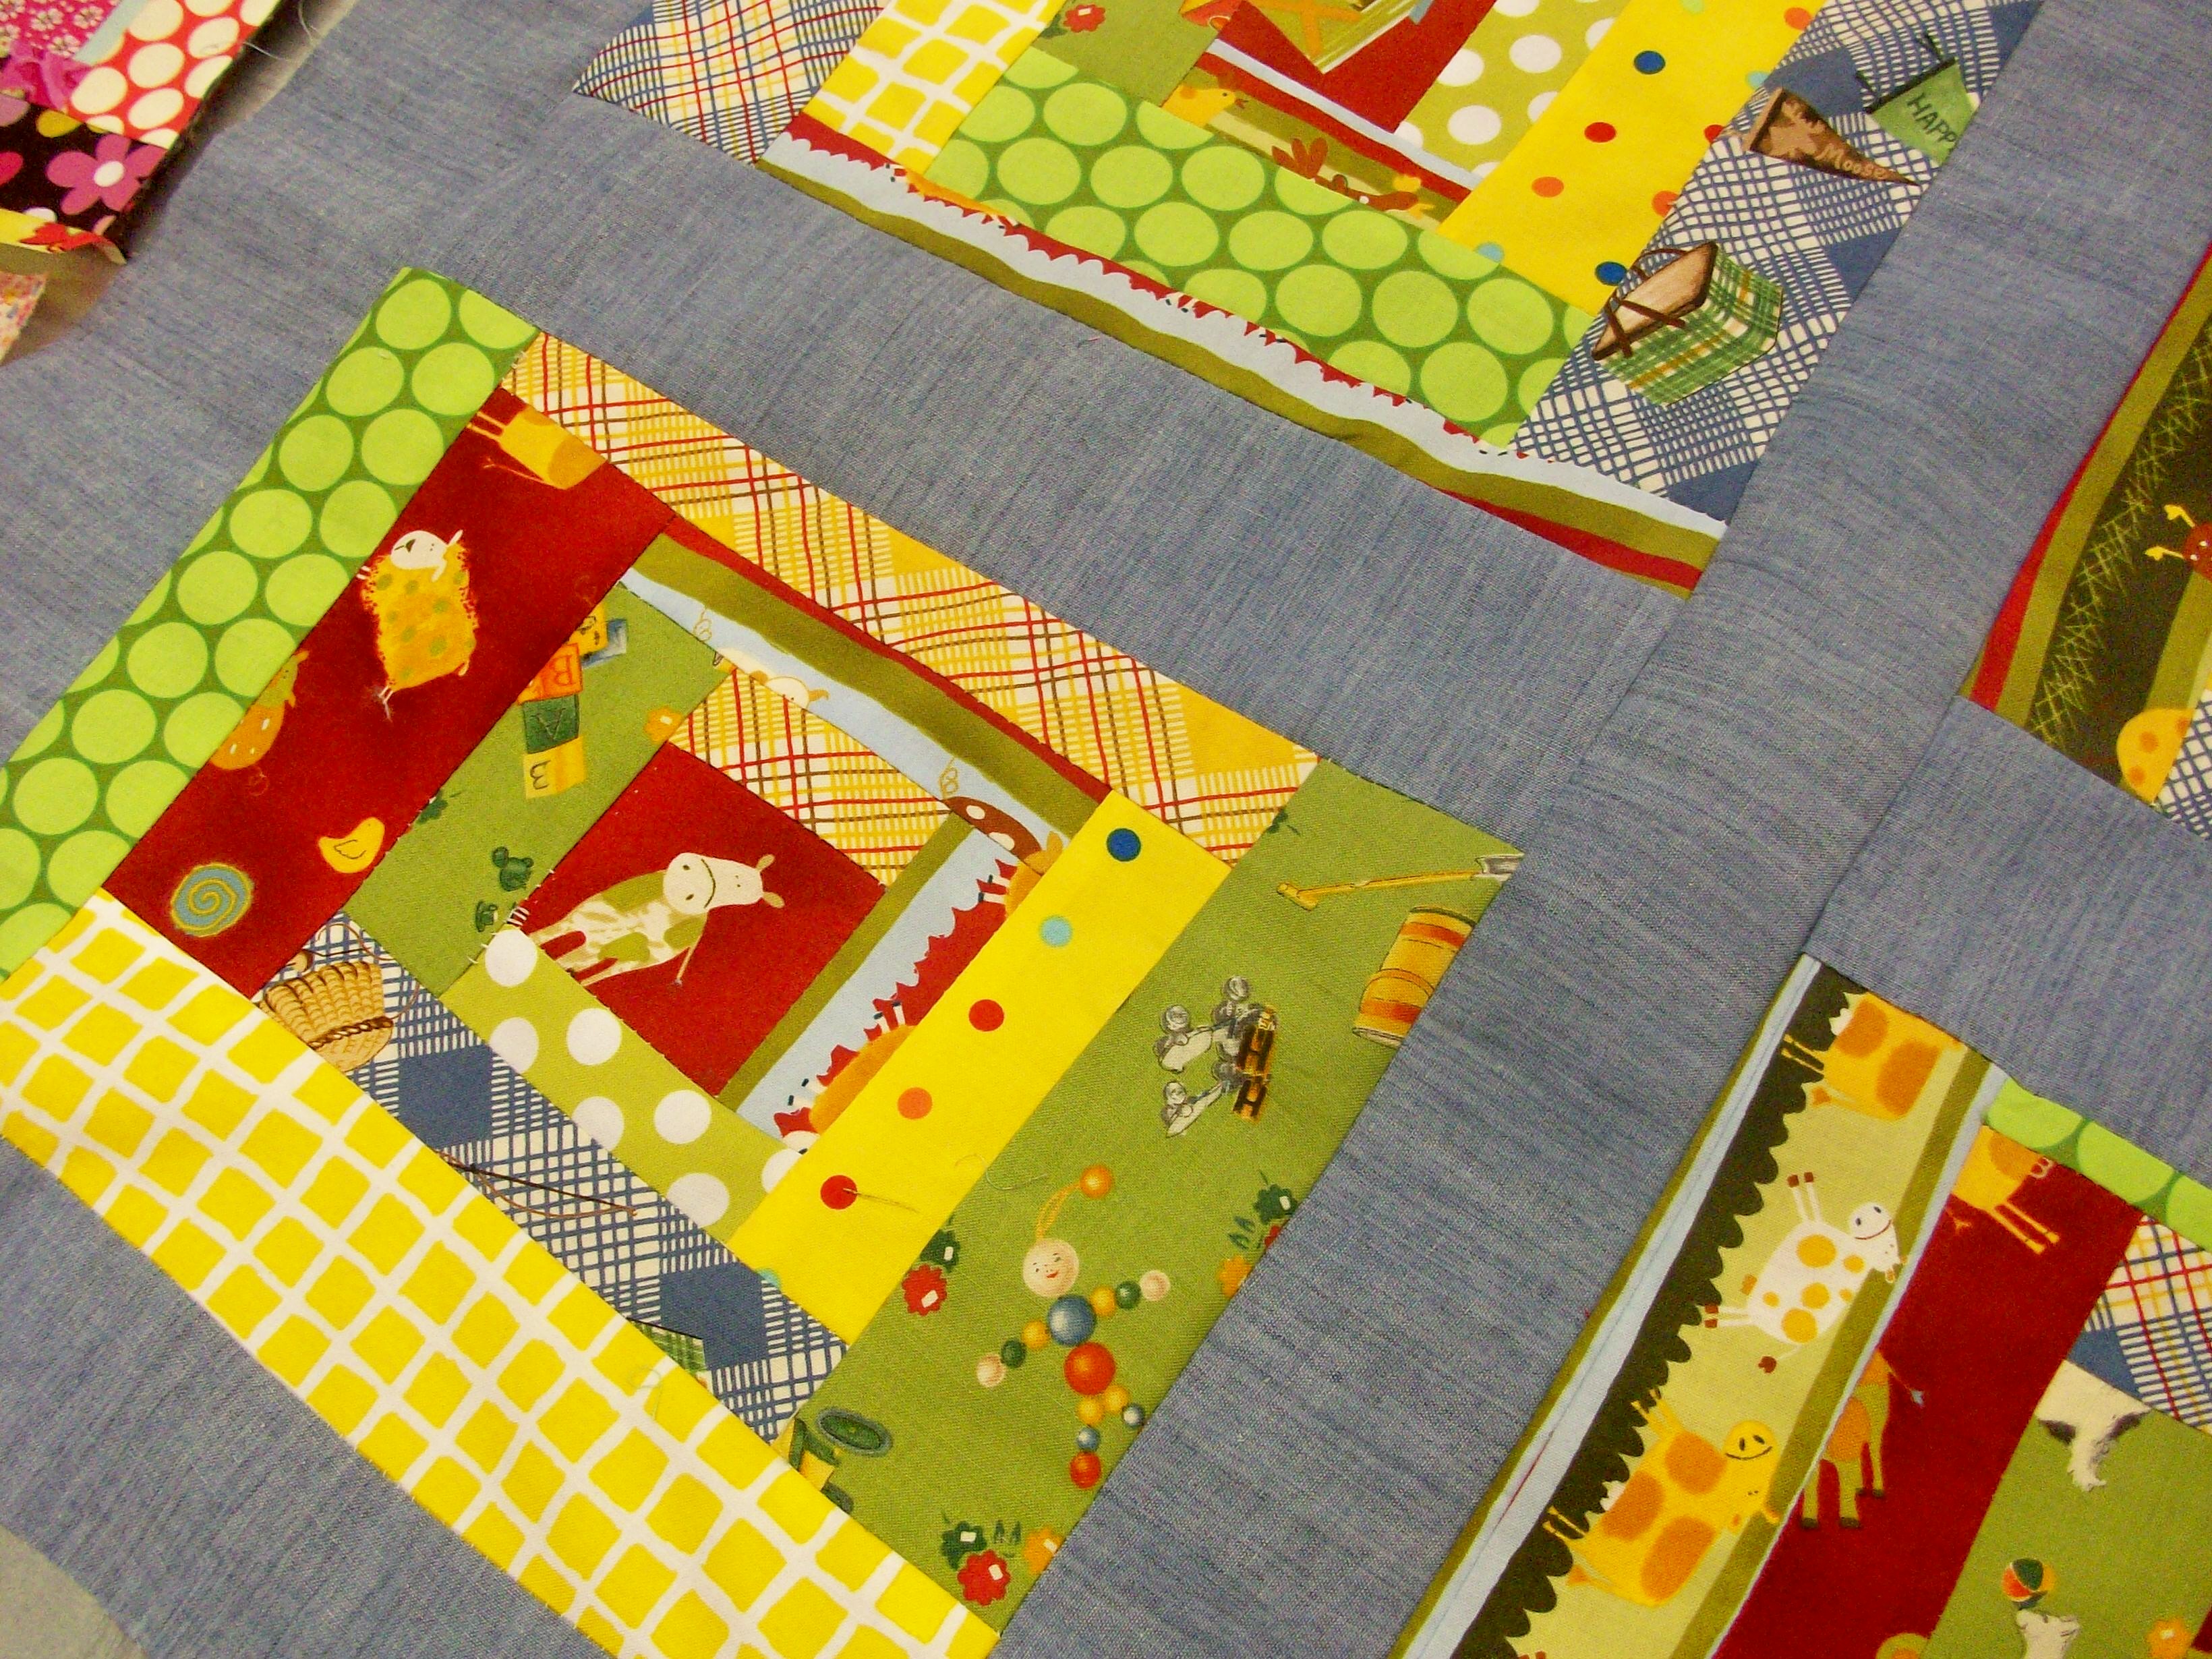
But my favorite part of the day was seeing everyone's work completed.  We all used mostly the same fabrics.


But each quilt came out so different.  As unique as each quilter is, so was their quilt.  Thanks girls for coming!  I hope to see you at my next class.

Wednesday, August 25, 2010

finding my balance


My 3 are all back to school now.  I am still wondering how to fill my days!  I used to laugh when people would ask me that. I thought I would sew from sun up til sun down.  At least until 2:30 any way.


It has been 5 days. I am still trying to find my balance.  I wonder what is to become of me?


Then I remember that the thrift shops are open.  I can go to them and shop for the things I love and need.  Not having to worry about what my kids love and want and have to have.


My back seat still feels empty. But now I have room for my junk!

Friday, August 20, 2010

wolves

[caption id="attachment_2184" align="aligncenter" width="430" caption="www.zeng.etsy.com"]zeng[/caption]

My boy loves wolves. I have no idea how this came about or why. But he just does. 

[caption id="attachment_2187" align="aligncenter" width="430" caption="www.astulabee.etsy.com"][/caption]

Which is really great. I love it when they have a passion about something. 

[caption id="attachment_2189" align="aligncenter" width="430" caption="www.nancy0039.etsy.com"][/caption]

And this is what the wolf thing is, an intense love of all things wolf. 

[caption id="attachment_2191" align="aligncenter" width="430" caption="www.signchick1.etsy.com"][/caption]

He even draws them.  He was sitting at the dinner table last night after he had finished eating and was doing a new sketch. 

[caption id="attachment_2193" align="aligncenter" width="430" caption="www.bluembrownlee.etsy.com"][/caption]

I thought he needed some more wolf inspiration.  More wolf art to keep his imagination going. 

[caption id="attachment_2195" align="aligncenter" width="430" caption="www.rosiemusic.etsy.com"][/caption]

So here I am sharing some of my etsy favs with you. 

[caption id="attachment_2197" align="aligncenter" width="430" caption="www.nottoopink.etsy.com"][/caption]

What is your favorite animal?

Monday, August 16, 2010

small world


I ran out of thread on Friday.  And I couldn't get to the fabric store until today.


Such a bummer.


Especially since I had this fantastic fabric all ready to go.


I bought it in Houston when I was visiting my sister.  And all this time I didn't know what I wanted to make with it.  Then all of a sudden I just knew...


Burp cloths. I know simple right.  This vintage fabric was already precut when I bought it.  And they were just the right size.


I wish I had yards of it!

Friday, August 13, 2010

doily envelopes

Do you remember the doily banner that I made? Well I did have some doilies left over from that project.  So I wanted to show you what I did with the extra's.


Again, cut your doily in half.  These were 6" in diameter.


Get out your glue stick!  Apply the glue to the solid paper portion of the doily.  It's not necessary to use too much glue.


Carefully insert the doily into your envelope.  Just so you can see the top of the doily.  Carefully fold over the flap to create a crease.


After you have left the glue to dry insert your tiny envelopes.  And you are almost done!


Don't forget your cute dog postage stamps to go with the doggie themed birthday party!

Wednesday, August 11, 2010

party girl


I am in the midst of party planning!  My girl will soon be 6 year's old and would like to celebrate by having a doggy birthday party.  I found the perfect vintage cute invites on ric rac and buttons.


I decided to add just a touch whimsy.  So we sorted out a few of these little vintage flowers and got out the good ol' glue stick.


My girl liked the green hearts and daises.


She wrote the party guest names on the envelopes while the glue dried.  And since these are small invites we had to then insert these cards into larger envelopes to mail.  And that I will show you tomorrow!

Thanks for looking!

Tuesday, August 10, 2010

the circle

I just finished a special request order and had to share it with you!


I know the bibs you've seen, but I just love the double stack buttons on this one!


And the little scrappy applique came together just perfect!  It reminds me of a stripped beach ball.


And here are a few more circles that I appliqued onto the burp cloth.  I had so much fun making this gift set!  I just didn't want to put this fun fabric down.  Is it silly to be so excited and inspired by my own work!


I do love how it all came together again using just vintage and organic fabrics.  All inspired by a circle.

Sunday, August 8, 2010

a little wonky


This summer while visiting my sister we made this quilt together.  It is a very wonky quilt.  Does it look like a log cabin quilt to you?


This is the class that I will be teaching at The Tin Thimble. The Wonky Log Cabin is fun for the beginning quilter, becuase we get to break some quilting rules! 


We will be using an old techique and turning it into a new modern quilt.  And we will use one of my favorite things, scraps!

Saturday, August 28


The Tin Thimble


3750 Talyor Road, Loomis


10:30 - 2:30


http://www.thetinthimble.com/lessons.html

Thursday, August 5, 2010

my vintage love


When I started katie jean it was all about the vintage fabric.  Sure I loved all the new fabrics and the fabric designers.  But with vintage fabrics, there was just something about them that was just so much more alluring to me.


Vintage fabrics have unique special touches like a print with swiss dot or felted flowers.  Or some prints have a little bit of seersucker in them.  Each one looks fresh to me and maybe even a little bit innocent.


Some vintage sheeting even has a huge appeal for me!  Once it was a pillowcase, now it's a coaster.  And if you're reading this, I know that you get it too.  I'm sure you love vintage as much as I do.  Why do you love it so?


btw, these bibs are made with 100% vintage and organic fabrics.  They are just waiting for me to make a matching burp cloth or onesie.

Sunday, August 1, 2010

doily banner tutorial

I love using my fabric scraps!  And I do love those doily banners.  I wanted to make one but with a touch of katie jean.  So here is my little tutorial just for your enjoyment!


Go through your fabric scraps and cut various pieces in random a 1/2" width.  The length can vary.  This can be very random and imperfect.  Your kids can even help out here!  No need to iron the strips.


Cut your doilies in half.  Here I used 6" diameter doilies.  Check out the $ store for a good deal on these.


Here I start to sew them up.  I start with a bit of a tail and then add the first doily.  The next strip of fabric is just laid on top of the previous piece.  There is maybe a 1/2" of overlap there.


I take about six stitches and then lay down another doily right on top of that little strip of fabric.  My needle was already done for when I started this project so I didn't worry about ruining it.  I just changed it when I was through sewing on the paper.


And it's finished! I just love seeing all of the different bits of fabric peaking through!


It came out really long!  I just had fun doing a little crafty easy sewing.  I did not want to stop!


Can you see the fabric peaking through the white paper.  It looks almost transparent with the light coming through the back.  These will be up for my girl's birthday party!  I hope this little tutorial inspires you to use some of your fabric scraps.  Thanks for looking!