

Go through your fabric scraps and cut various pieces in random a 1/2" width. The length can vary. This can be very random and imperfect. Your kids can even help out here! No need to iron the strips.

Cut your doilies in half. Here I used 6" diameter doilies. Check out the $ store for a good deal on these.

Here I start to sew them up. I start with a bit of a tail and then add the first doily. The next strip of fabric is just laid on top of the previous piece. There is maybe a 1/2" of overlap there.

I take about six stitches and then lay down another doily right on top of that little strip of fabric. My needle was already done for when I started this project so I didn't worry about ruining it. I just changed it when I was through sewing on the paper.

And it's finished! I just love seeing all of the different bits of fabric peaking through!
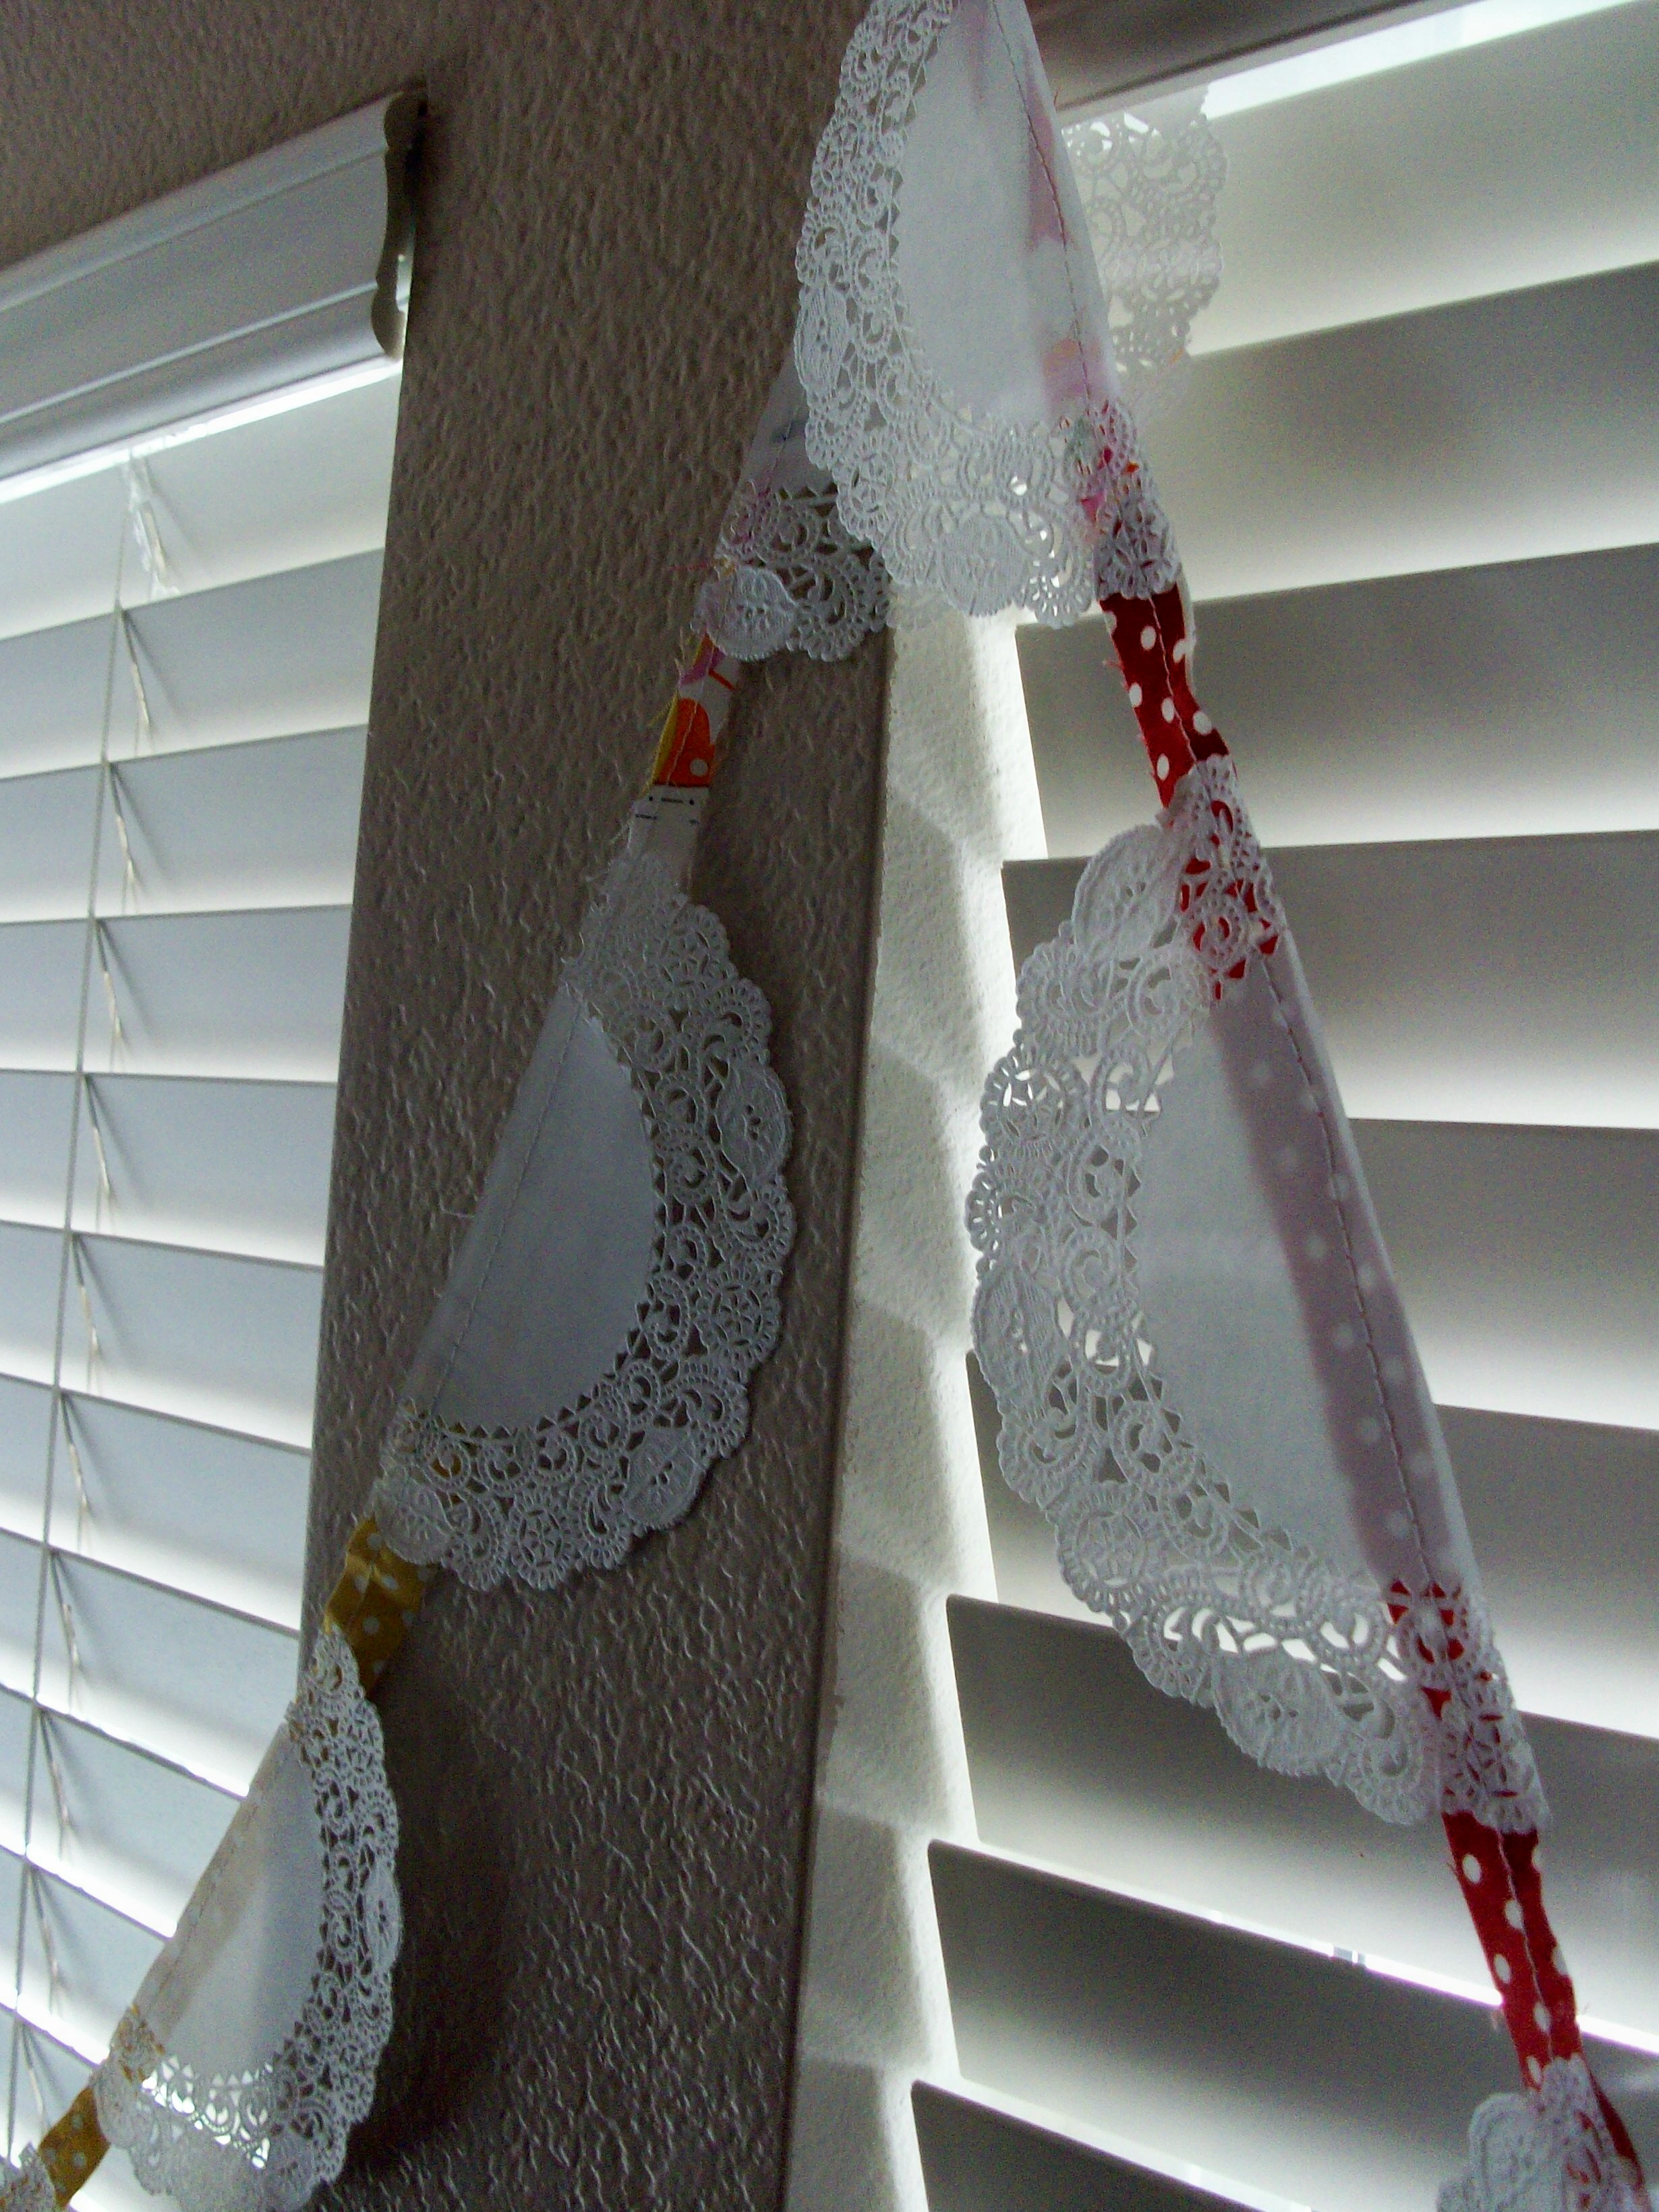
It came out really long! I just had fun doing a little crafty easy sewing. I did not want to stop!

Can you see the fabric peaking through the white paper. It looks almost transparent with the light coming through the back. These will be up for my girl's birthday party! I hope this little tutorial inspires you to use some of your fabric scraps. Thanks for looking!
10 comments:
Cute Katie! I really like your take on this:)
That's very cute! Especially for a birthday party!! :) Great idea!
So cute - great tutorial!
This is amazing! Thanks for the tutorial!
Love it love it love it!! ;)
wonderful tutorial!
Thank you so much!
Sorry i didnt say thank you sooner for you featuring me... been super busy and forgetful!
I just posted it though!! :)
xoxo
Keren
[...] This post was mentioned on Twitter by Crafty Tutorials, Katie Trott. Katie Trott said: see my twist on the doily banner, I did a tutorial! http://katiejean.wordpress.com/2010/08/02/doily-banner-tutorial/ [...]
thank you Keren! I have loved seeing my ad on your blog too! It's a perfect spot for me, we go well together :)
i am totally doing this... love it!
[...] Jump to Comments Do you remember the doily banner that I made? Well I did have some doilies left over from that project. So I wanted to show you [...]
Very very cute :). I should try something like this and put it up for my daughter's bridal shower next month.
carla louise
www.ohsewaddicted.com
Post a Comment