

Remember the Design Team challenge was to use a little piece of jewelry that I already had. So I pulled this little bit together.
Fancy Girls Headband
Supplies: swiss dot fabric, needle and thread, black headband, fabric glue, vintage jewelry pin
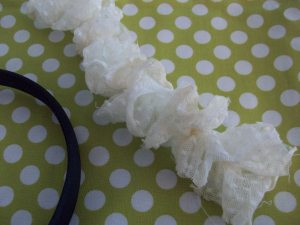
- Cut a 2” strip from the swiss dot. I used a 64” length.
- With a needle and thread, sew a running stitch down the length of the fabric. Then pull the end to gather slightly. Knot your thread and cut. You can also do this with your sewing machine.
- Position the gathered fabric onto your head band. Glue down the swiss dot. I used fabric glue, but I think hot glue would work just as well. Let dry the required amount of time.
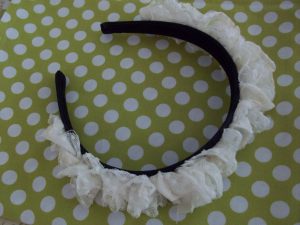
- Pick your little gems and position them wherever you like best on the headband.

- My pin still had the clasp on the back, so I was able to pin it onto the headband. I then went around and tacked it down for added security with a few extra hidden stitches.
Now it’s ready to wear about town in your fanciest party dress!
5 comments:
Thanks for the inspiration! Rachel and I are looking forward to creating our own.
Thanks Cindy! I'm sure you will make something wonderful! Be sure to send me a photo :)
So neat! I love it!
Oh wow, this is gorgeous! I can't wait to give this a shot! I would love to link to it if you didn't mind.
Wow that looks awesome, and I bet it looks good on too! If I could just find the time to pull together stuff from what I have... I would be stylin!
Post a Comment